First things first. Thank you so much for all of your feedback about the studio cabinets! I haven’t had a chance to read through all of them yet, but I’ve read about 75% of them, and I’m starting to get some clarity on what I want. I’ve narrowed it down to three options, and I’m going to try to do some mock ups this weekend to narrow those three down to the best option. All three options include white upper cabinets, but differ on the color of the lower cabinets. I’m leaning very strongly in one direction, so the mock ups should clarify everything and make the decision very easy.
Now on to the home gym progress. I’ve been checking things off of my punch list, and I’m really feeling like I’m on the home stretch now, so that’s exciting.
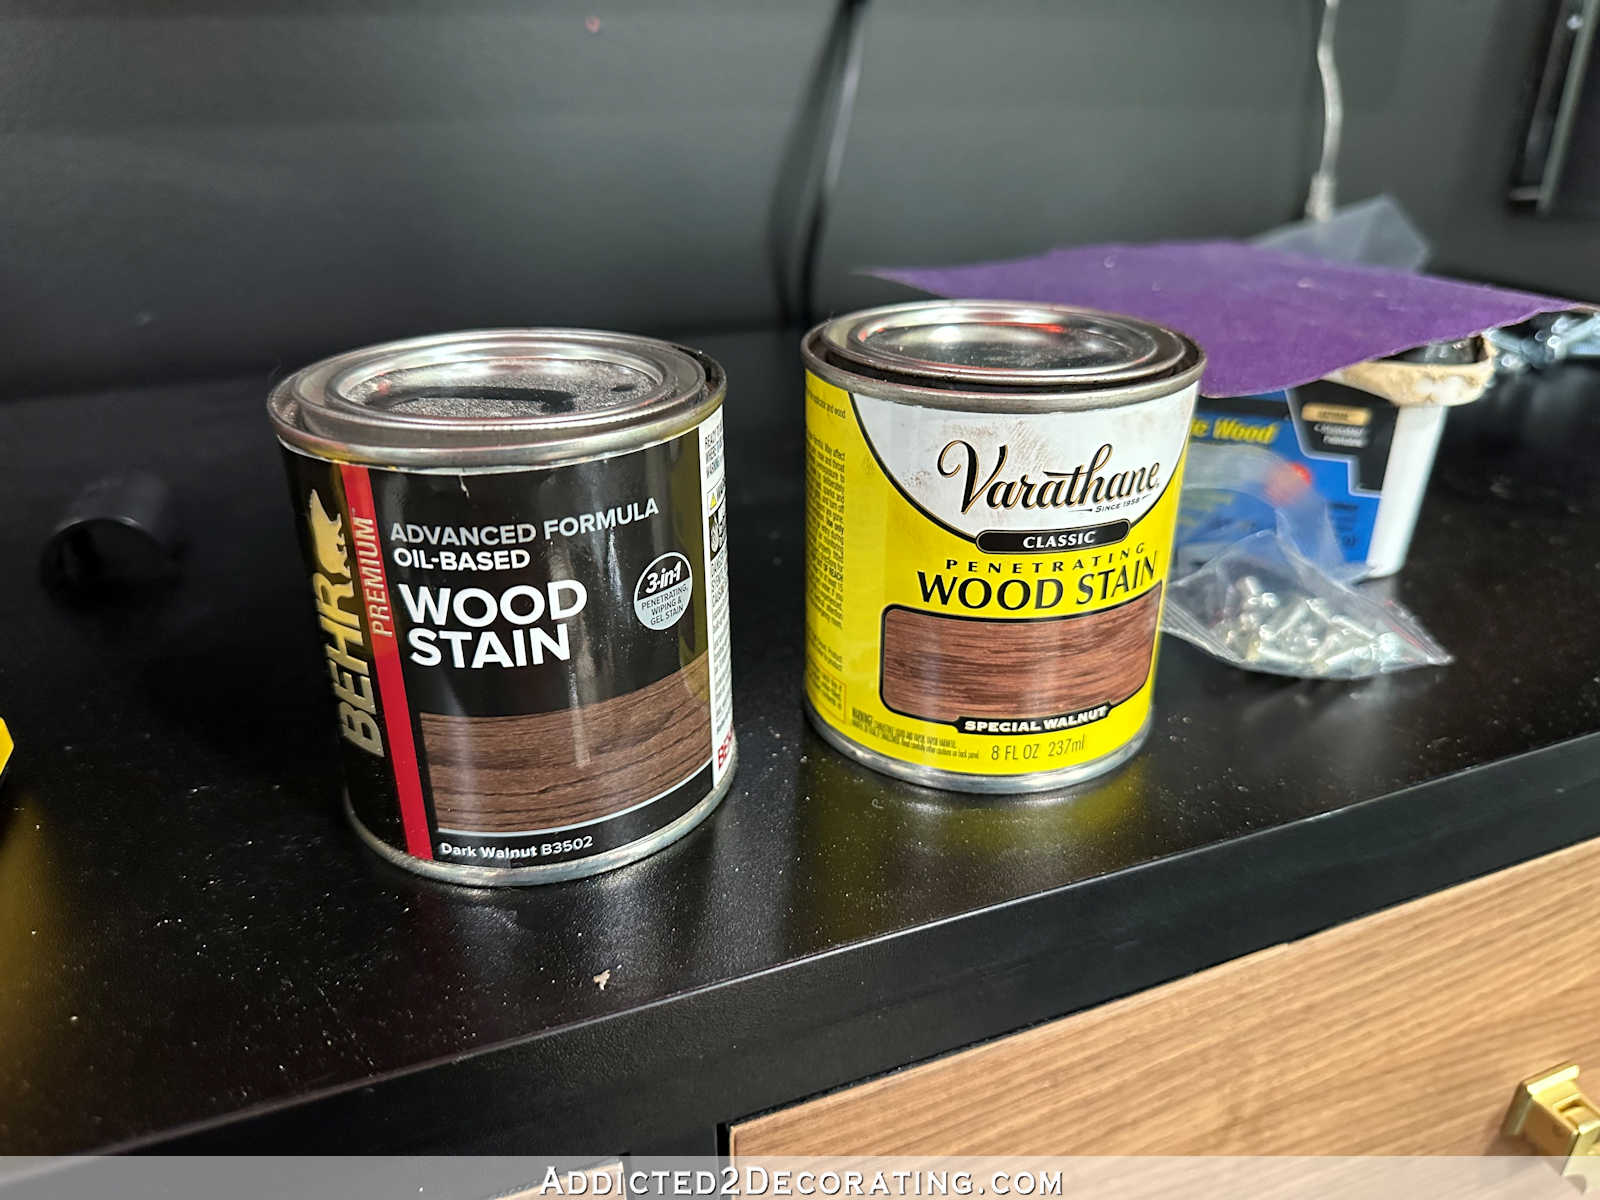
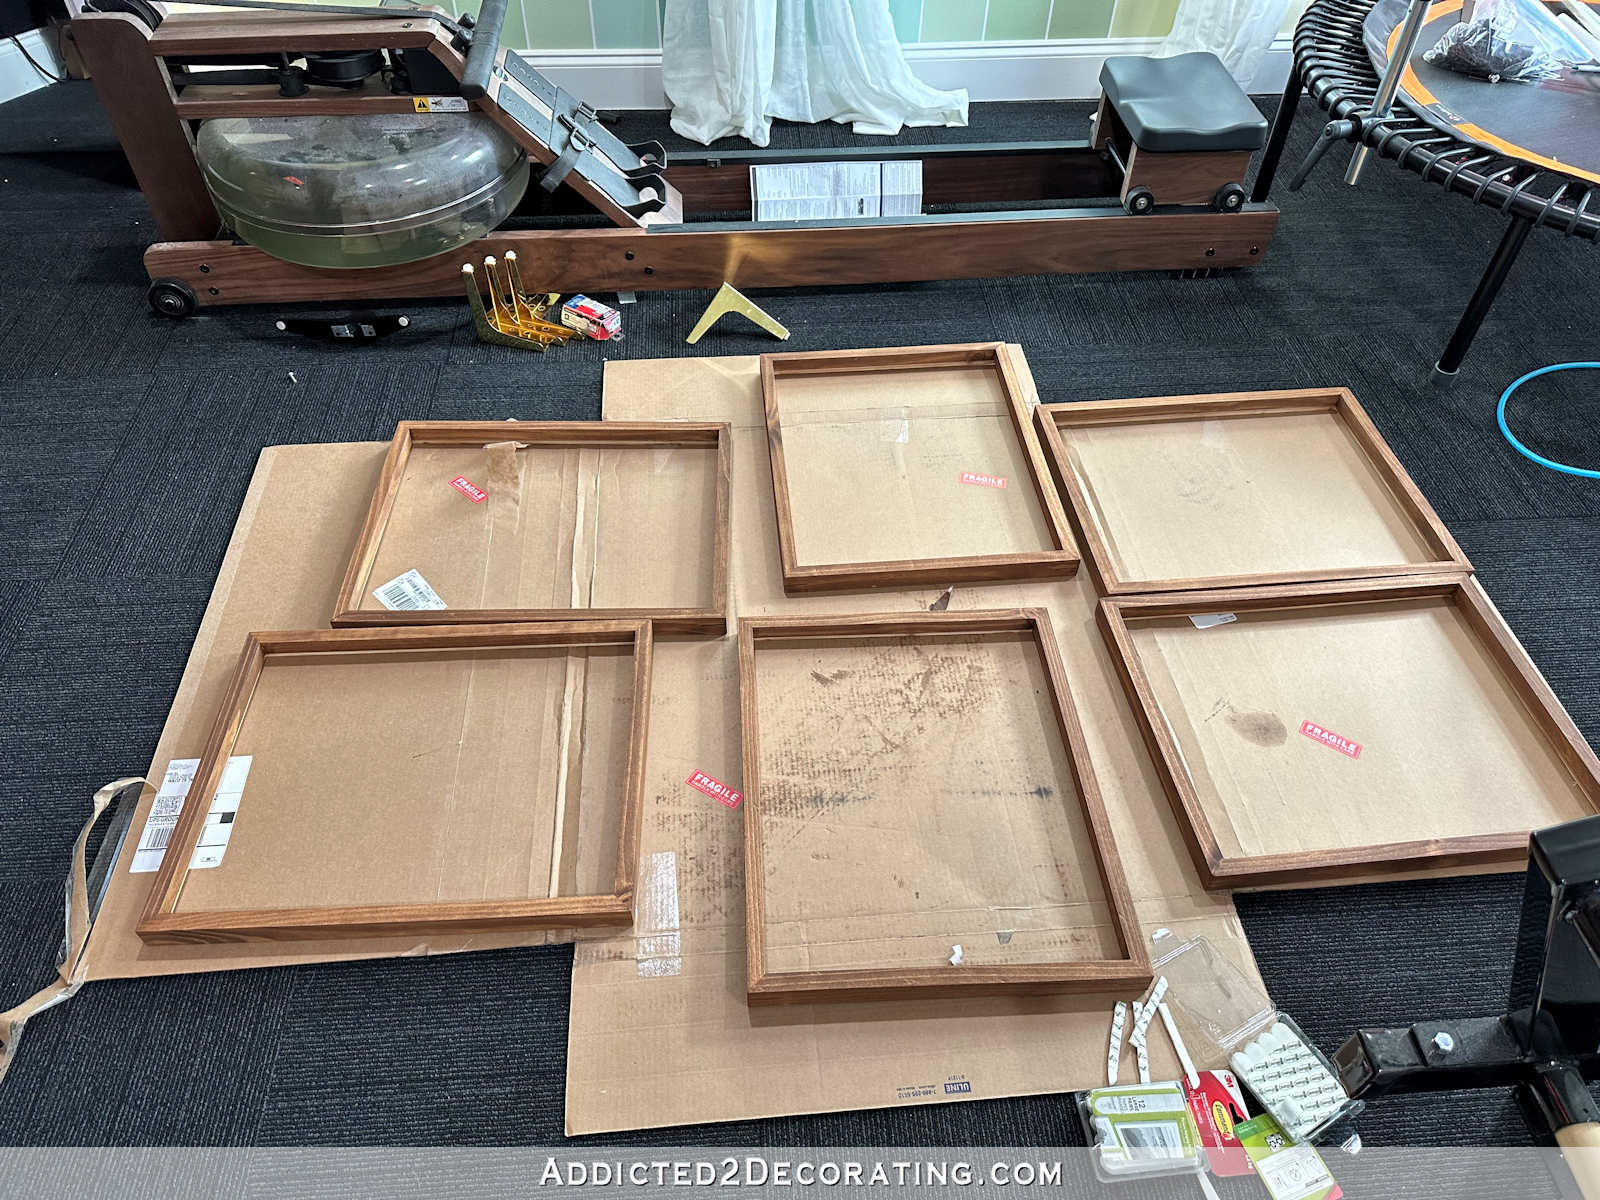
If you’ll remember, I ordered four frames from Michael’s, and they all arrived broken or damaged. Every single one of them. So they shipped me four more, and these arrived safely. So I got those stained last night. I wanted them to be walnut to match my WaterRower and dresser. I had already stained two of the frames Dark Walnut, but I wasn’t really satisfied with that color. It turned out way darker than the actual walnut in the room. You can see that stain color on the two frames in the picture below.

So I ended up sanding that stain color off of those frames, and using Varathane Special Walnut on all six frames. The color was much better, and a truer walnut color, but it was still too light and too red.
I finally added just a little bit (maybe a teaspoon) of Dark Walnut to the Special Walnut and mixed those together thoroughly. They were different brands, but both oil-based, so they mixed together just fine.
I gave the frames a light sanding with 220-grit sandpaper and then applied a second coat with the mixed stain, and it ended up looking very close to the real walnut. It’s not perfect, but it’s pretty close!
I left them to dry overnight, and I will be able to get the pictures framed and hung today.
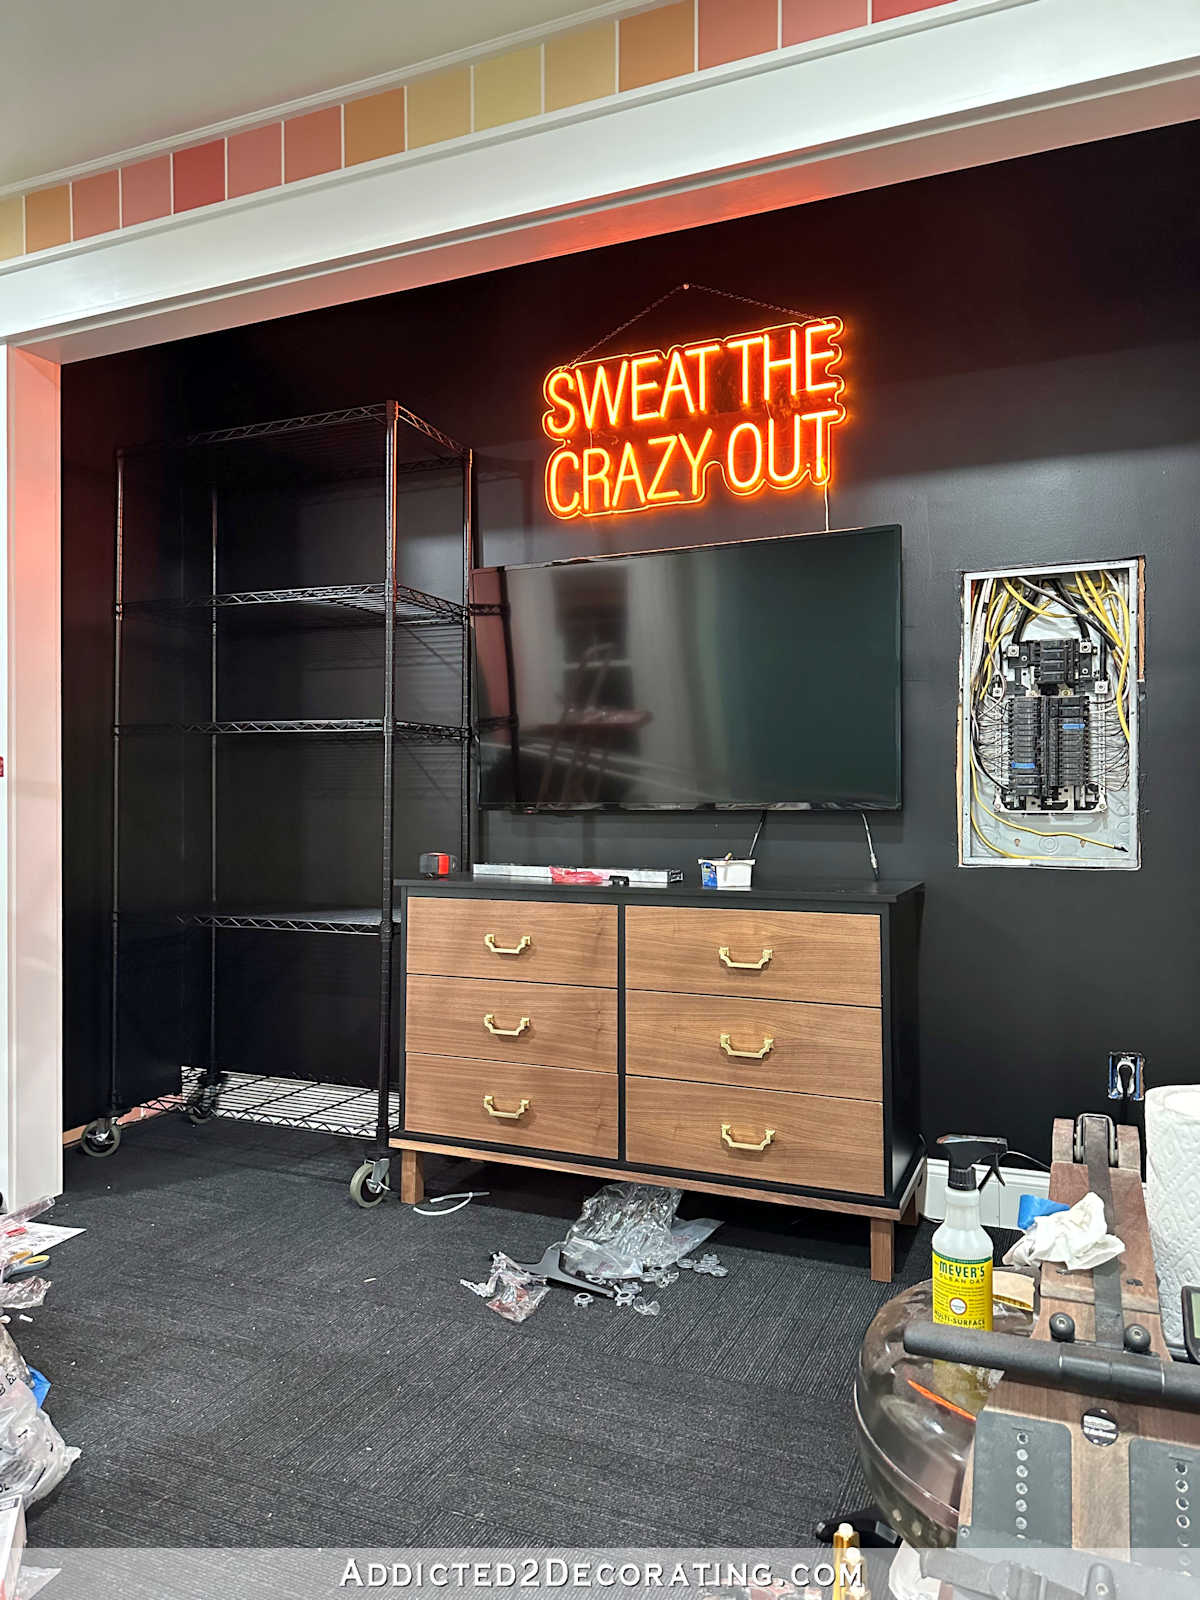
I got my neon “Sweat The Crazy Out” sign this week, and was very anxious to get it hung in the closet area. I absolutely LOVE it! 😀 I ordered the gold yellow color, but I’m pretty sure they sent me orange. I don’t care, though. The orange on the sign (when the sign is turned on) is actually the same orange on my Bellicon rebounder. So that worked out perfectly.
I also got the TV hung on the wall, so now I just need to wrangle the cords. And as you can see in the picture above, I had an idea to add metal shelves on wheels to each side of the dresser and TV. I thought that might be a better use of space, and then I’d find a place to hang the mirrors in the main part of the room.
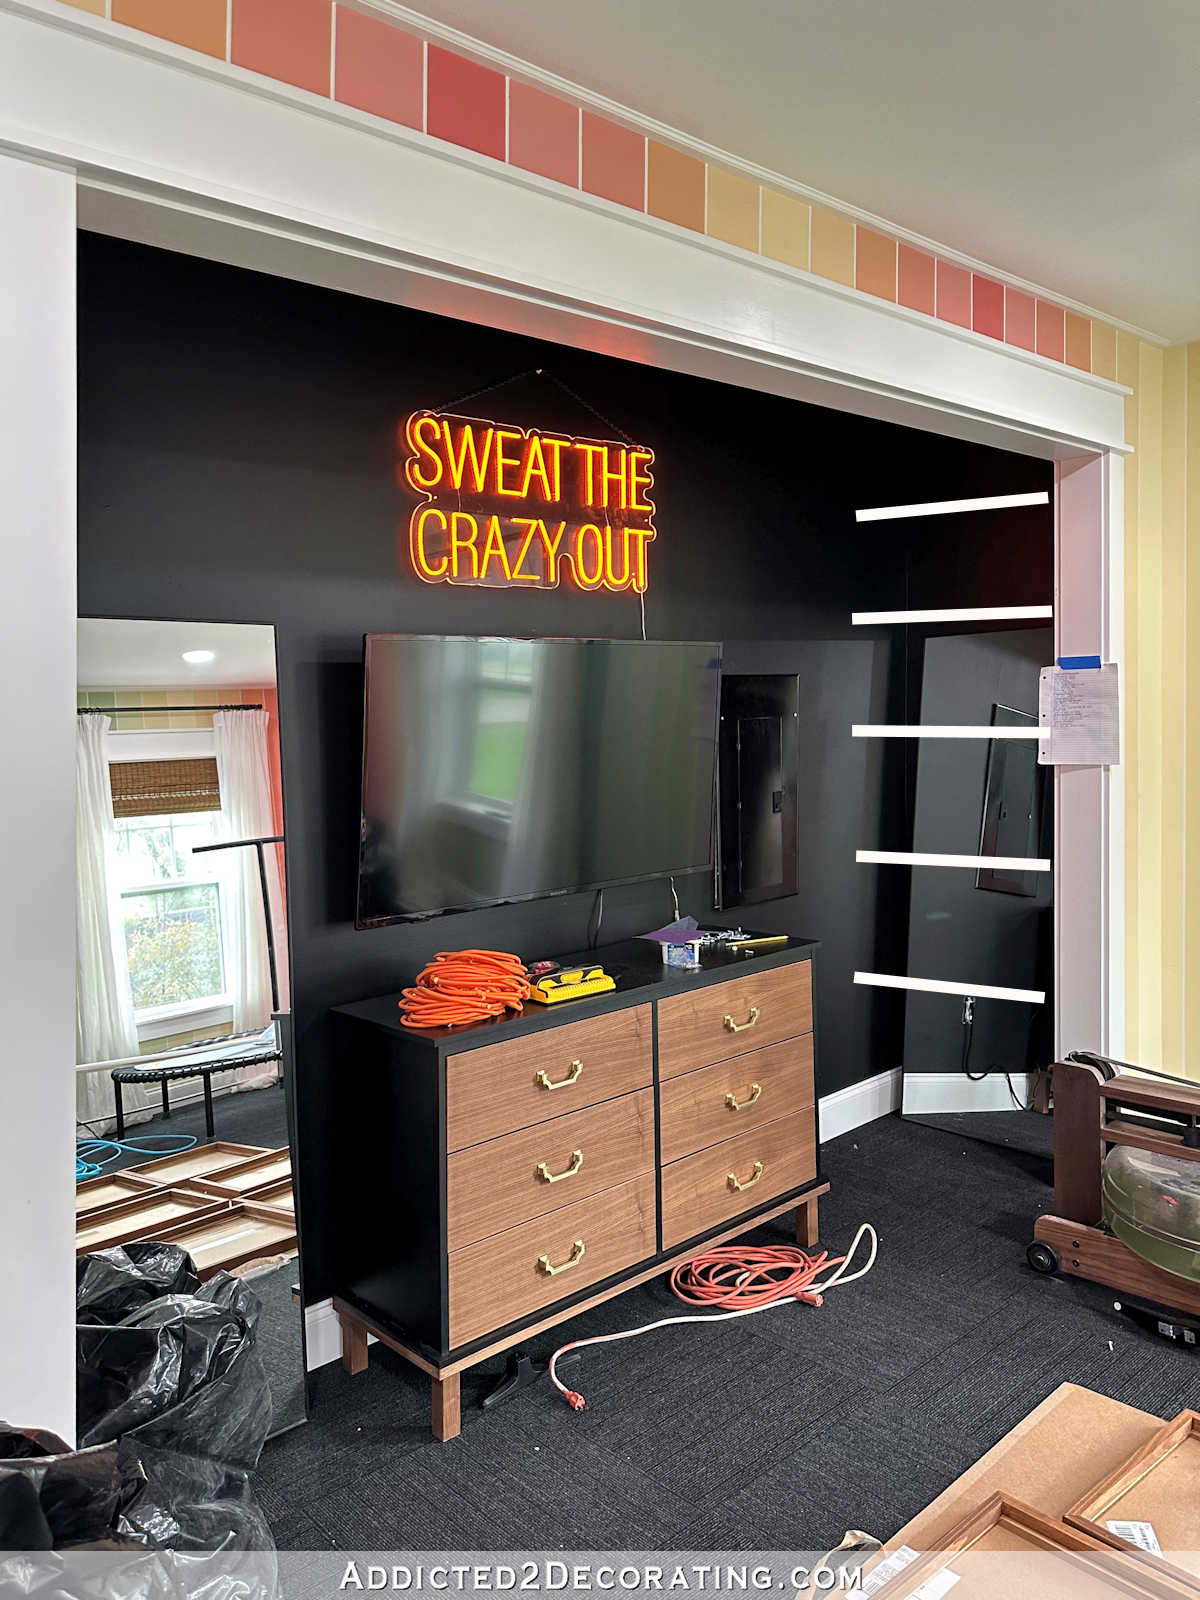
Well, I didn’t like how the shelves looked in there. And while I do think that shelves would be helpful, I don’t think that I need that much shelf space in this room. So I’ve decided to use the shelves in the storage closet in my studio, and I’m going back to the plan of hanging the mirrors on either side of the dresser.
I do want some shelves in there, though. So I’ve decided to add some shelves at the ends of the closet going perpendicular to the back long wall of the closet, as shown below. (That picture probably would have been clearer to understand had I not leaned the mirror against the end wall, but hopefully you can understand what I’m talking about.)
So things are starting to wind down in here. The biggest things I still need to do are to paint Matt’s exercise bike, and then to stain the bars for the Swedish ladder and get it installed. There are still lots of little projects, but I’m calling in reinforcements on at least one of them. My mom has said that she’ll hem my curtains for me, so that will be a big help. And then I’m thinking about hiring a handyman to come and install the ceiling fan and light in the entry. Those are just busy work kind of projects that I can hand over to someone else so that I can focus on other things and move this process along faster. But it’s getting there!

Addicted 2 Decorating is where I share my DIY and decorating journey as I remodel and decorate the 1948 fixer upper that my husband, Matt, and I bought in 2013. Matt has M.S. and is unable to do physical work, so I do the majority of the work on the house by myself. You can learn more about me here.
I hope you’ll join me on my DIY and decorating journey! If you want to follow my projects and progress, you can subscribe below and have each new post delivered to your email inbox. That way you’ll never miss a thing!