This post and photos may contain Amazon or other affiliate links. If you purchase something through any link, I may receive a small commission at no extra charge to you. Any supplies used may be given to me free of charge, however, all projects and opinions are my own.

Are you making your own Christmas cards this year? Today I’m going to teach you how to create your own Cricut Christmas cards using Kittl. Kittle is a design program that allows you to make designs for cards and so much more easily. I have been asked many times how to make insert card designs so I think you will love the ideas I have here!
I have a whole post on using Kittl with your Cricut machine here.
Making Cricut Christmas Cards
I’ve heard you. You’ve asked me again and again “How do I make my own Insert card designs?” we’re going to do that today! If you’ve been wanting to create your own designs outside of Design Space, you’re going to love how easy Kittl is to use.
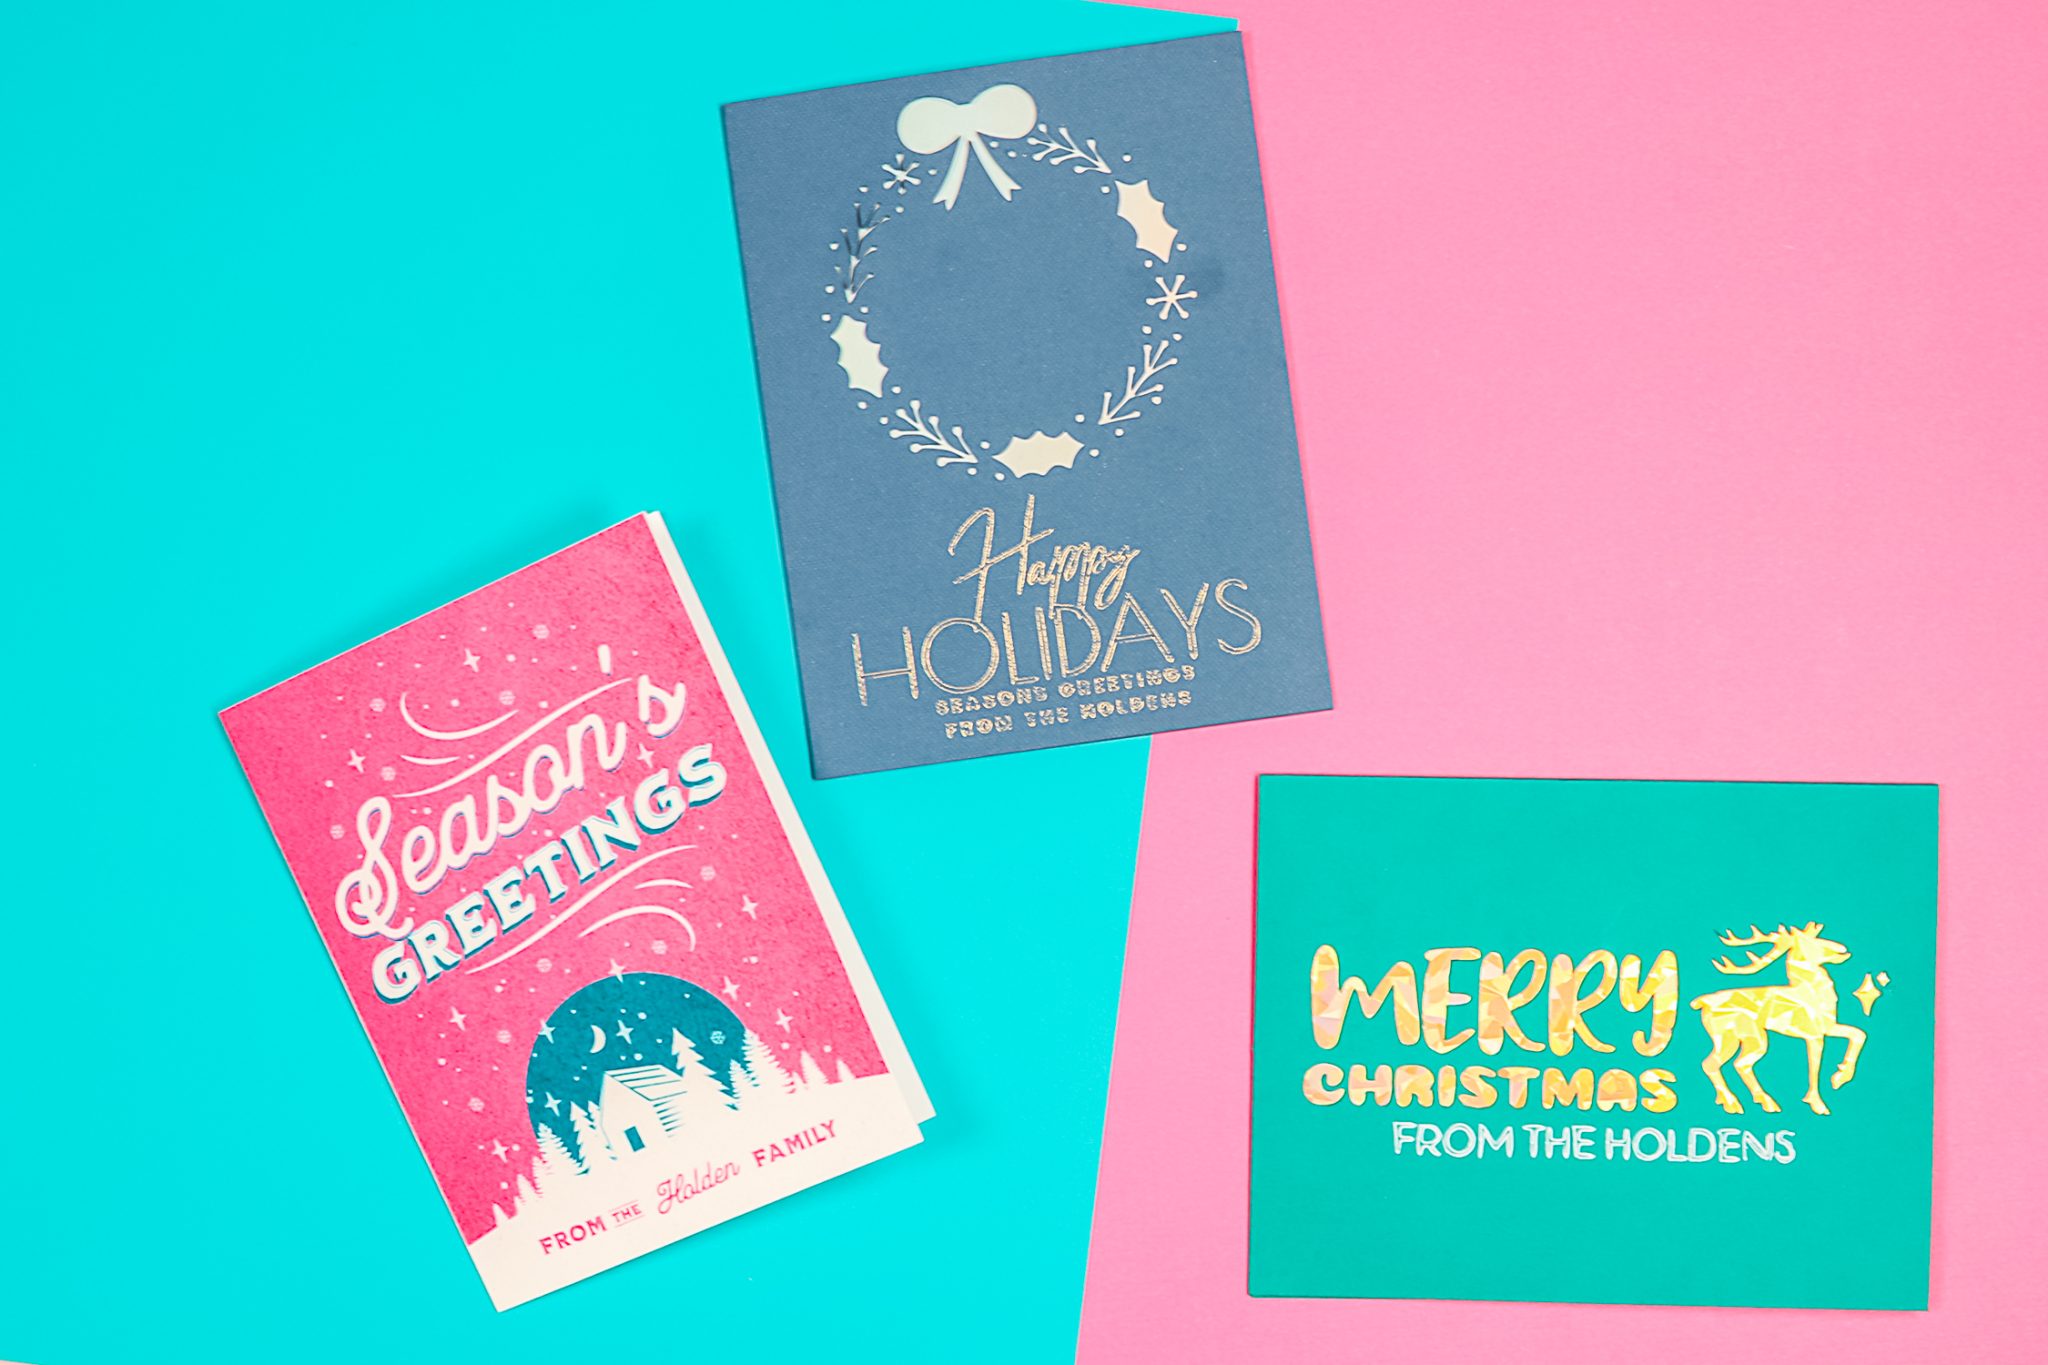
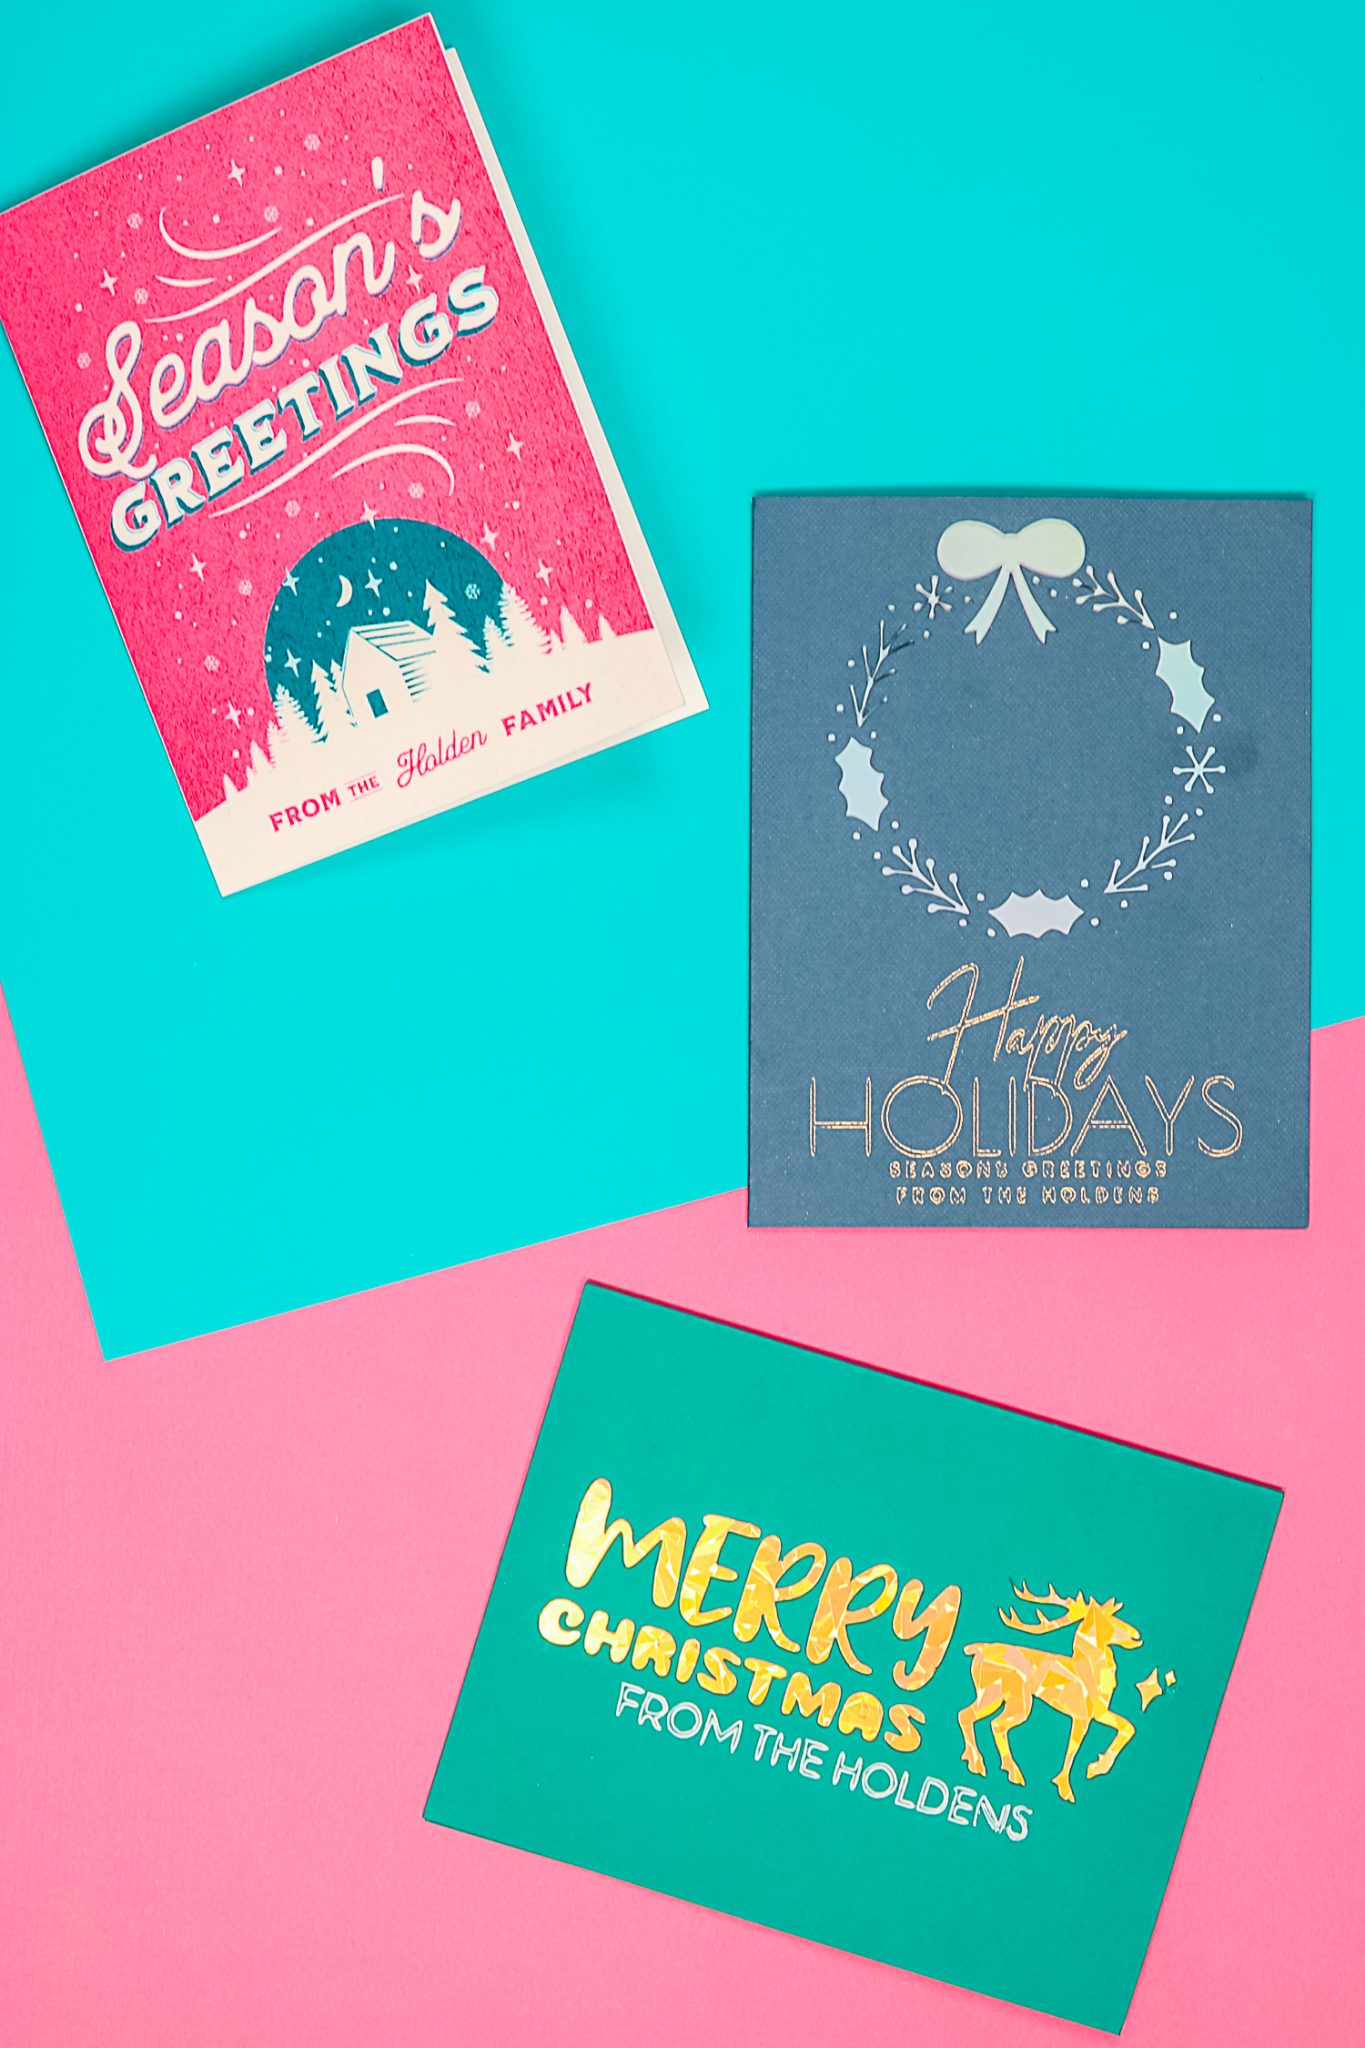
Today we’re going to make 3 different Cricut Christmas cards with Kittl, a print-then-cut, an Insert card with a foil design, and a cutaway card using a pen. You can watch me design each of these cards and see the Kittl platform in action – just click play on the video below:
If you like the cards I designed, you can click the links below to change the name, font, and colors, all of that can be done in Kittl using my designs as a jumping-off point. If you want to create something completely different, you’ll learn the techniques you need to do that as well.
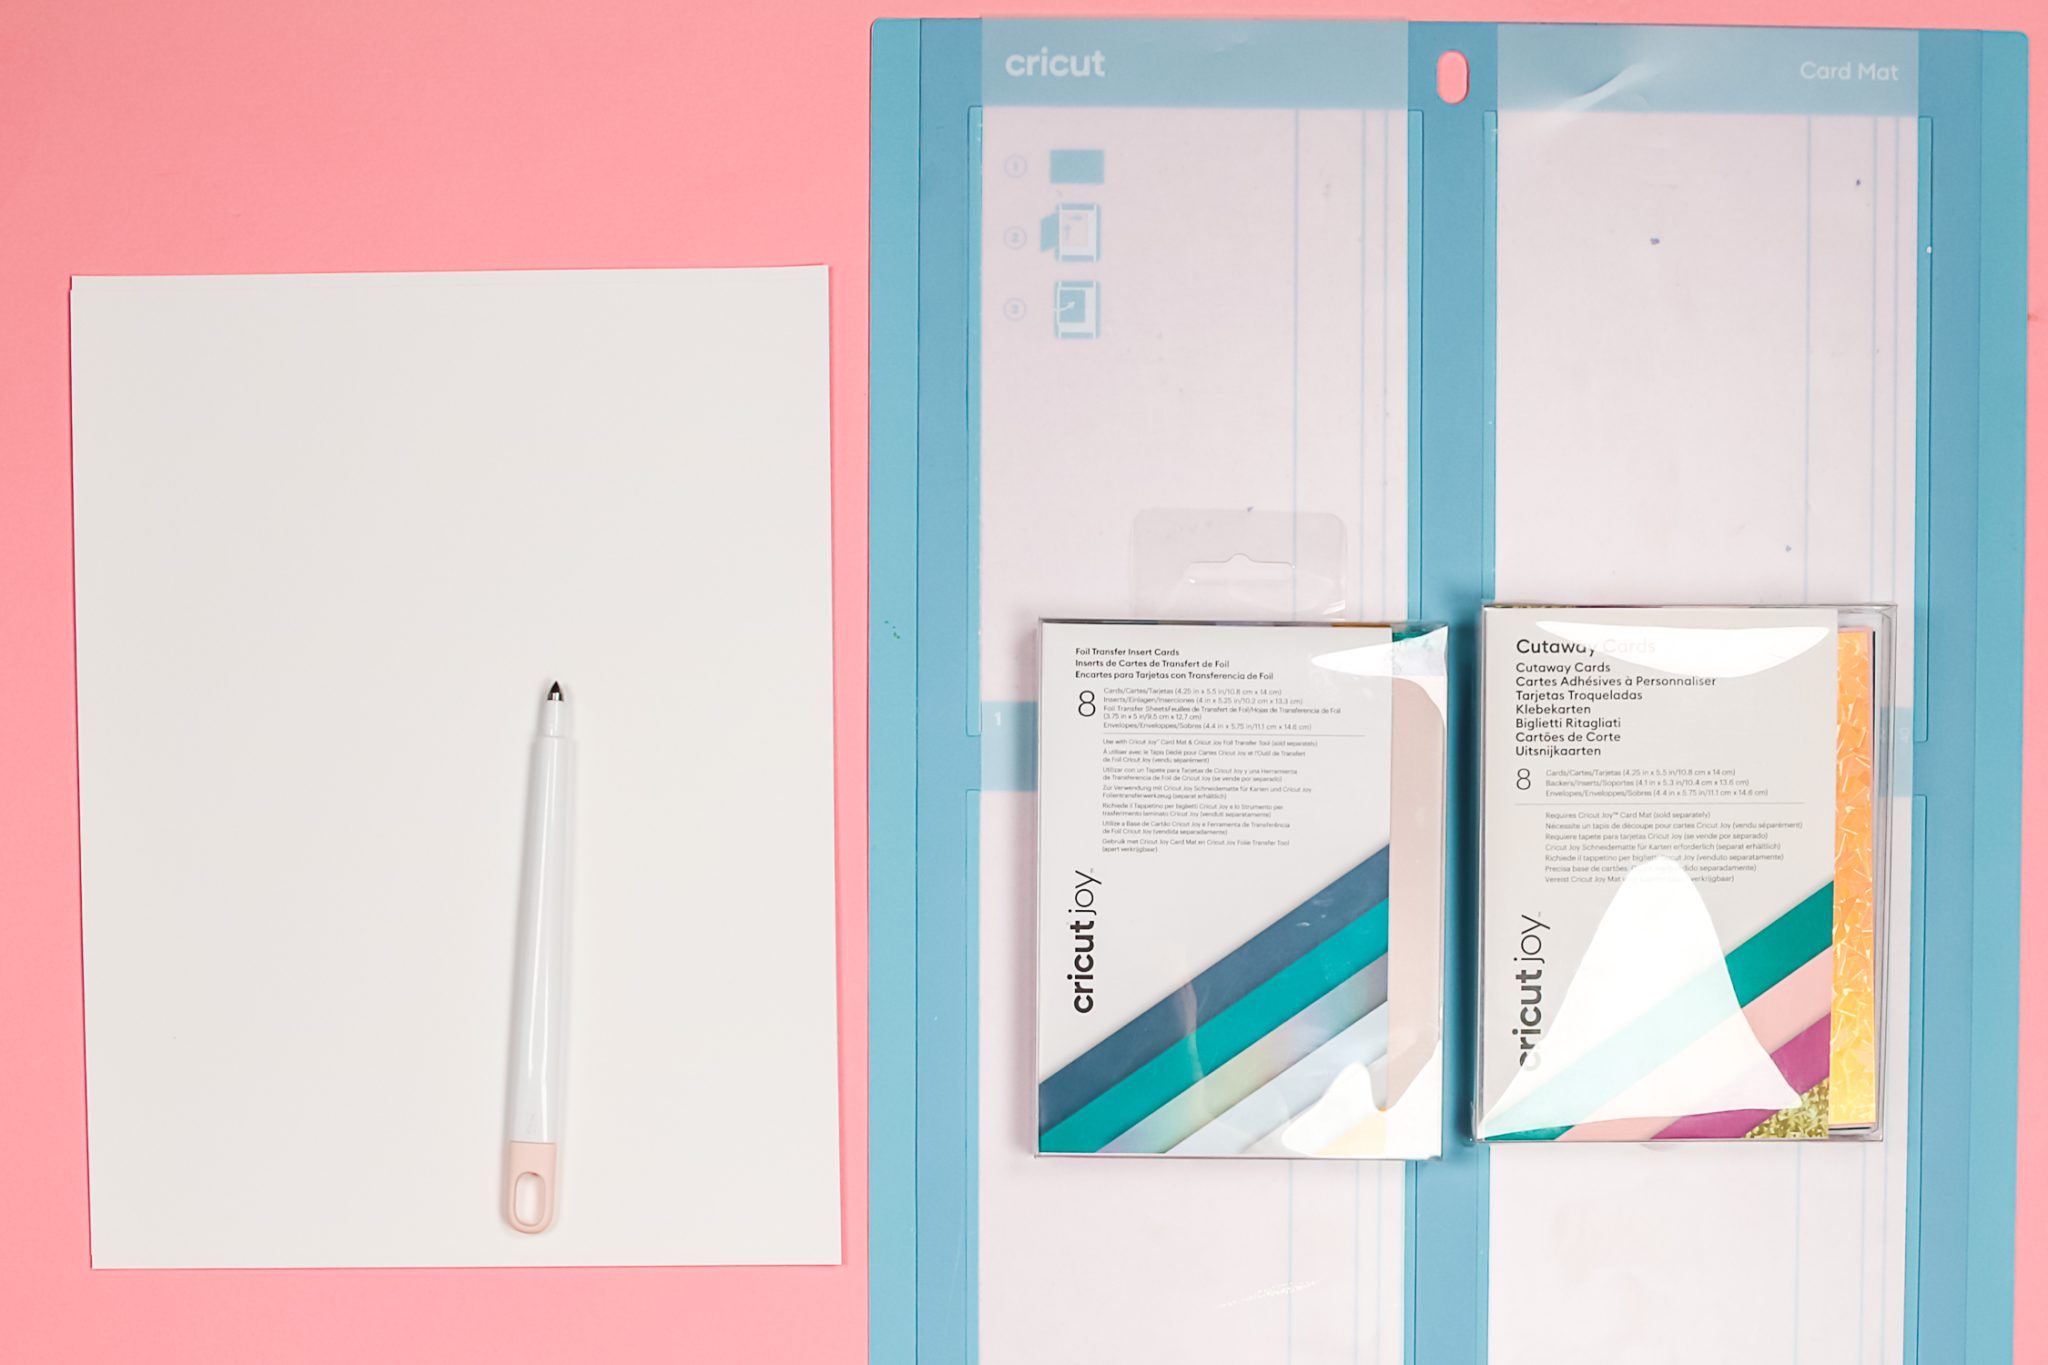
Supplies Used:
Let’s go over the supplies and designs used to create each Cricut Christmas card.
My Designs:
Materials:
Machines Used:
NOTE: I am using my Explore 3 machine and the two-by-two card mat. You can definitely use any Cricut machine to make these cards. Even the Cricut Joy can be used for the Cutaway card and Foil Insert card. If you don’t have the card mat, see my post here about making cards without it!
Using Kittl to Design Cricut Christmas Cards
I am creating these designs from scratch in Kittl (if you want to use my designs click the links above) and then uploading them into Cricut Design Space.
To make a design from scratch, we’re going to click “New Project”. The easiest way to make a card is going to be to find a design. Click “designs” on the side and search “Christmas“. When they pull up, if they have a crown, they are part of the premium subscription. Designs included with the free subscription won’t have a crown.
Select the design you want to use and Kittl will ask if you want to replace your current project. By clicking replace, it is going to add the design in the right size.
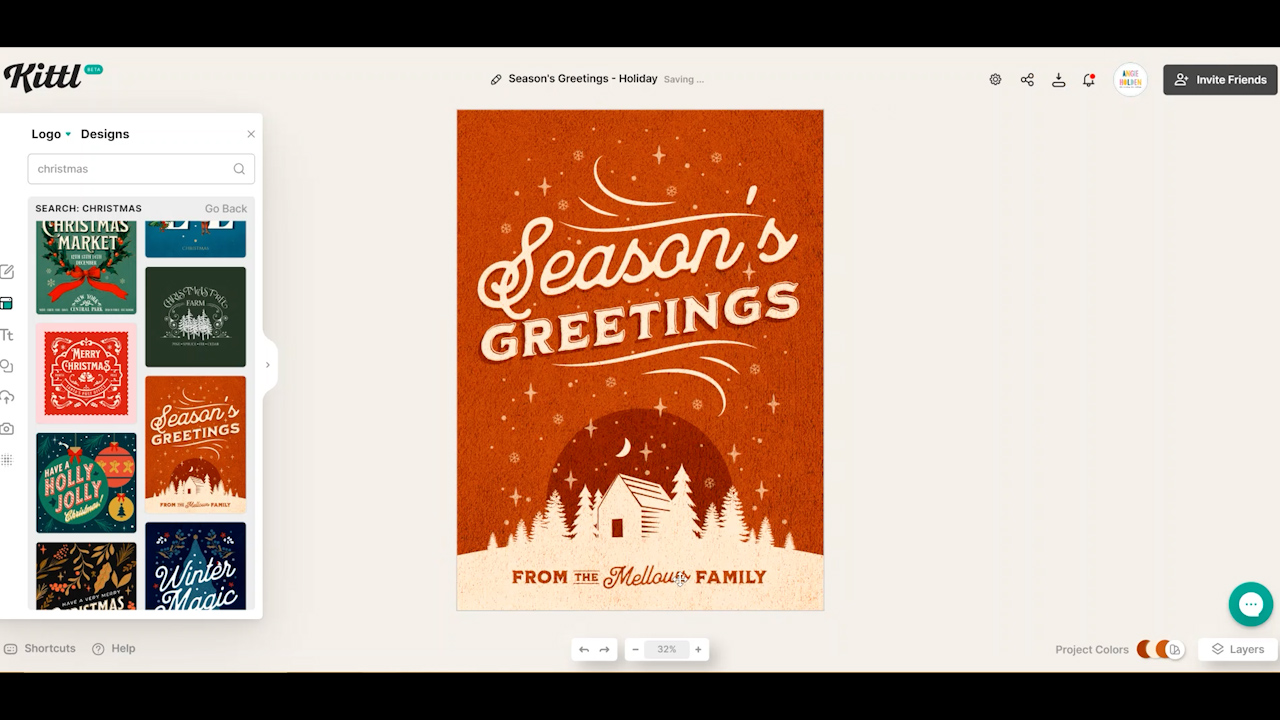
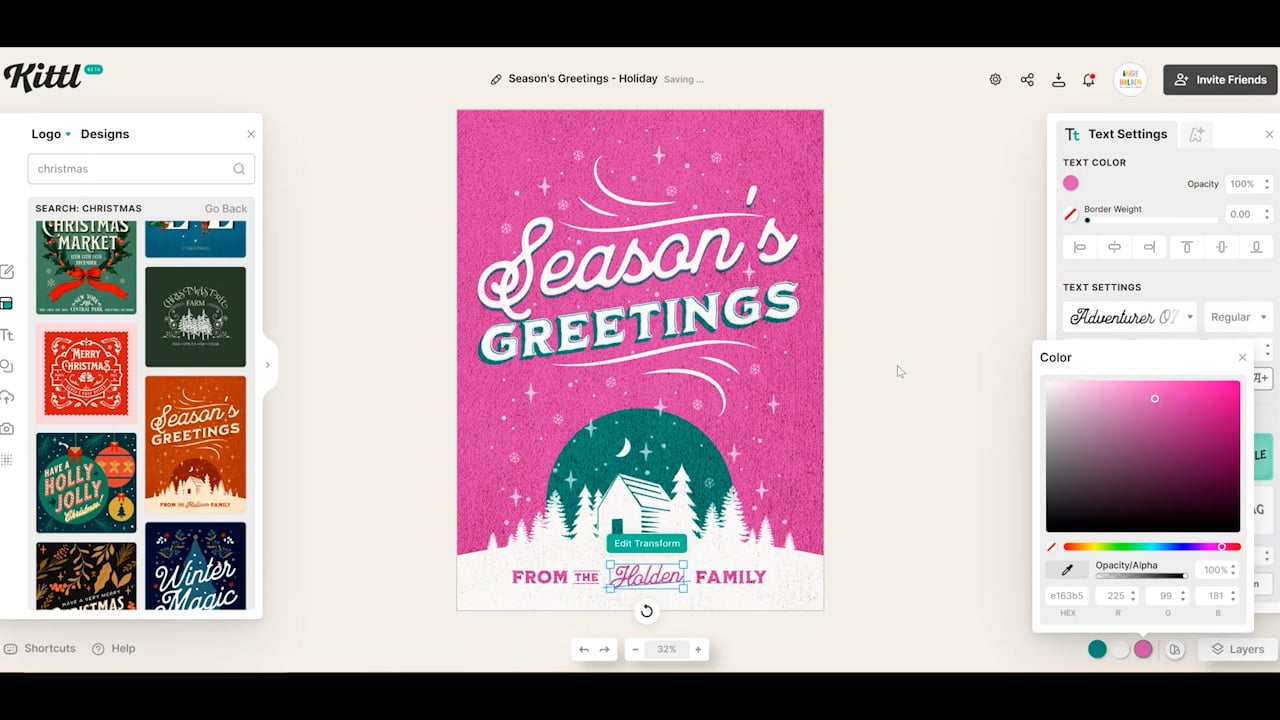
Kittl designs can be customized. I can click any font and change the words or the font. I can change colors, remove elements, or whatever I want. To change colors, click the colors down on the lower right-hand corner and there you can see the different color options.
Creating a Print-then-Cut Design in Kittl
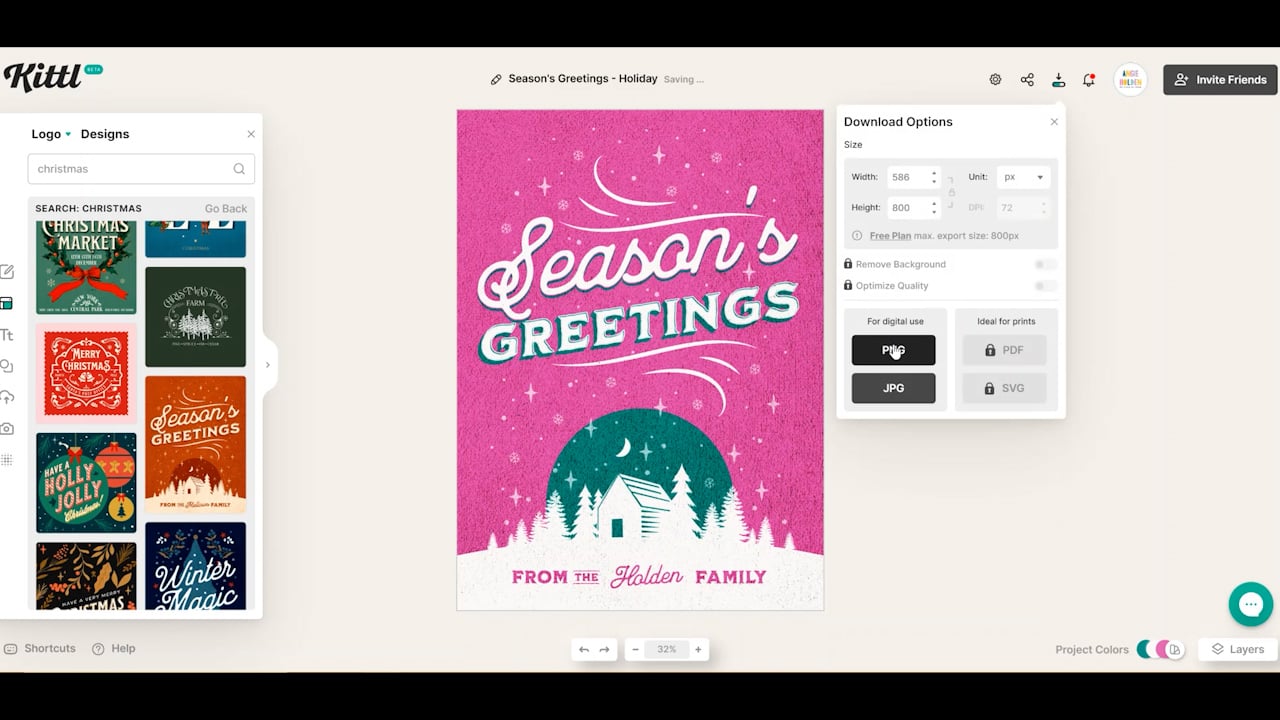
To create a Print-then-Cut design in Kittl you’re going to create a project and then when you download it select that you want to download as a PNG file. This turns your design into an image, not a cut file.
Creating a Cut Design in Kittl
To create a cut design in Kittl the steps are very similar to creating a Print-then-Cut design. Where things will be different are the designs and fonts we select.
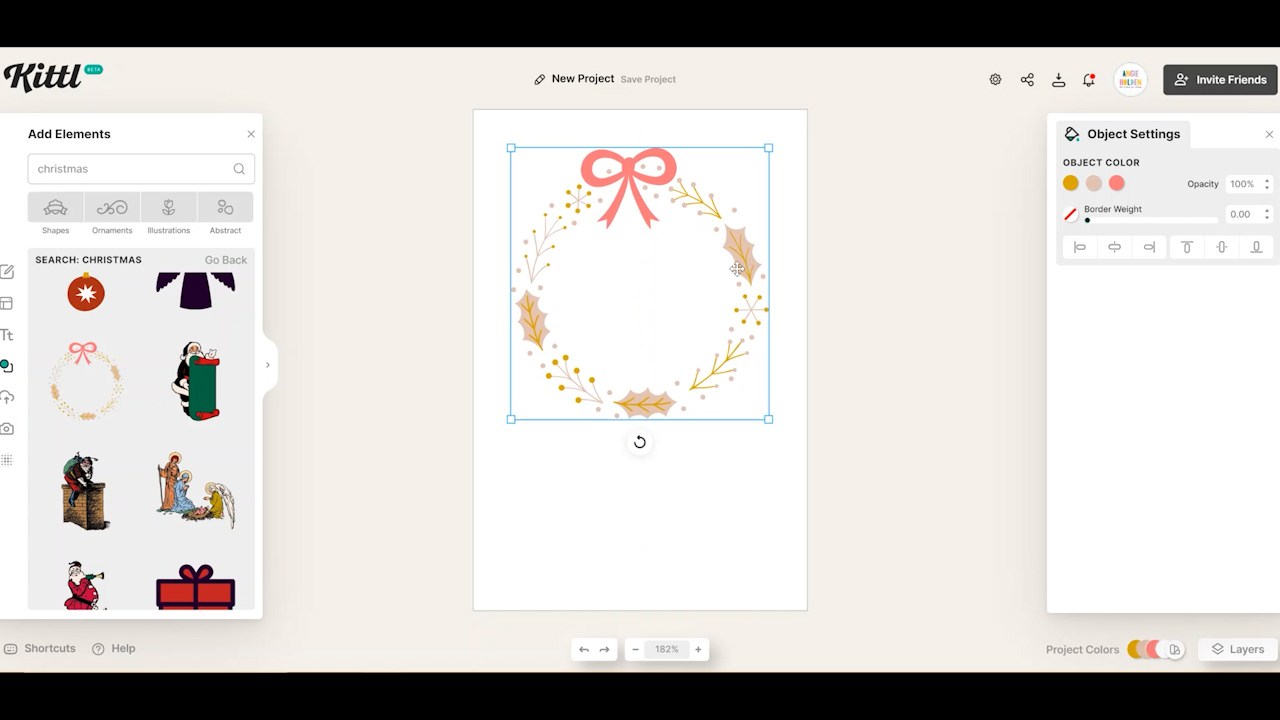
Because we want our design to be a cut design we don’t want lines that are too thin. Also, since I want my cut design to work with an Insert Card I will need to make sure the design is simple and that you’ll be able to tell what the image is even if pieces like the insides of letters or in this instance the inside of the bow on the wreath. This wreath design that I selected should work well for an Insert card.
A great way to check how your design will look is to change all the cut pieces to one color. Select any layer of your design and copy the HEX code from that layer. Then click on each other color and paste that HEX code into the box so all of the cut pieces are the same color. This will give you a really good idea of what the design will look like once it’s cut and has the card insert behind it.
Now that we have our design picked out, we can size it to fit our card. If you need to change the size of your project, click settings and resize there. With the free subscription, you’re limited to some standard sizes, if you want to create a custom size you will need a paid subscription.
Adding Text to Cut Card Designs
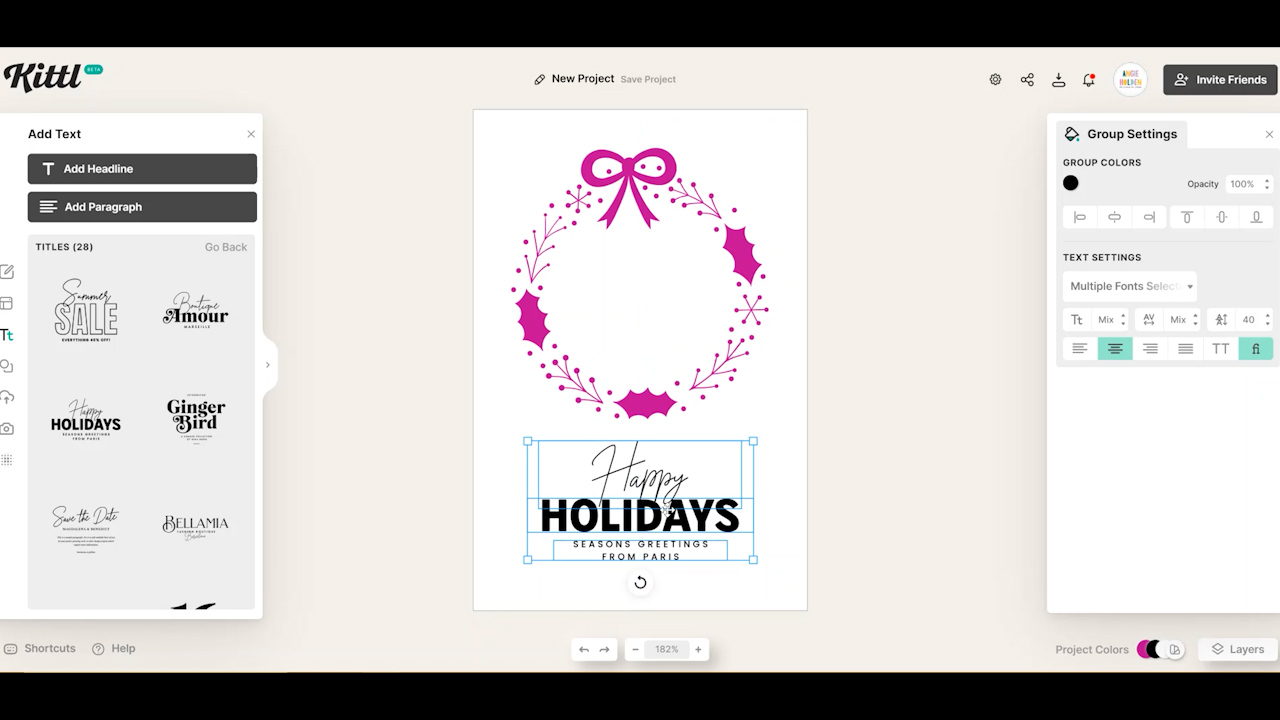
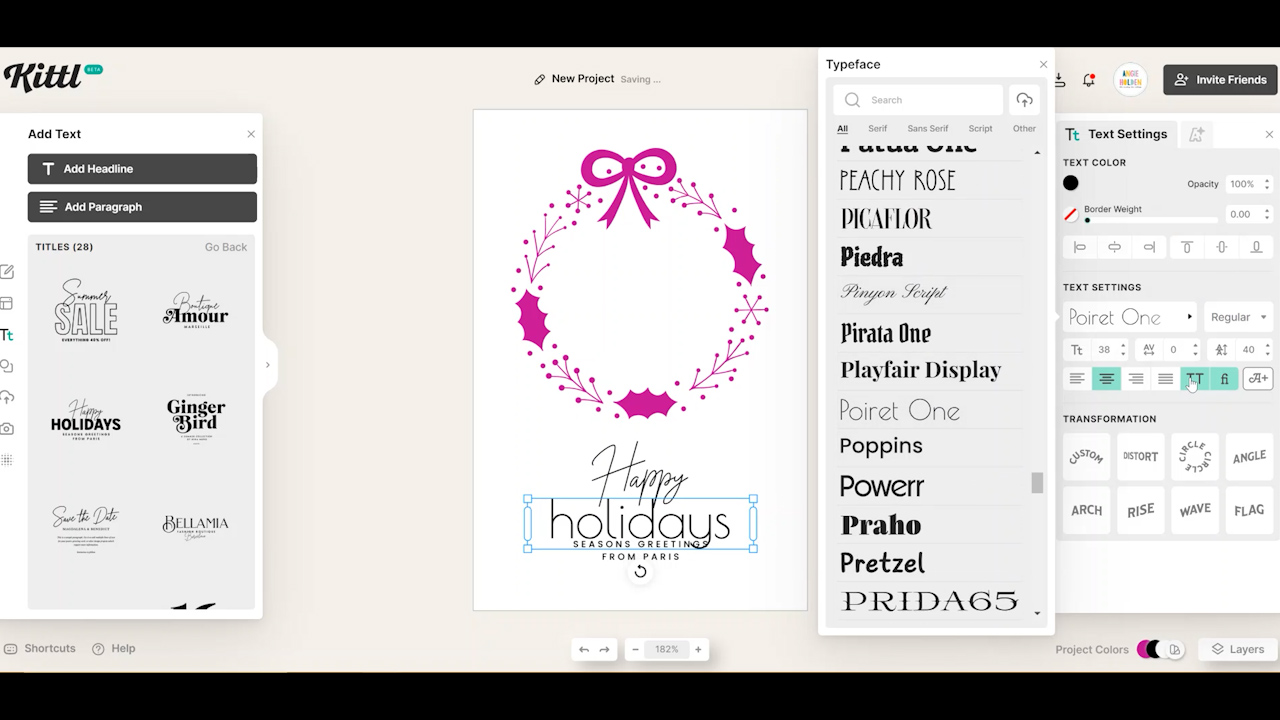
Once you have your design the size you want, add some text. To add your own message in text click on text and add headline. If you want to look for words or phrases that are already typed out, you can look at the options that pop up.
I found this Happy Holidays phrase and I like the way it looks so I’m choosing that one. Remember, everything in Kittl is customizable. So if I happen to like how Happy Holidays looks but want my card to say Merry Christmas I can select that font design and then change the words to what I want it to say.
Because I want to use my Foil Transfer Tool for the words on this card I need to make sure I’m choosing a font that will work with the foil. Thick bulky fonts won’t work well with the foil, you’ll just end up with a wide outline and that isn’t the look I’m going for with this card.
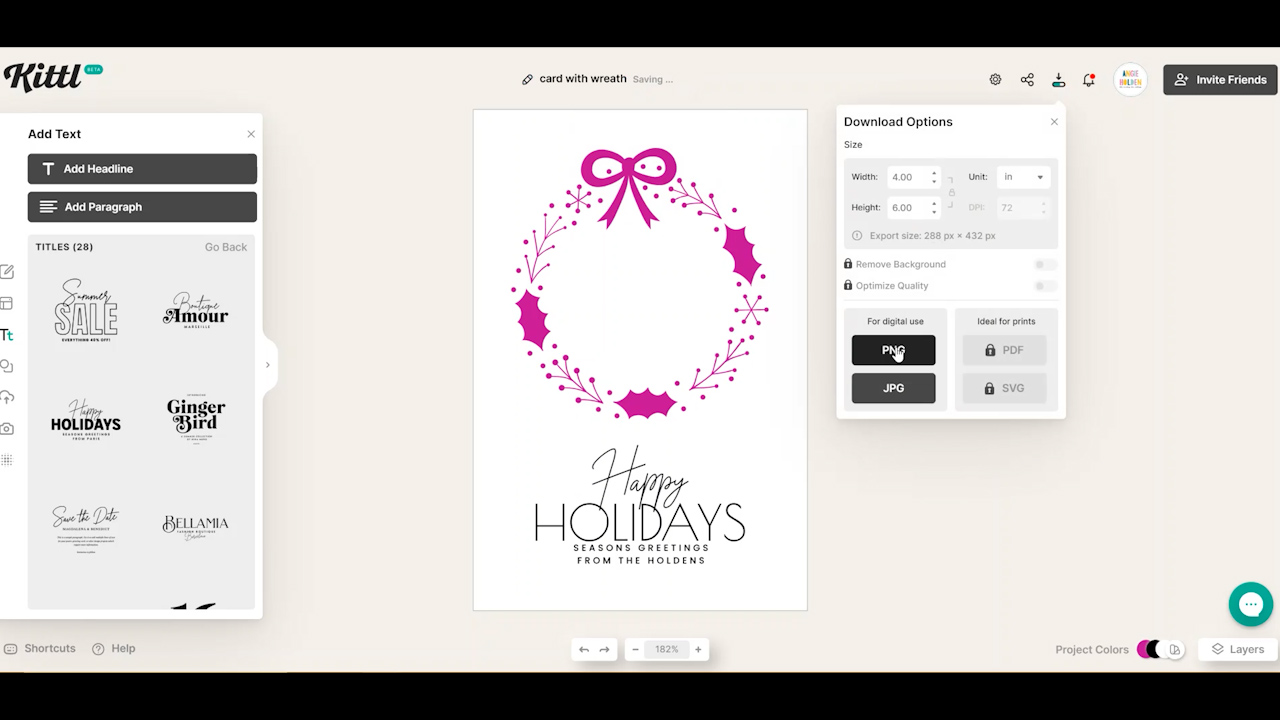
Once the fonts are right and I have the words I want typed out, I can click around and resize and center or align my words so things are set up just like I want. Now, just like we did for the print then cut file we’re going to rename our file and then download it as a PNG.
Creating a Cutaway Card Design in Kittl
Okay, for my final card I want to create a design that will work with Cricut Cutaway cards.
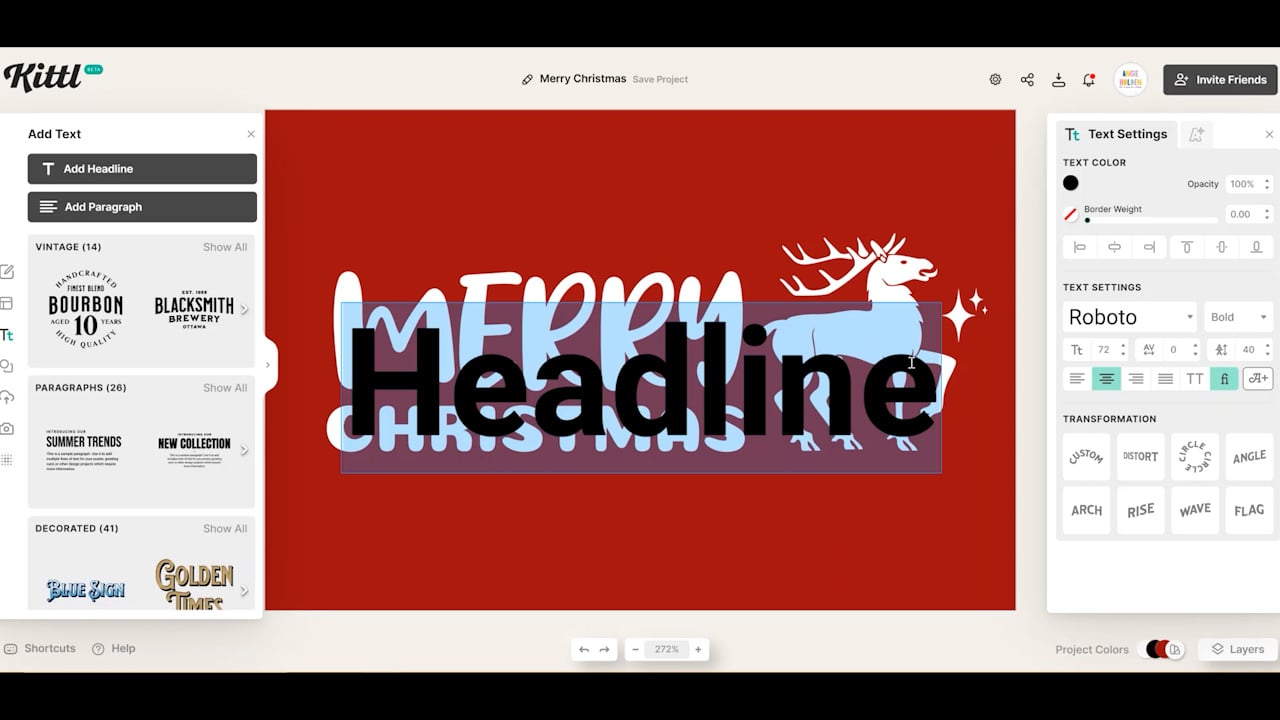
Follow the same steps we used above for starting a new project. I’m searching for designs and really like this one. The chunky font and image are perfect for the Cutaway cards. This particular design is meant to be printed so the background has a texture. Since I want to cut this design, I can just click on that texture layer and delete it.
I’m going to use pens for this project so I am going to click on text and then add headline. I can choose any font I want, a thinner font will work best with pens, and then I want to add my name so I’m going to do that.
Please note, these fonts will still be an outline in Design Space because this will all upload as a cut file. If you want a true single-line writing look, you can add the text to your card after you upload the design in Design Space. Now we can download our finished design just like we did before as a PNG file.
Uploading PNG Files into Design Space
Now that we have all our designs downloaded as PNG files let’s look at how to upload them into Design Space. Head to Design Space and from the canvas select Upload and then upload your image.
You can see more information about uploading designs here!
Uploading Print-then-Cut Designs into Design Space
For the Print-then-Cut, we don’t have to remove any backgrounds because we’re just going to print it. Click Print-then-Cut and click upload.
Turning a Print-then-Cut Design into a Card
Now we can click the image and add to canvas. Because I want this to be a card I am going to add a square to my canvas and resize it to the size card I want. Since my uploaded image is the size I want, I need to size my card to fit it. I want the height to be the same size as my image and the width to be exactly double so that when I fold it the design is on the entire front of my card.
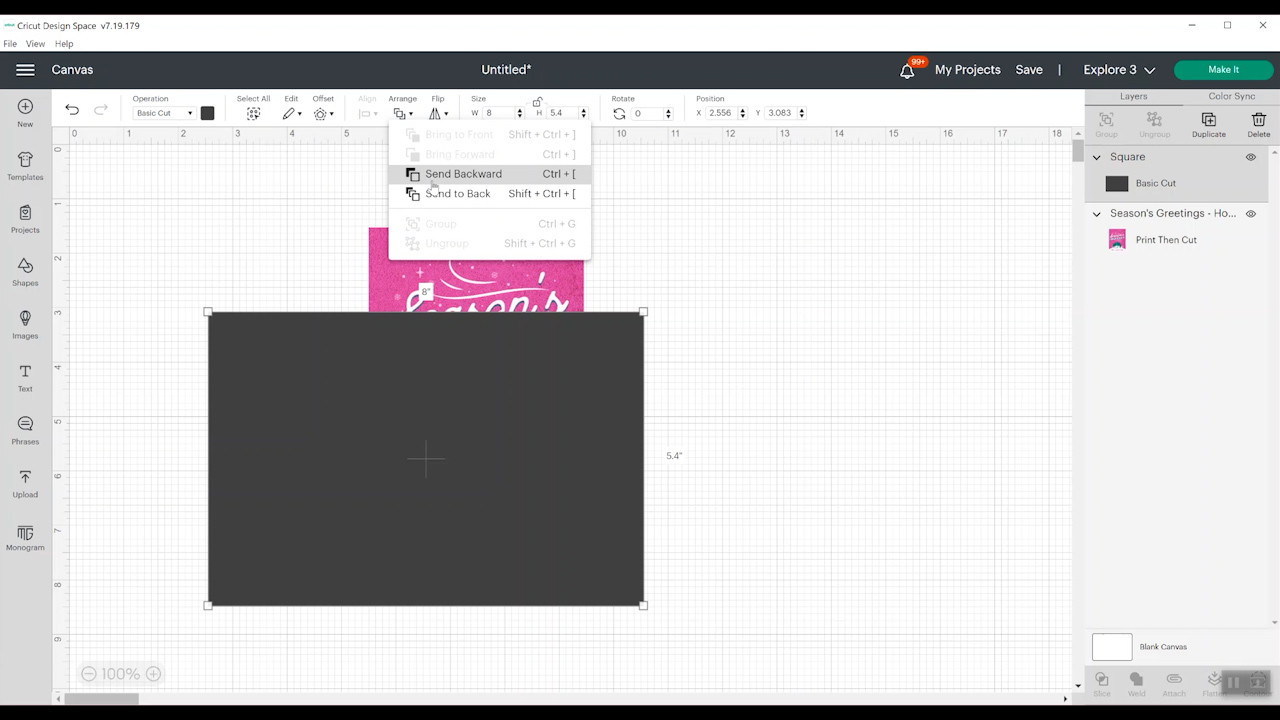
Once the card base is sized correctly move it to the back and then click both layers. Select align and then center vertically and then click align and align right. Select both layers and click flatten. This will make your project one piece that will print then cut around the outside.
Adding a Score Line to Cards in Design Space
Now is the time to add a score line if you want to. Click shapes on the left side panel and then click score line. We want to make the score line the exact height our card is and then we can select the score line and our design and click align and center and it will put it exactly where we need it.
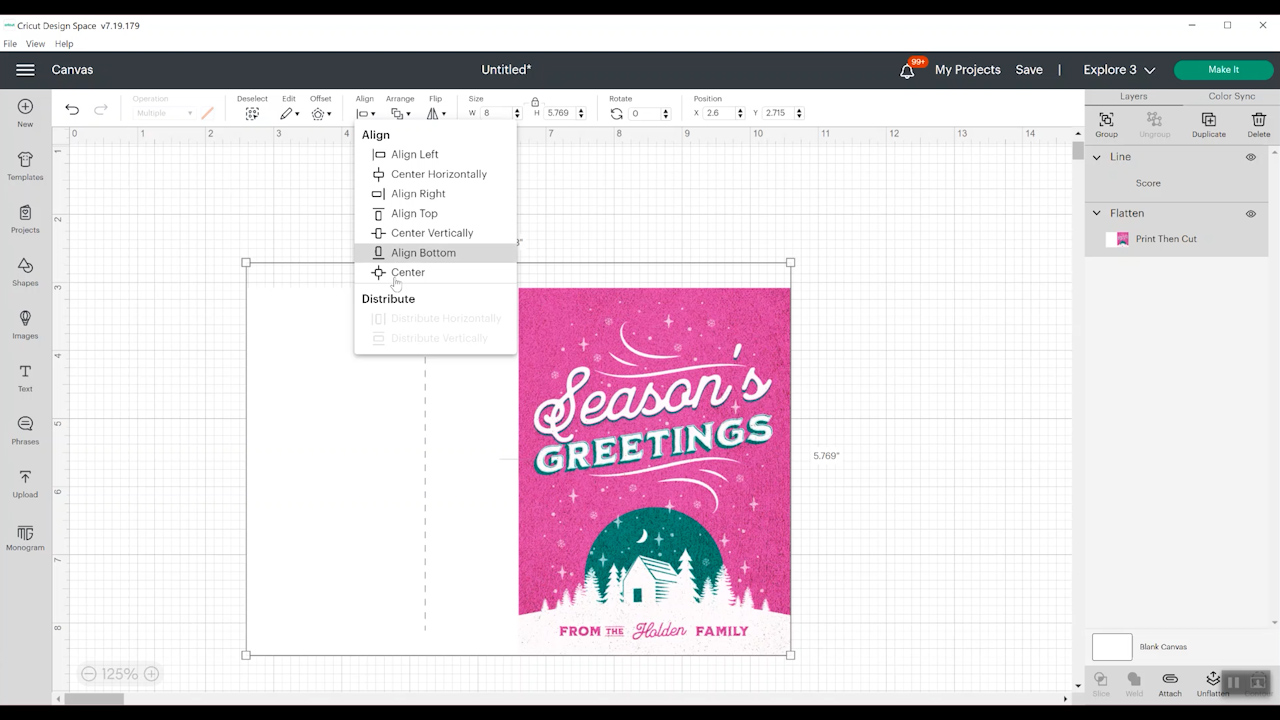
Finally, we will select the card layer and the score line layer when it’s placed correctly and click attach.
Printing the Print then Cut Card
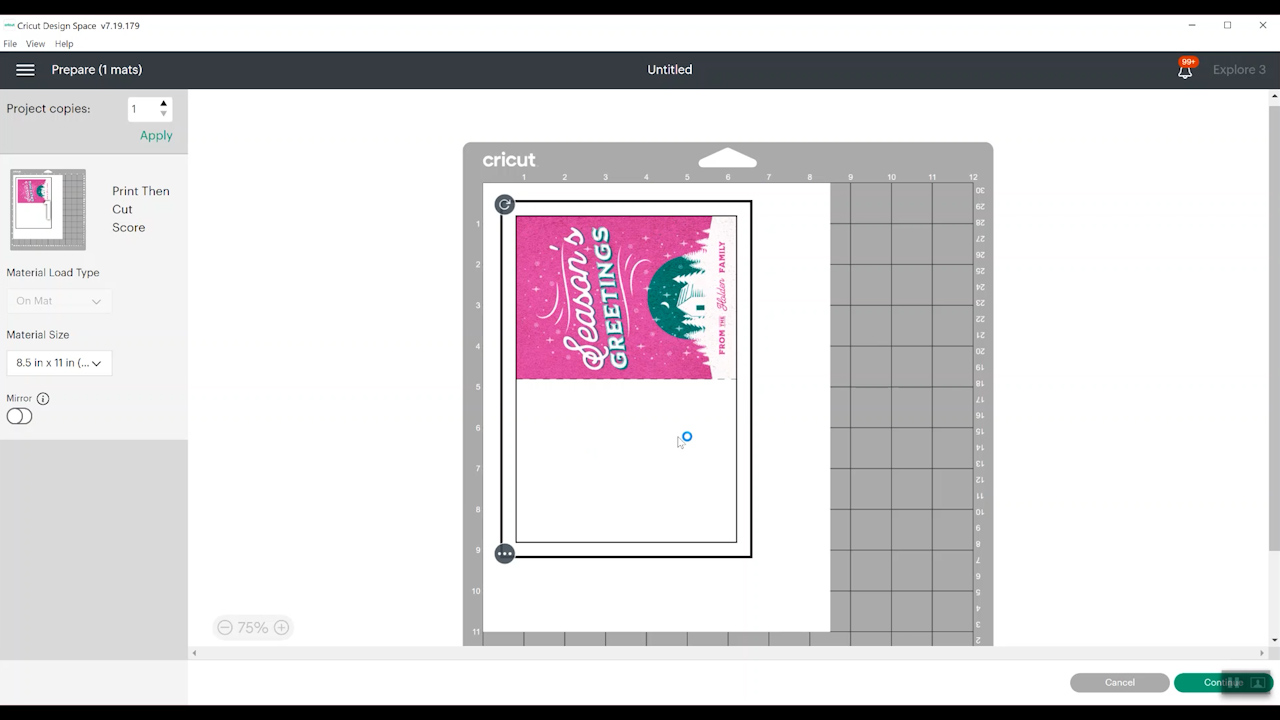
The next step is to click continue and follow the steps in Design Space to print the design on your printer. This is the one drawback to doing all of this through the Cricut machine, you can only print one card at a time. I am okay with that because it’s actually using quite a bit of the cardstock but if you wanted to save paper you could choose to print out just the design and then glue it to the front of a card.
Another perk of using Design Space to print-then-cut is that you get that nice score line.
Finishing Print then Cut Cricut Christmas Cards
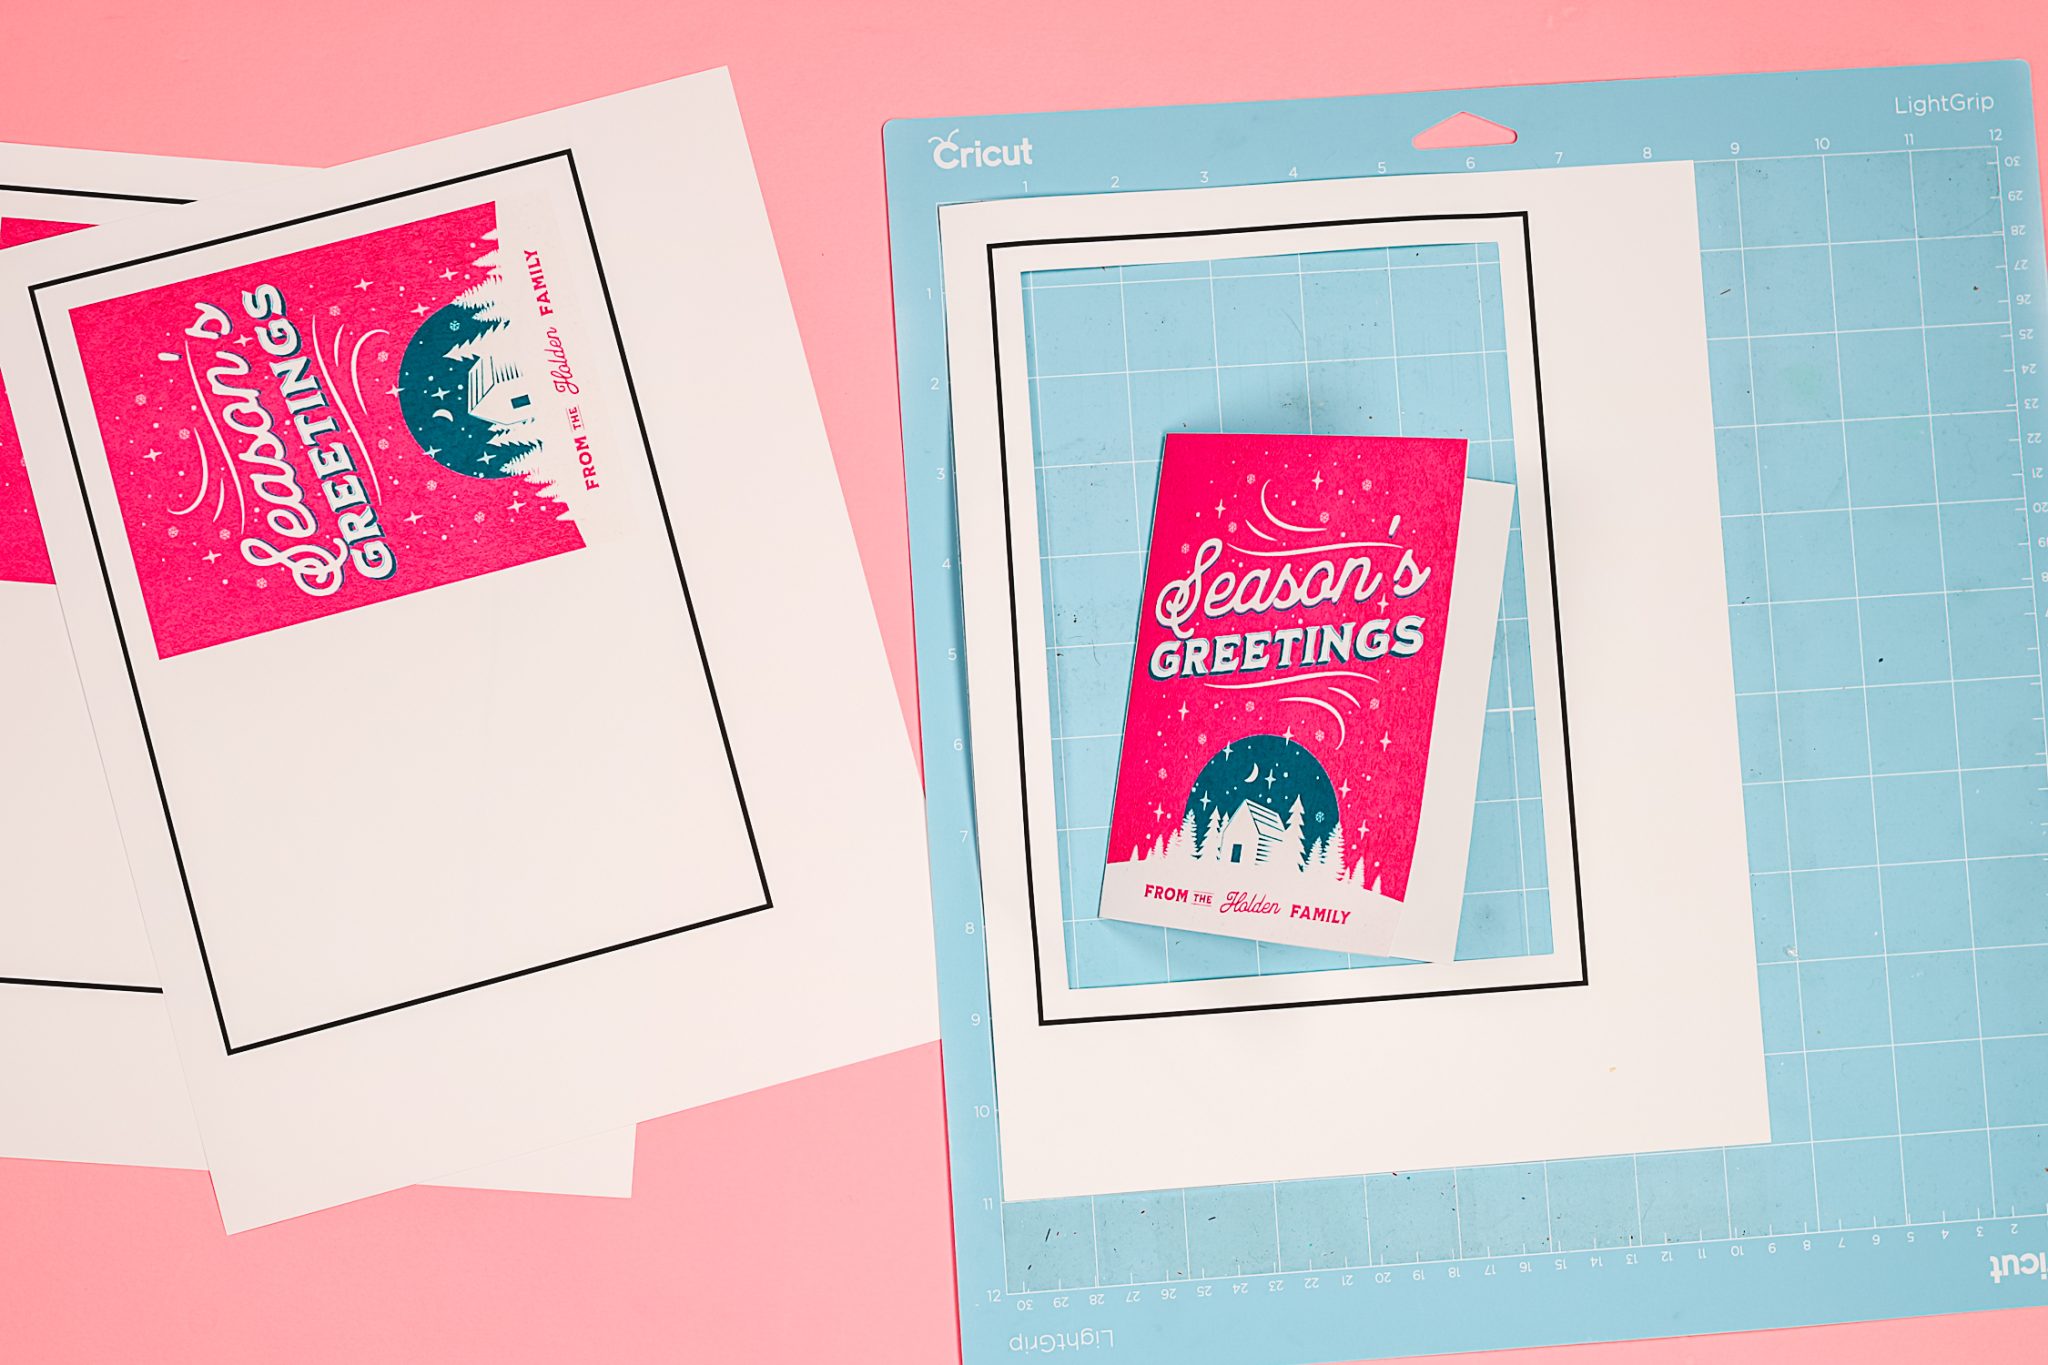
Once your card is printed add it to a LightGrip Mat. Make sure you’re placing it on the mat in the same orientation as it shows in Design Space. Your Cricut machine will read the black box around the image, cut the card and then add the score line to the center.
I am using regular white cardstock and I used the medium cardstock setting. The setting you will use will depend on the paper you’re using. Make sure you do a test cut if you’re not sure.
When the Cricut is finished, slowly peel the mat off your cardstock and fold it along the score line. Now you have a finished card! You can write any message on the inside and you have a custom holiday card ready to put in the mail.
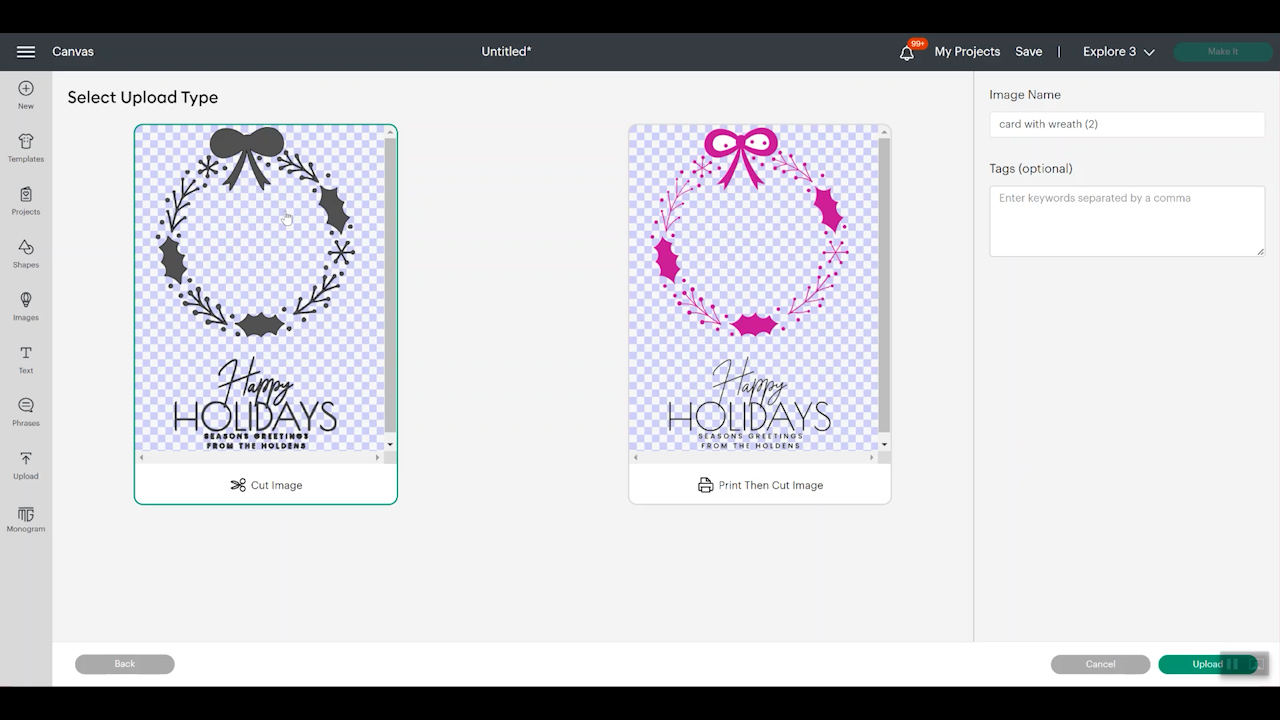
Adding Card Designs to Cricut Design Space
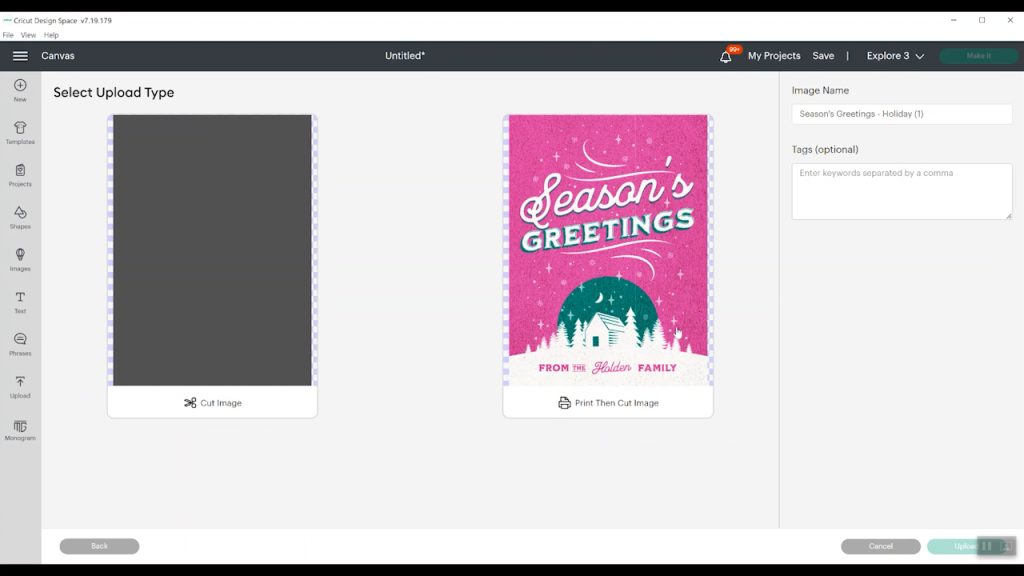
Now let’s make the Insert Card. Upload the image into Design Space and select Complex. For this card, we do want to erase the background. If you have a premium subscription to Kittl, you can erase the background on their website. That isn’t a necessity here because we can do that in Design Space.
How to Clean Up Uploaded Images in Design Space
Because I am doing an insert card I am not going to remove the inside of the bow because we wouldn’t be able to use those pieces anyway. With the text, however, I need to zoom in and really clean them up as best as I can because I want the Cricut to write it.
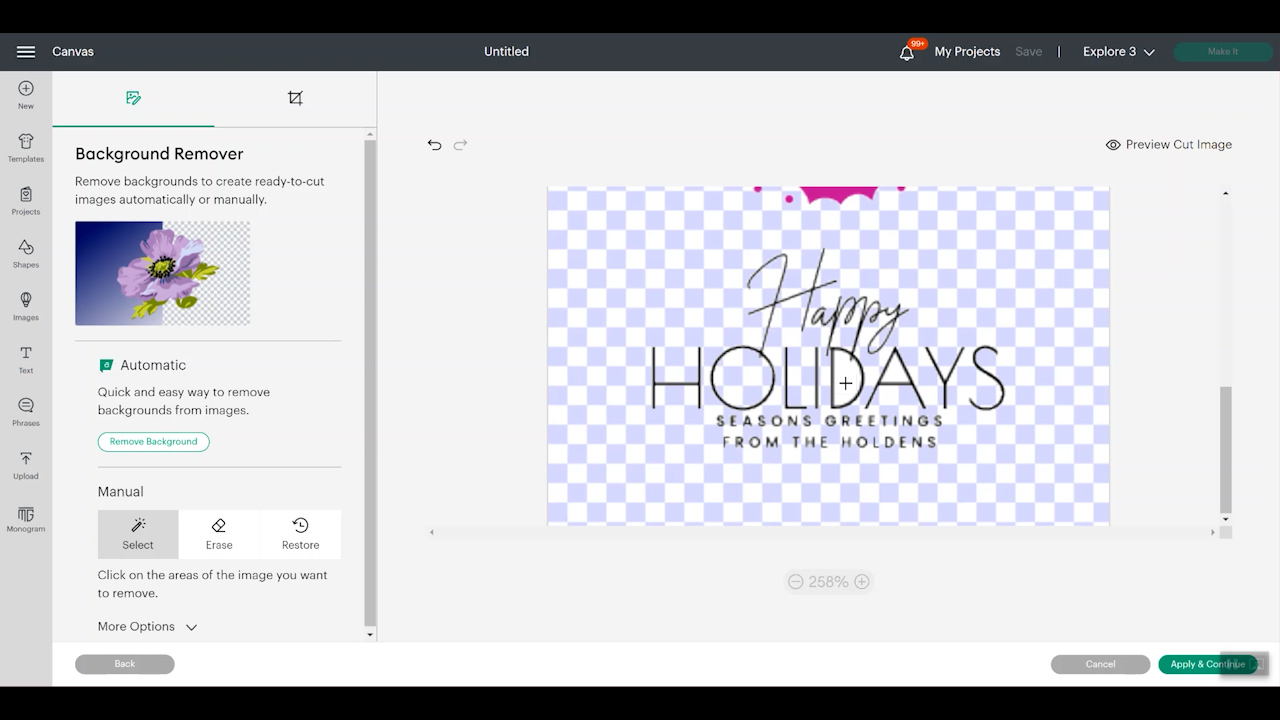
Remove all the insides of the letters and check the preview to make sure it looks good and then click Apply and Continue. Upload as a cut image and then select the image and add it to your canvas.
Creating a Cut and Draw Design in Design Space
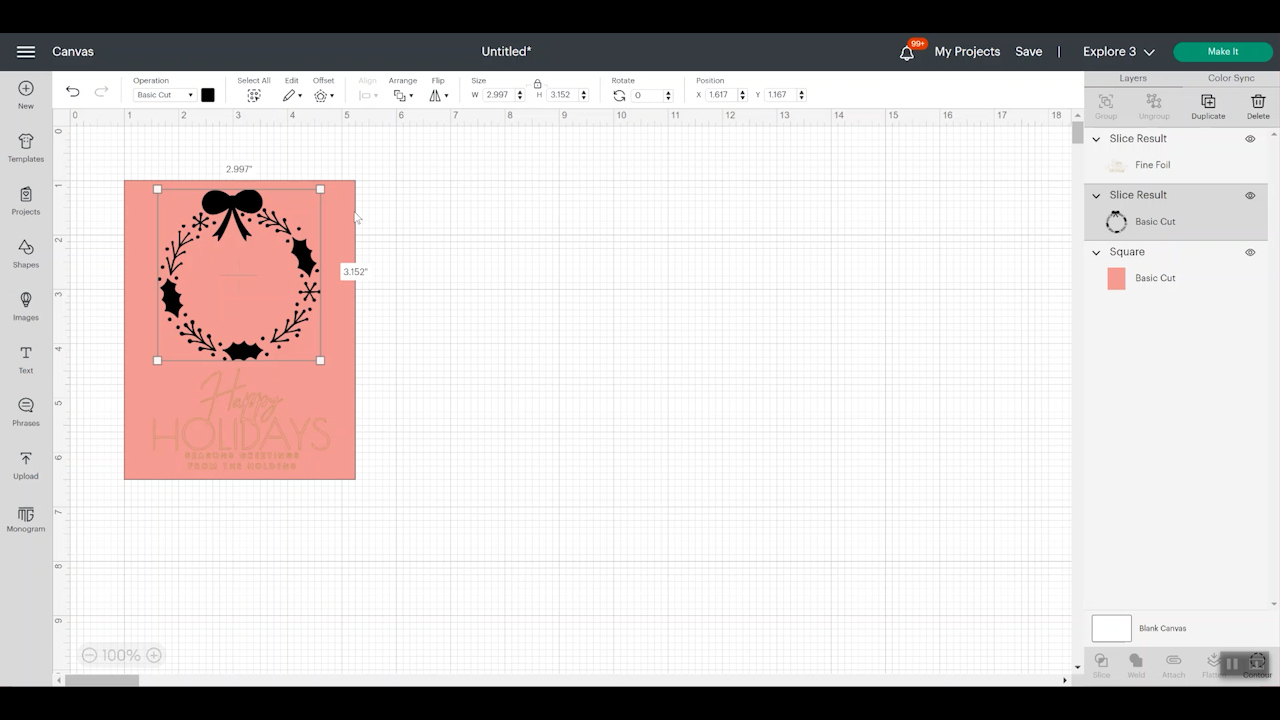
Now that we have the image on the canvas we need to divide it into two pieces. I want the top portion to be cut and the bottom portion to be written with the Foil Transfer Tool. Add a square to the canvas and resize it to fit over the written half of the design. Select both layers and click slice.
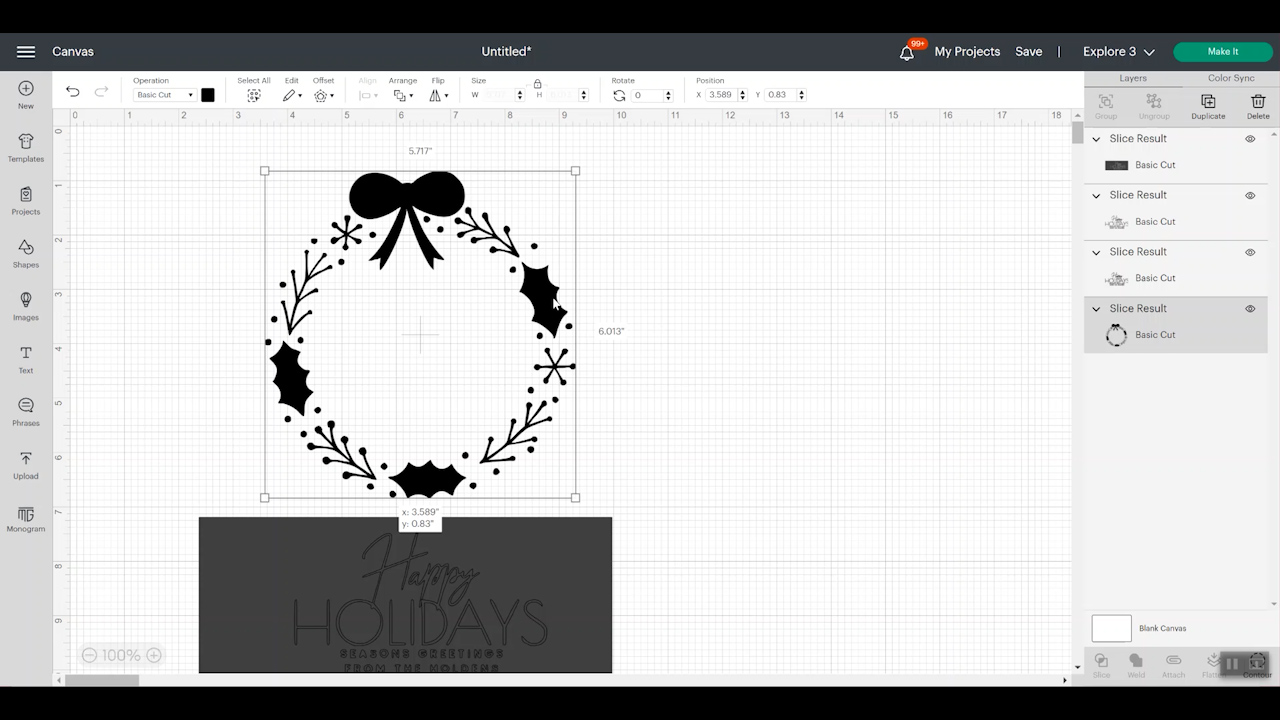
Keep the wreath layer and then for the writing layer delete all the layers except one layer of writing. Select that writing layer and then in the top toolbar under operation select draw and then foil – fine tip.
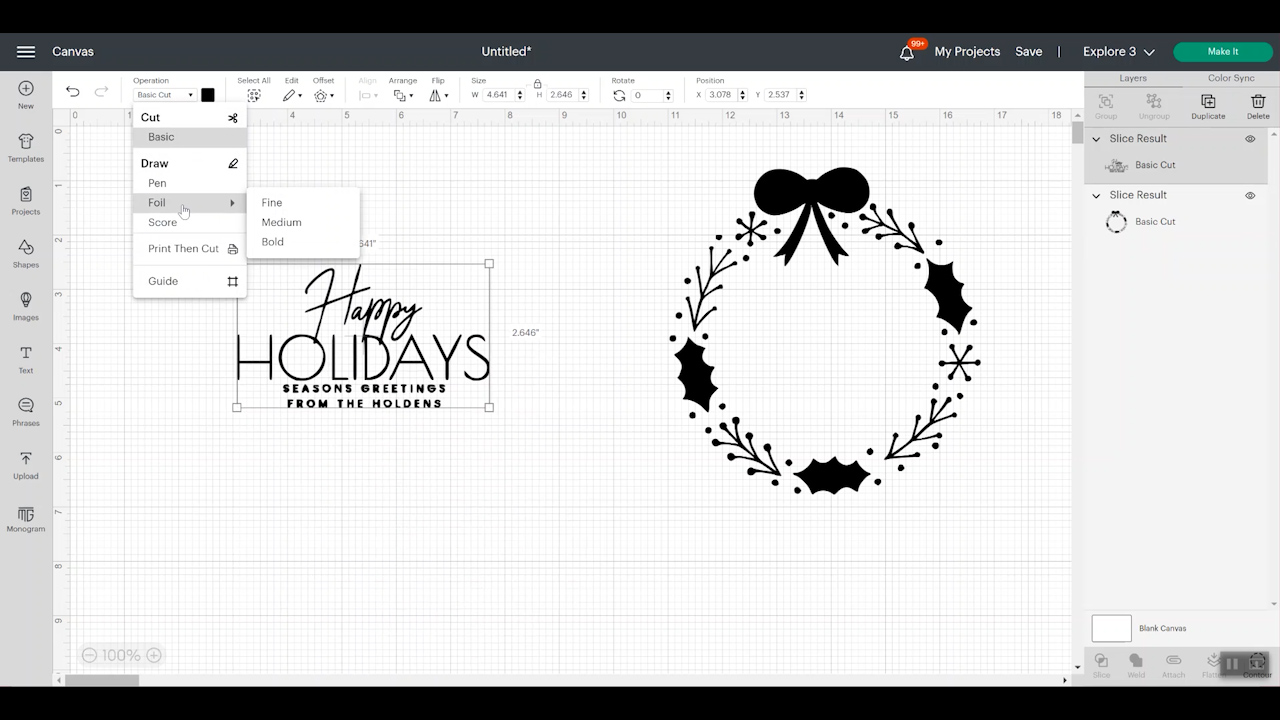
At this point, you should be able to read all the words easily. Now we can put them together to make an actual card. I am using an insert card for this project but I want to make sure everything is sized correctly so I am going to add a square to the canvas and resize it to the size of insert card I’m using. Move that shape to the back and now I can lay out my pieces onto the card however I would like.
Generally insert cards have cuts in the corners. If you want to add them you can, I am just going to glue the insert to the inside of the card. When everything is set up just how you want, delete the rectangle and then select the two layers and attach them.
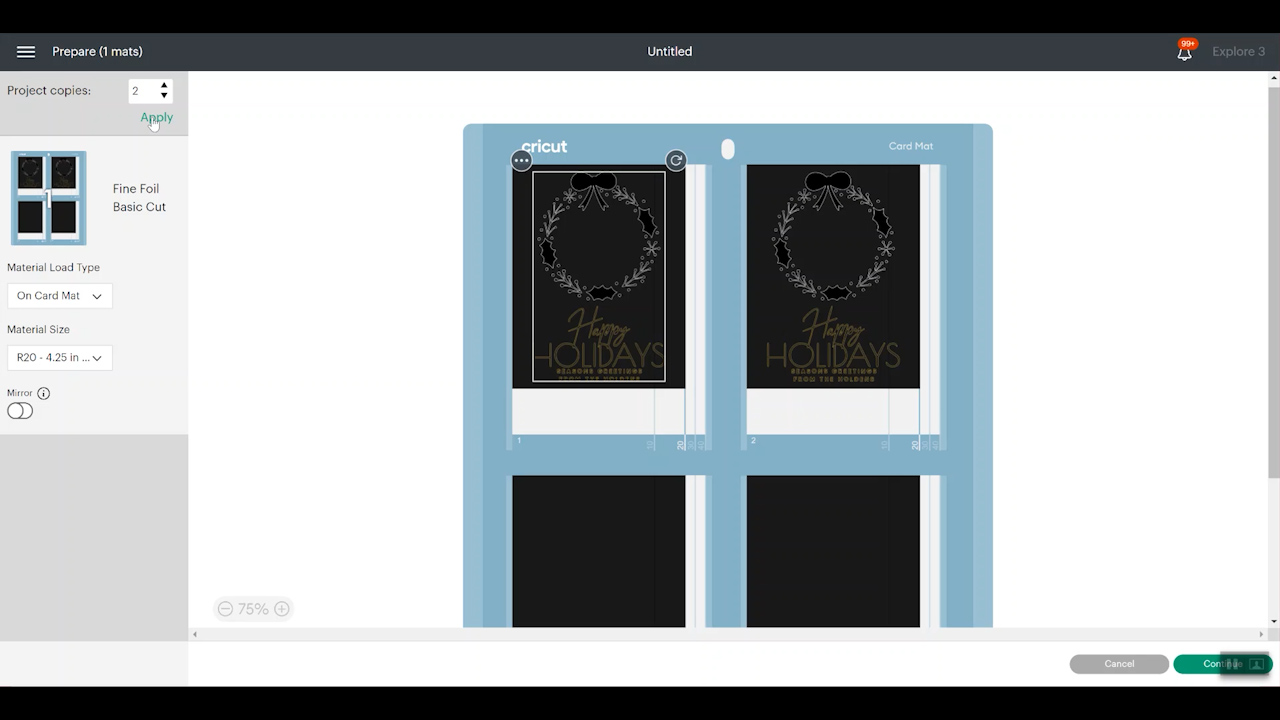
Click Make it, select On Card Mat, click Confirm. Make sure the card size is the same size you’re using. I’m using the two-by-two mat so I can insert the card into the mat and cut out one or more if I want to.
How to Make a Cutaway Card with Kittl
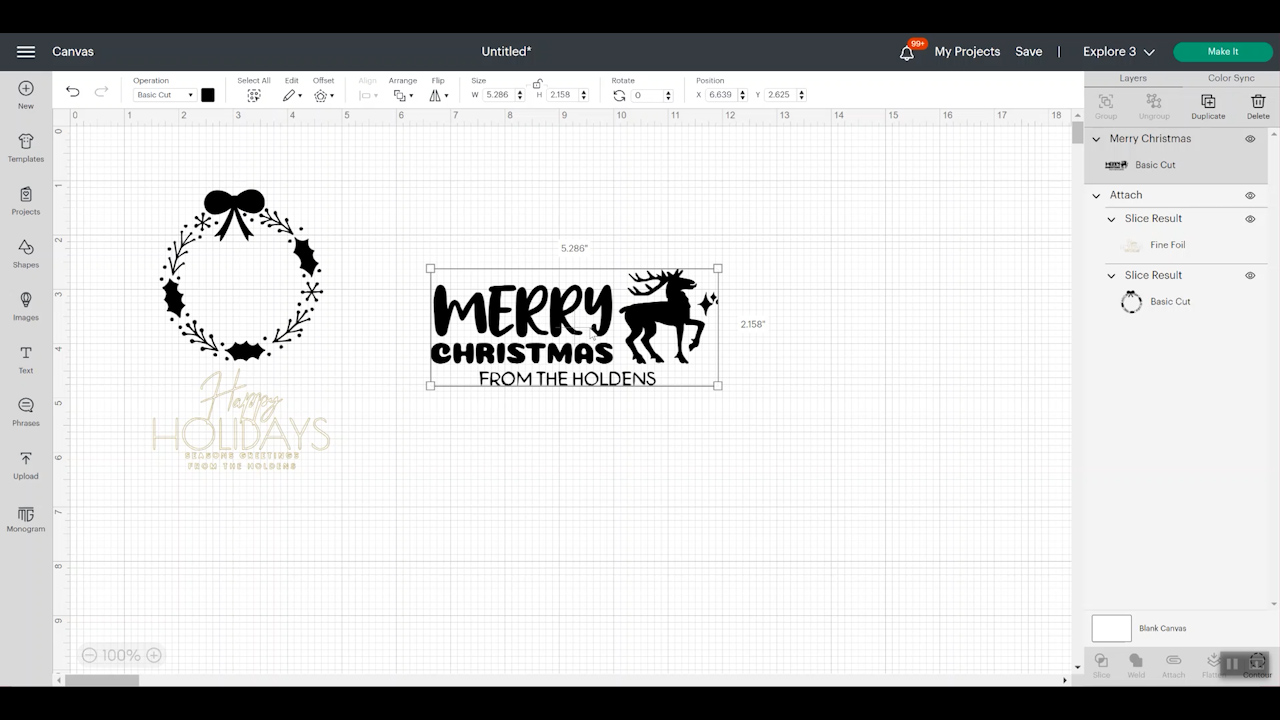
To make the Cutaway Card we’re going to upload the design just like we did the Insert Card design. Erase the background and the insides of all the letters and upload it as a cut image again.
We’re going to follow all the same steps for creating a cut layer and a draw layer. This time we’re going to make it a pen or draw layer instead of a foil layer.
Cutting Cutaway and Insert Cards in Design Space
Now that we have both our designs set up on the same canvas we can click make it, select on a card mat and click confirm. You should see both designs now on the card mat.
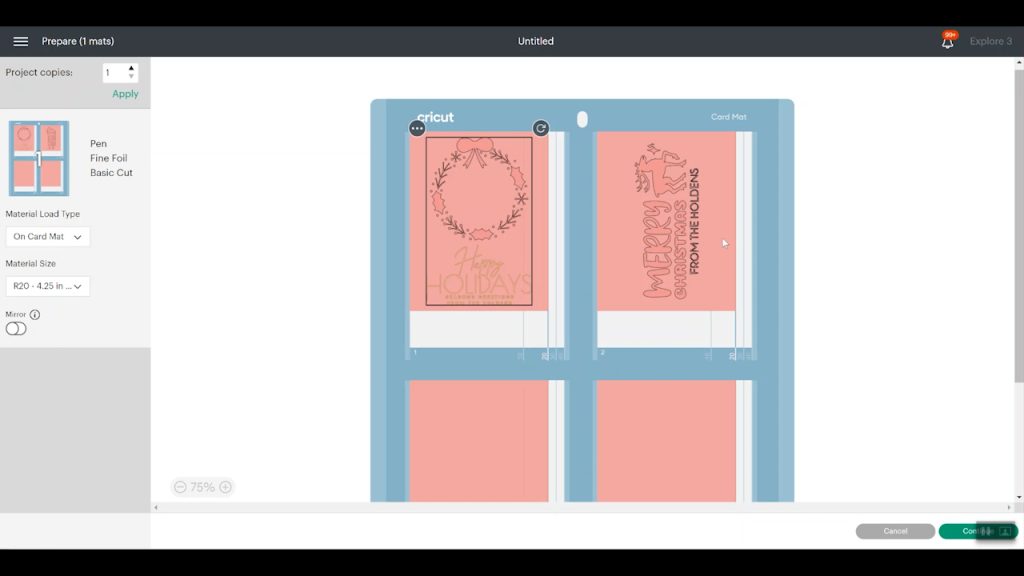
The Cutaway Card should have the insert piece adhered to it before loading it into the mat. If you haven’t used Cutaway Cards before learn all about them here.
Load the cards into the card mat. Make sure you put the right card into the right spot.

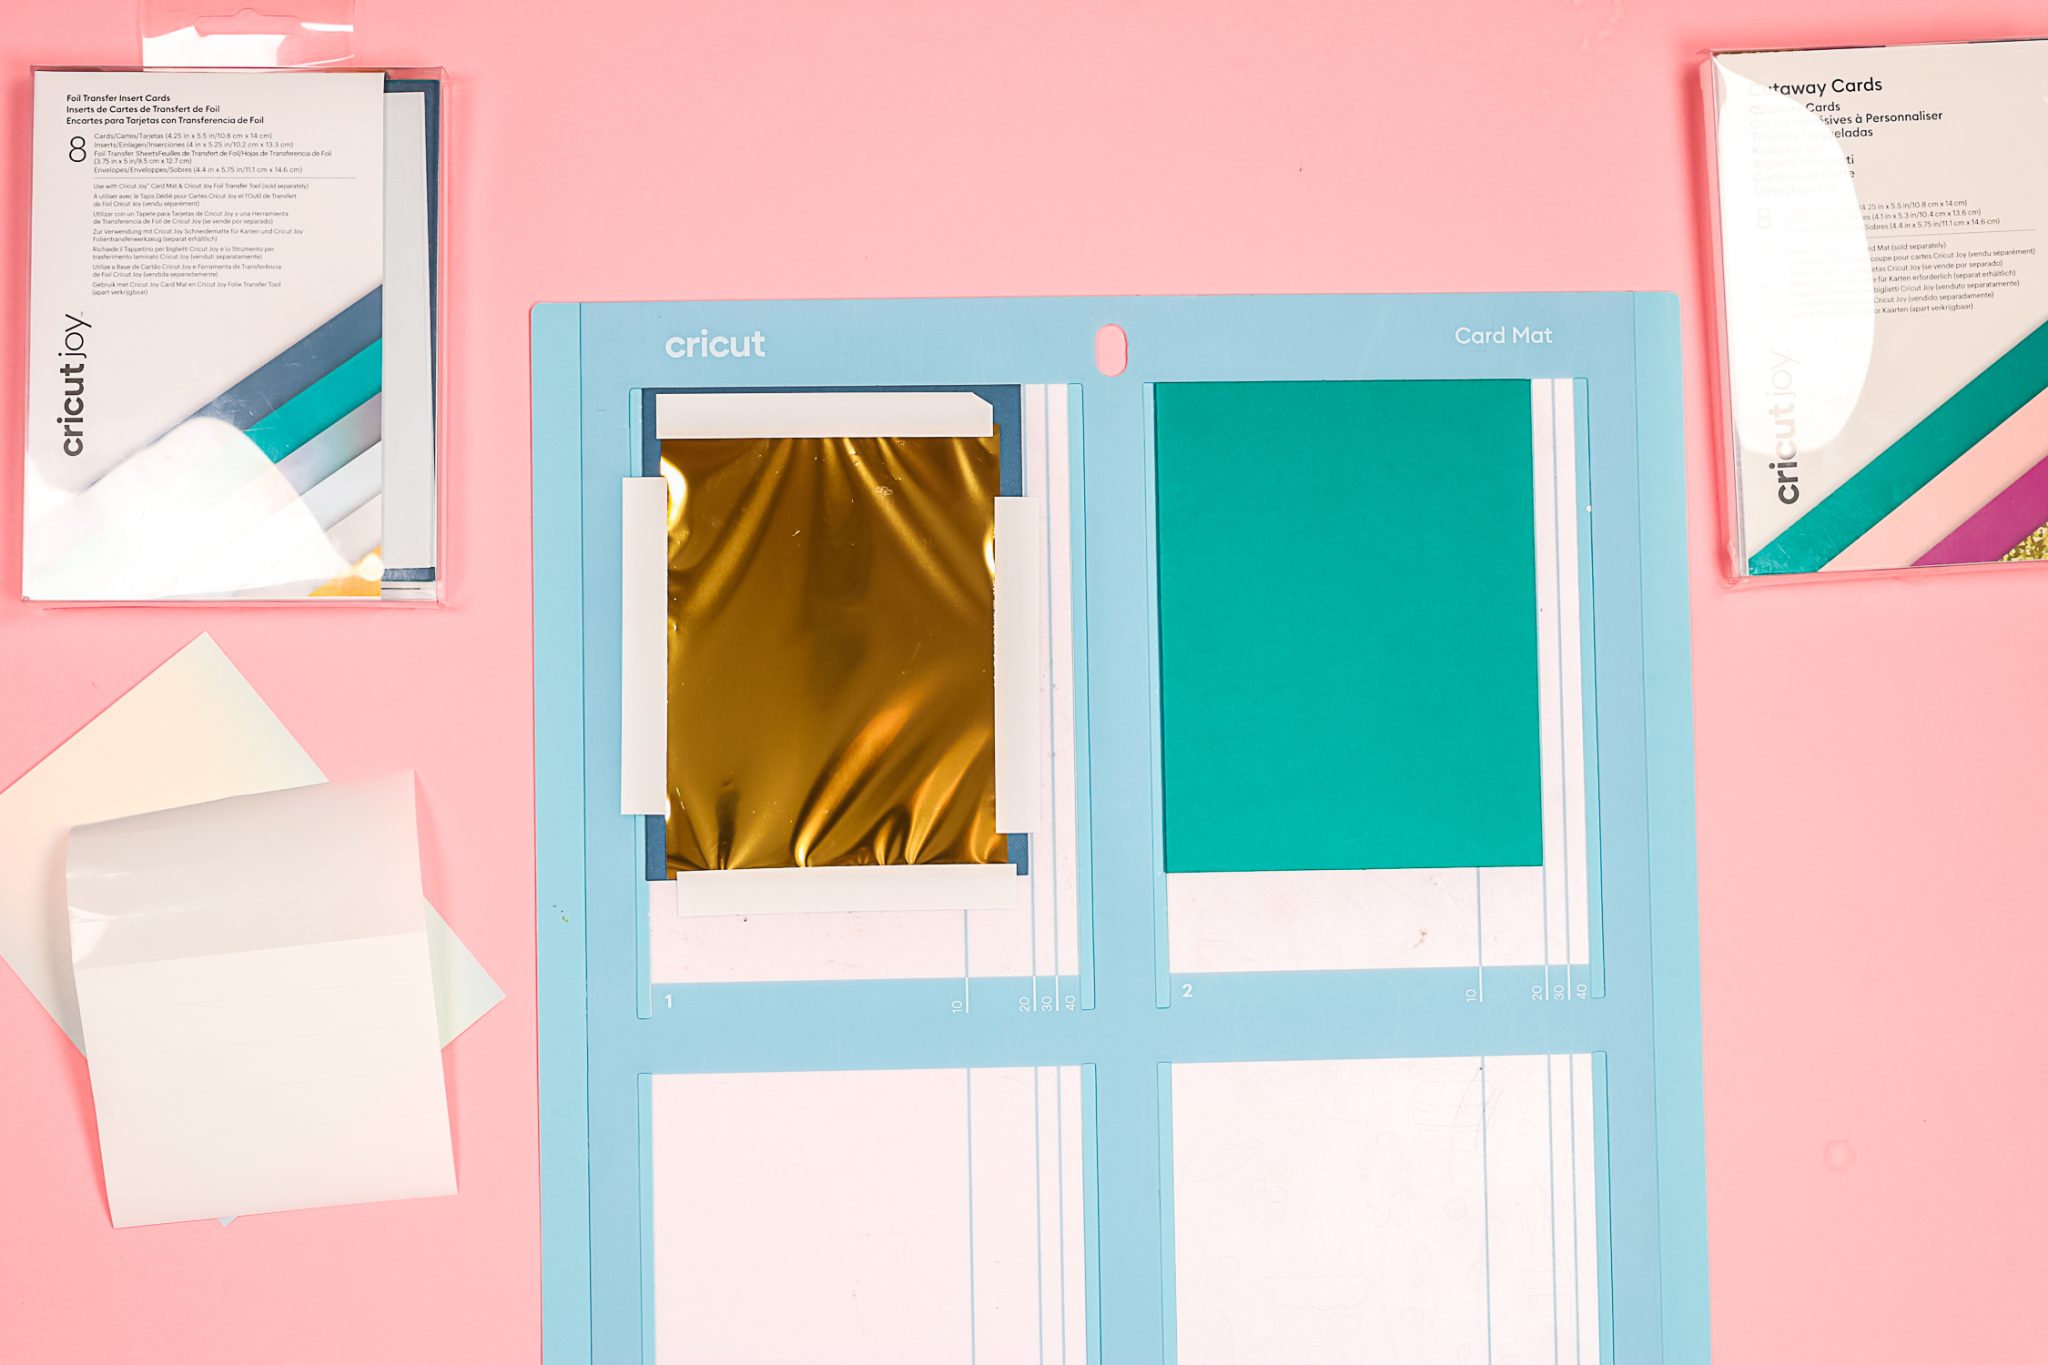
Look at the card mat and add your foil transfer sheet onto your card making sure it covers the whole area that should be foiled. It’s okay if the tape gets on the adhesive of the card mat but you don’t want your foil to get on the adhesive.
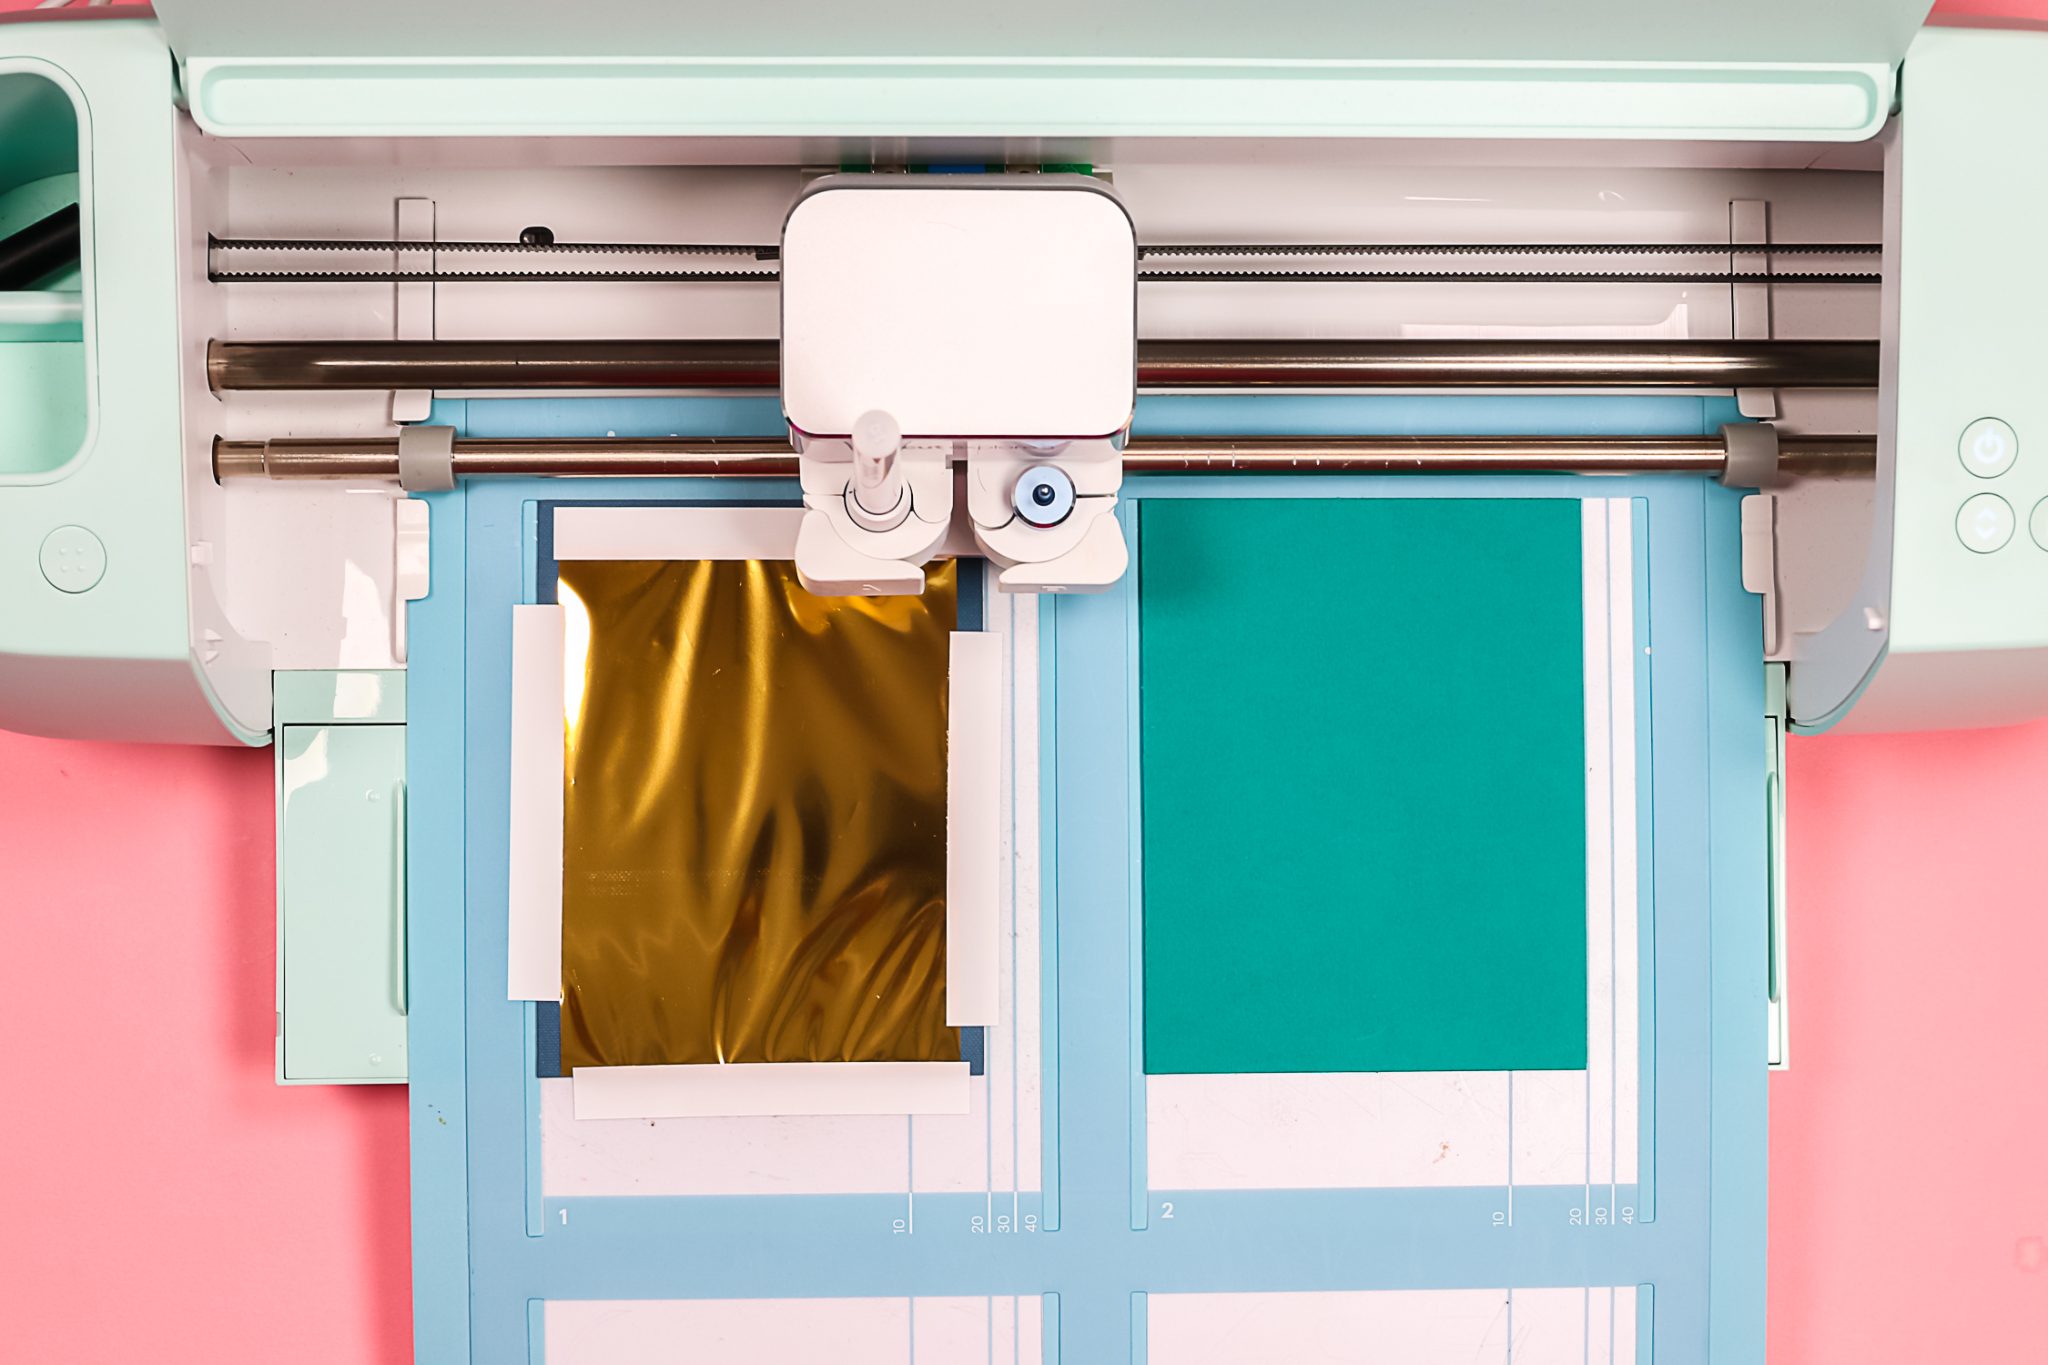
Load the mat into the Cricut machine and follow the prompts in Design Space. Design Space will prompt when to put in the foil tool, pen, fine point blade, etc. I chose Cutaway Cards as my material, loaded in the appropriate tools, and clicked go.
Remember to follow all the steps in Design Space and change out the tools as prompted. Now that everything is finished we can finish our cards.
Since I didn’t add the corner cuts for the Insert card I am just using adhesive in each corner to attach the insert piece to the card.

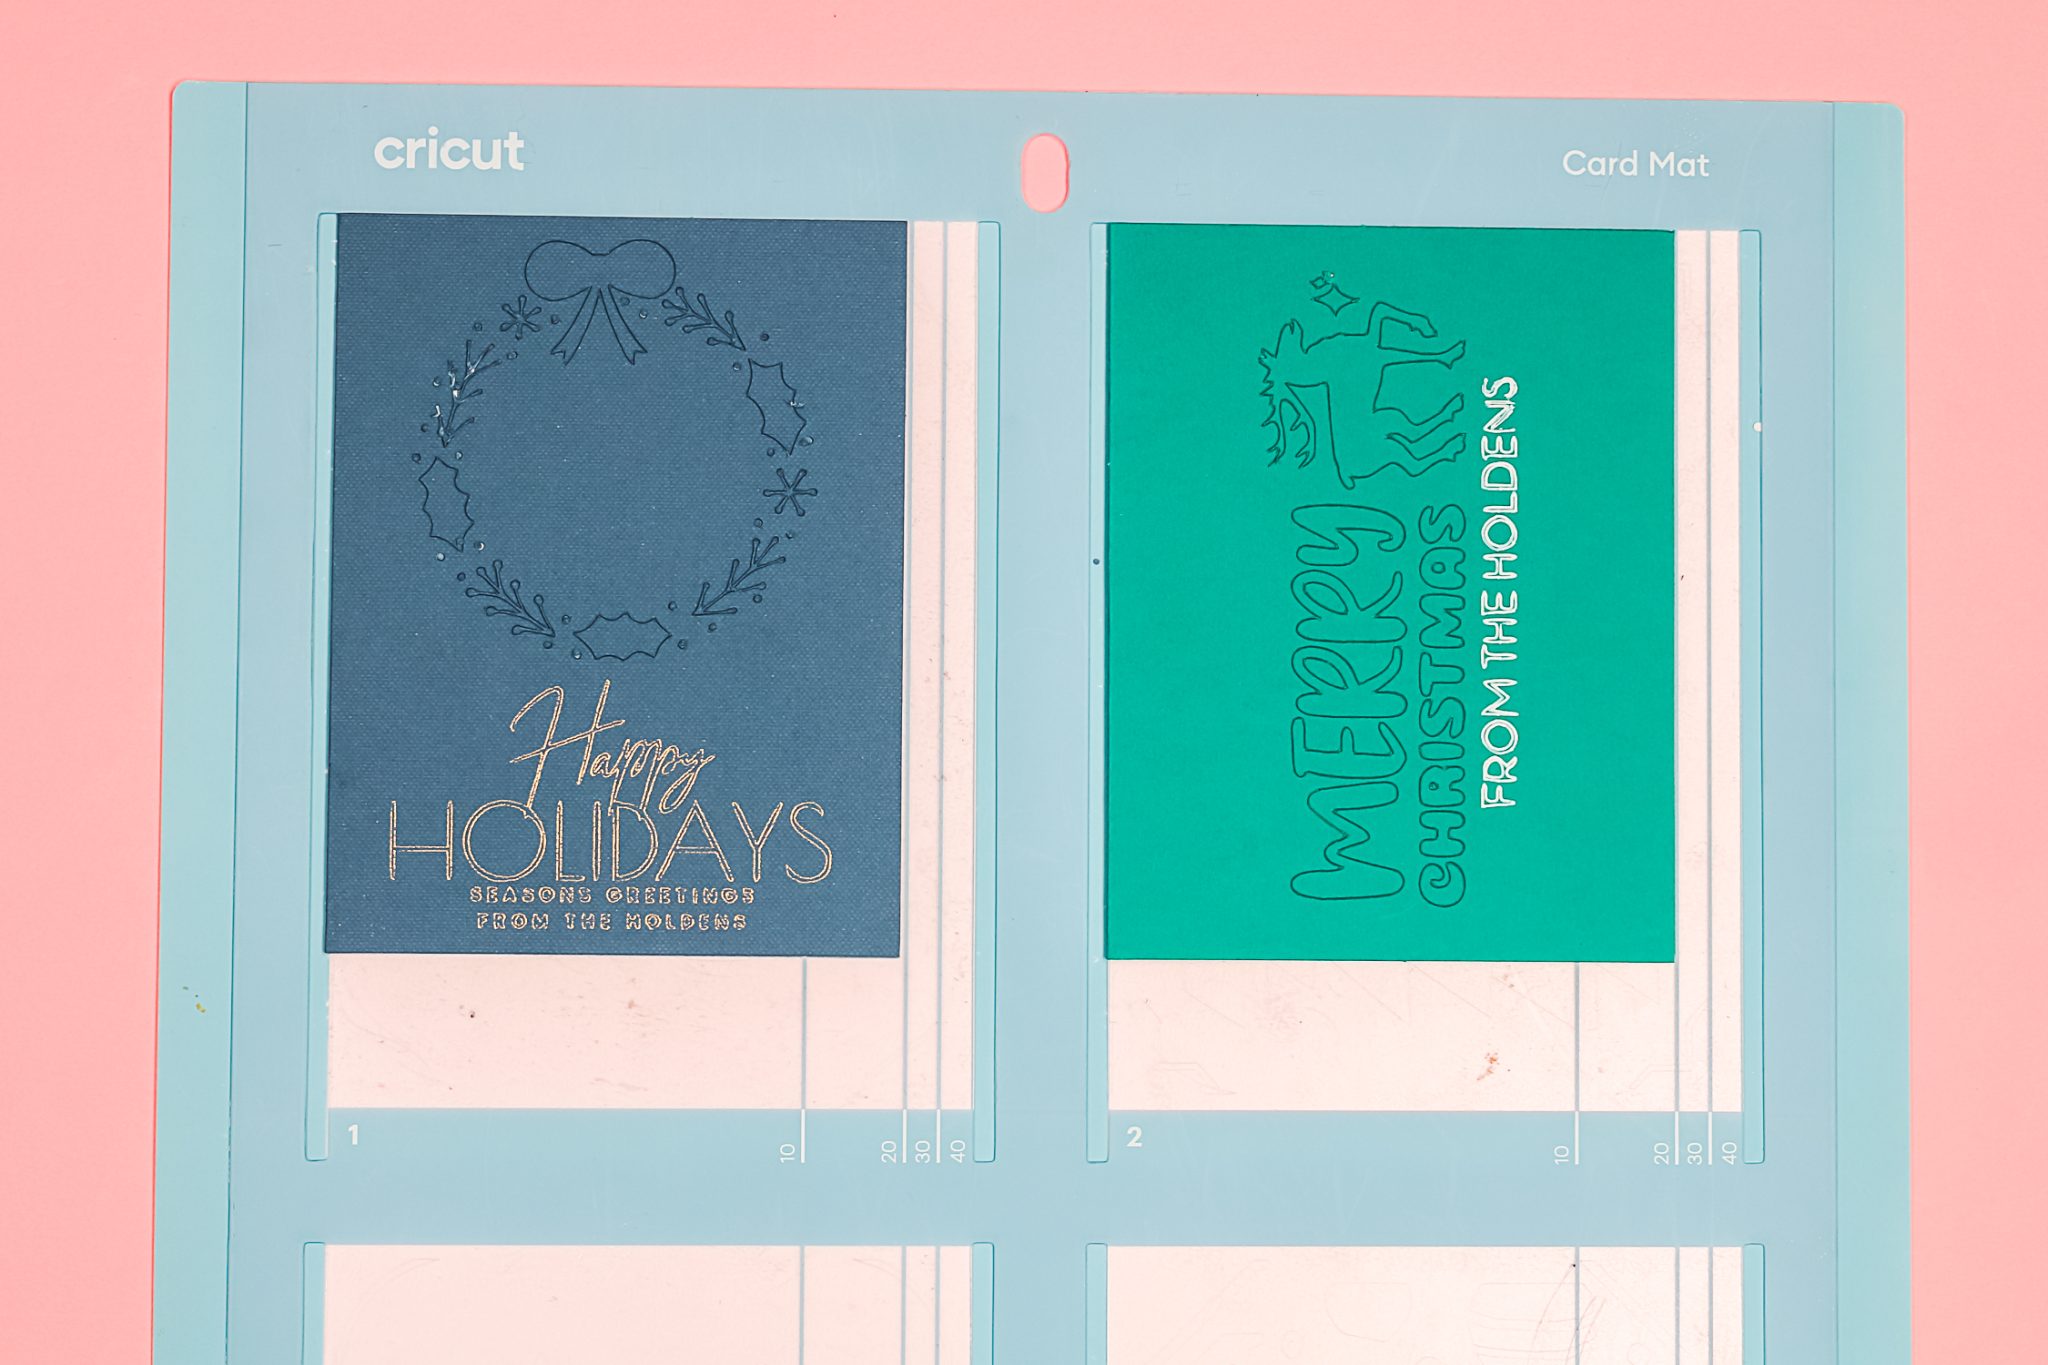
For the Cutaway card, we just remove the cutaway pieces to expose the background design. Now we have our 3 finished custom Cricut Christmas cards that we were able to design right in Kittl.
Final Thoughts on Cricut Christmas Cards with Kittl
I really love how each of these turned out. It was fun to try different things using Kittl to create a variety of different customized Cricut Christmas cards. Kittl is really easy to use and is a great place to go for inspiration if you’re feeling creative but aren’t sure where to start. If you have any questions about creating Cricut Christmas cards with Kittl, leave them in the comments, I’m happy to answer them.