This post and photos may contain Amazon or other affiliate links. If you purchase something through any link, I may receive a small commission at no extra charge to you. Any supplies used may be given to me free of charge, however, all projects and opinions are my own.
Did you see that there is now Cricut Smart Label material for Maker 3 and Explore 3 machines? Smart Label has been around for a long time in the size for the Cricut Joy and in the color white. It’s a material I really like so I was excited to see it released for the other machines.
Trying to decide if you should get a new machine? Check out my updated Cricut machine comparison post here.
What is Cricut Smart Label Material?
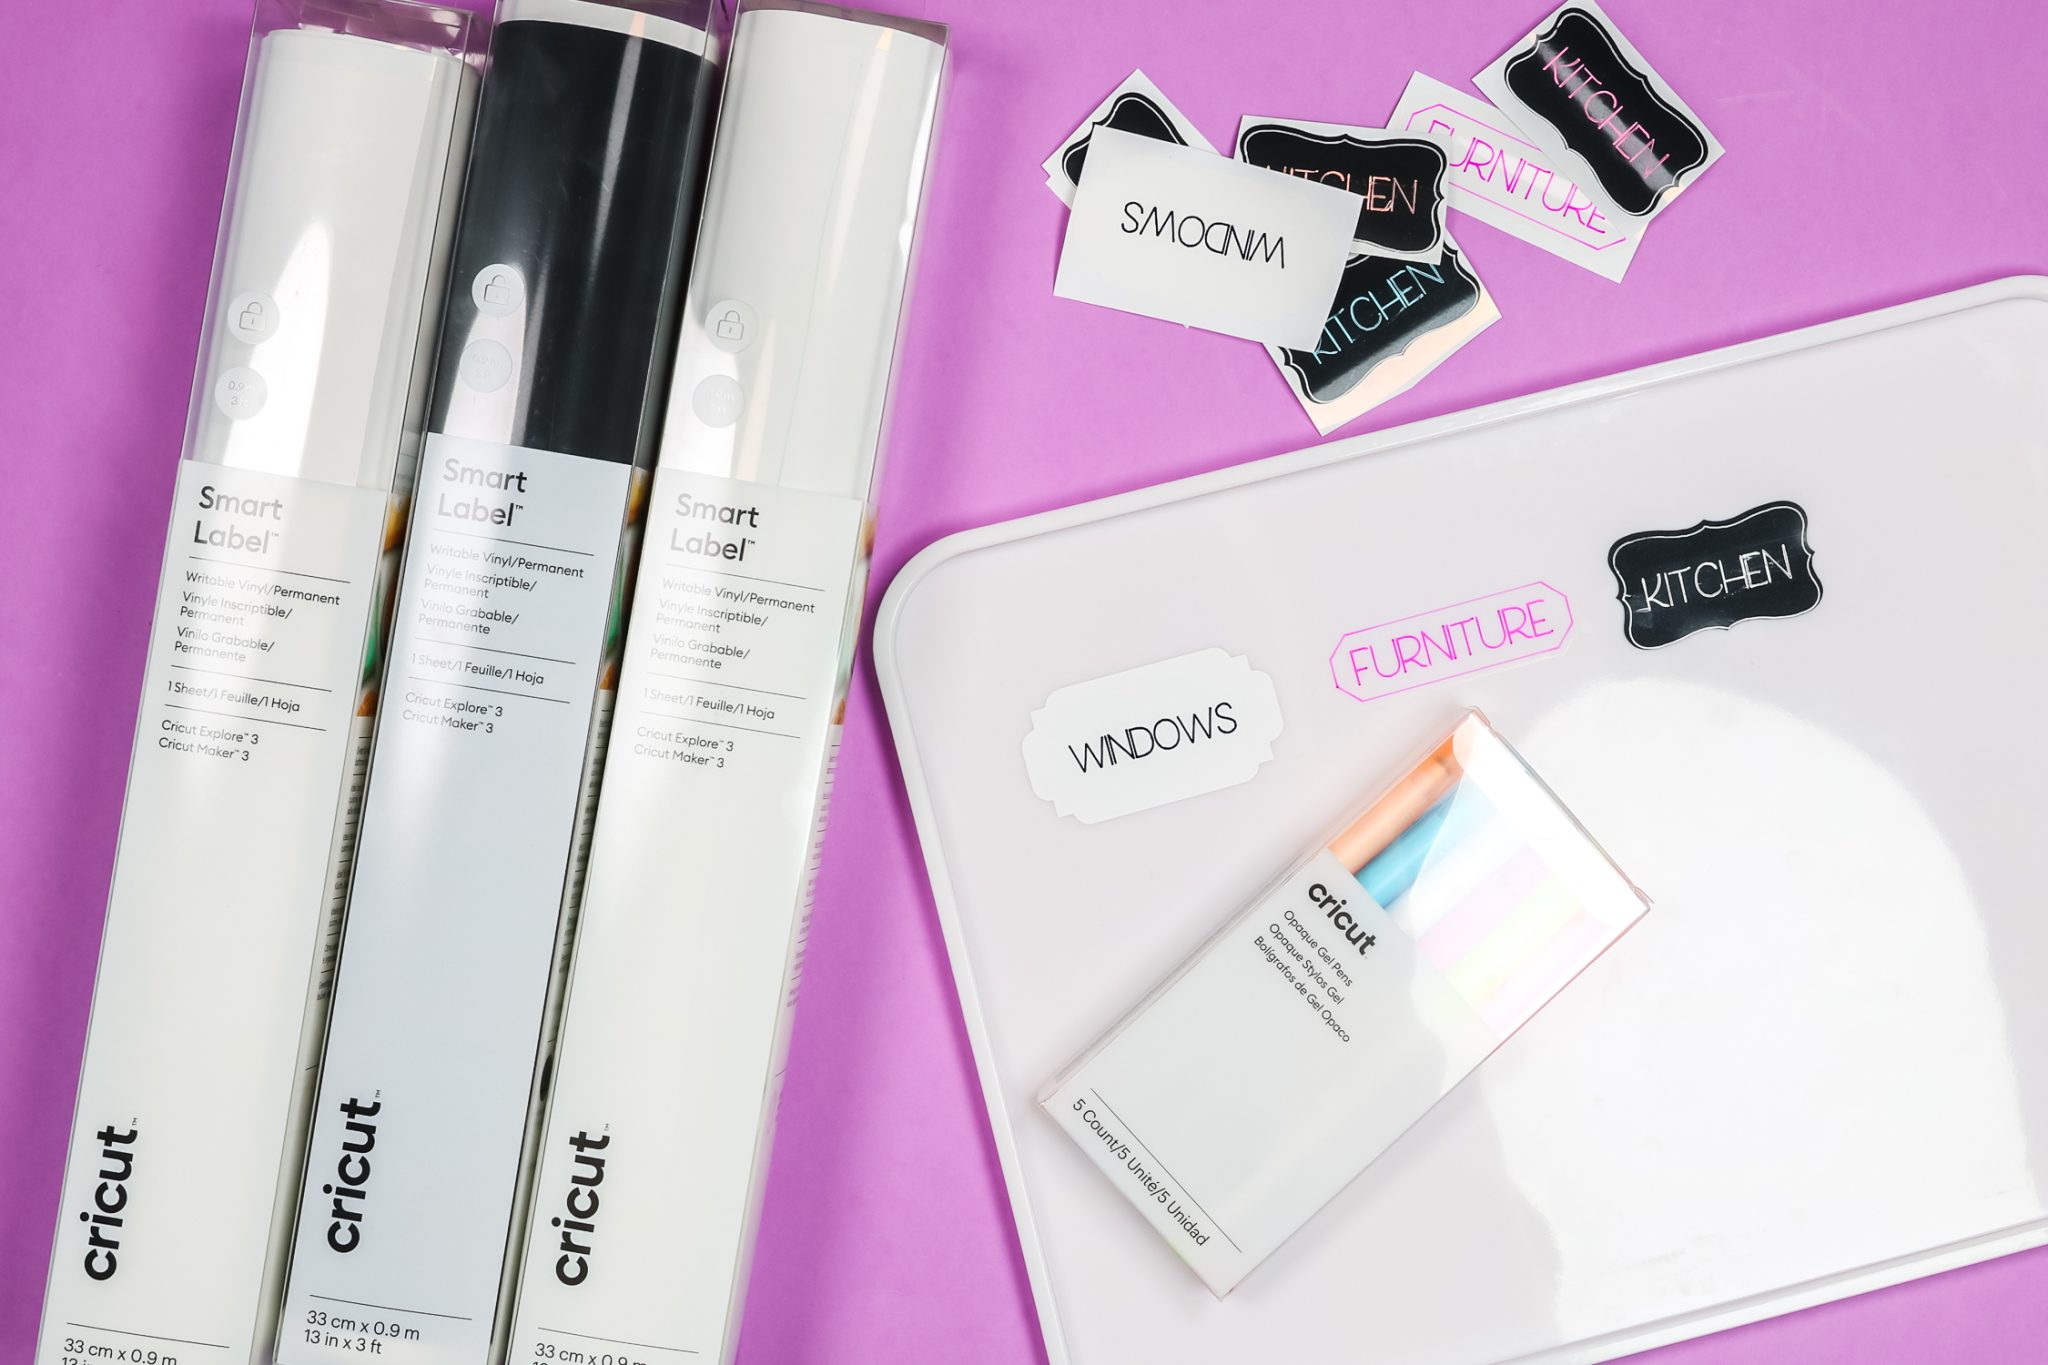
Cricut Smart Label is writable vinyl. The vinyl surface is different from regular vinyl so you can write on it with Cricut pens and it won’t smear. It dries quickly and you can make labels really easily with it.
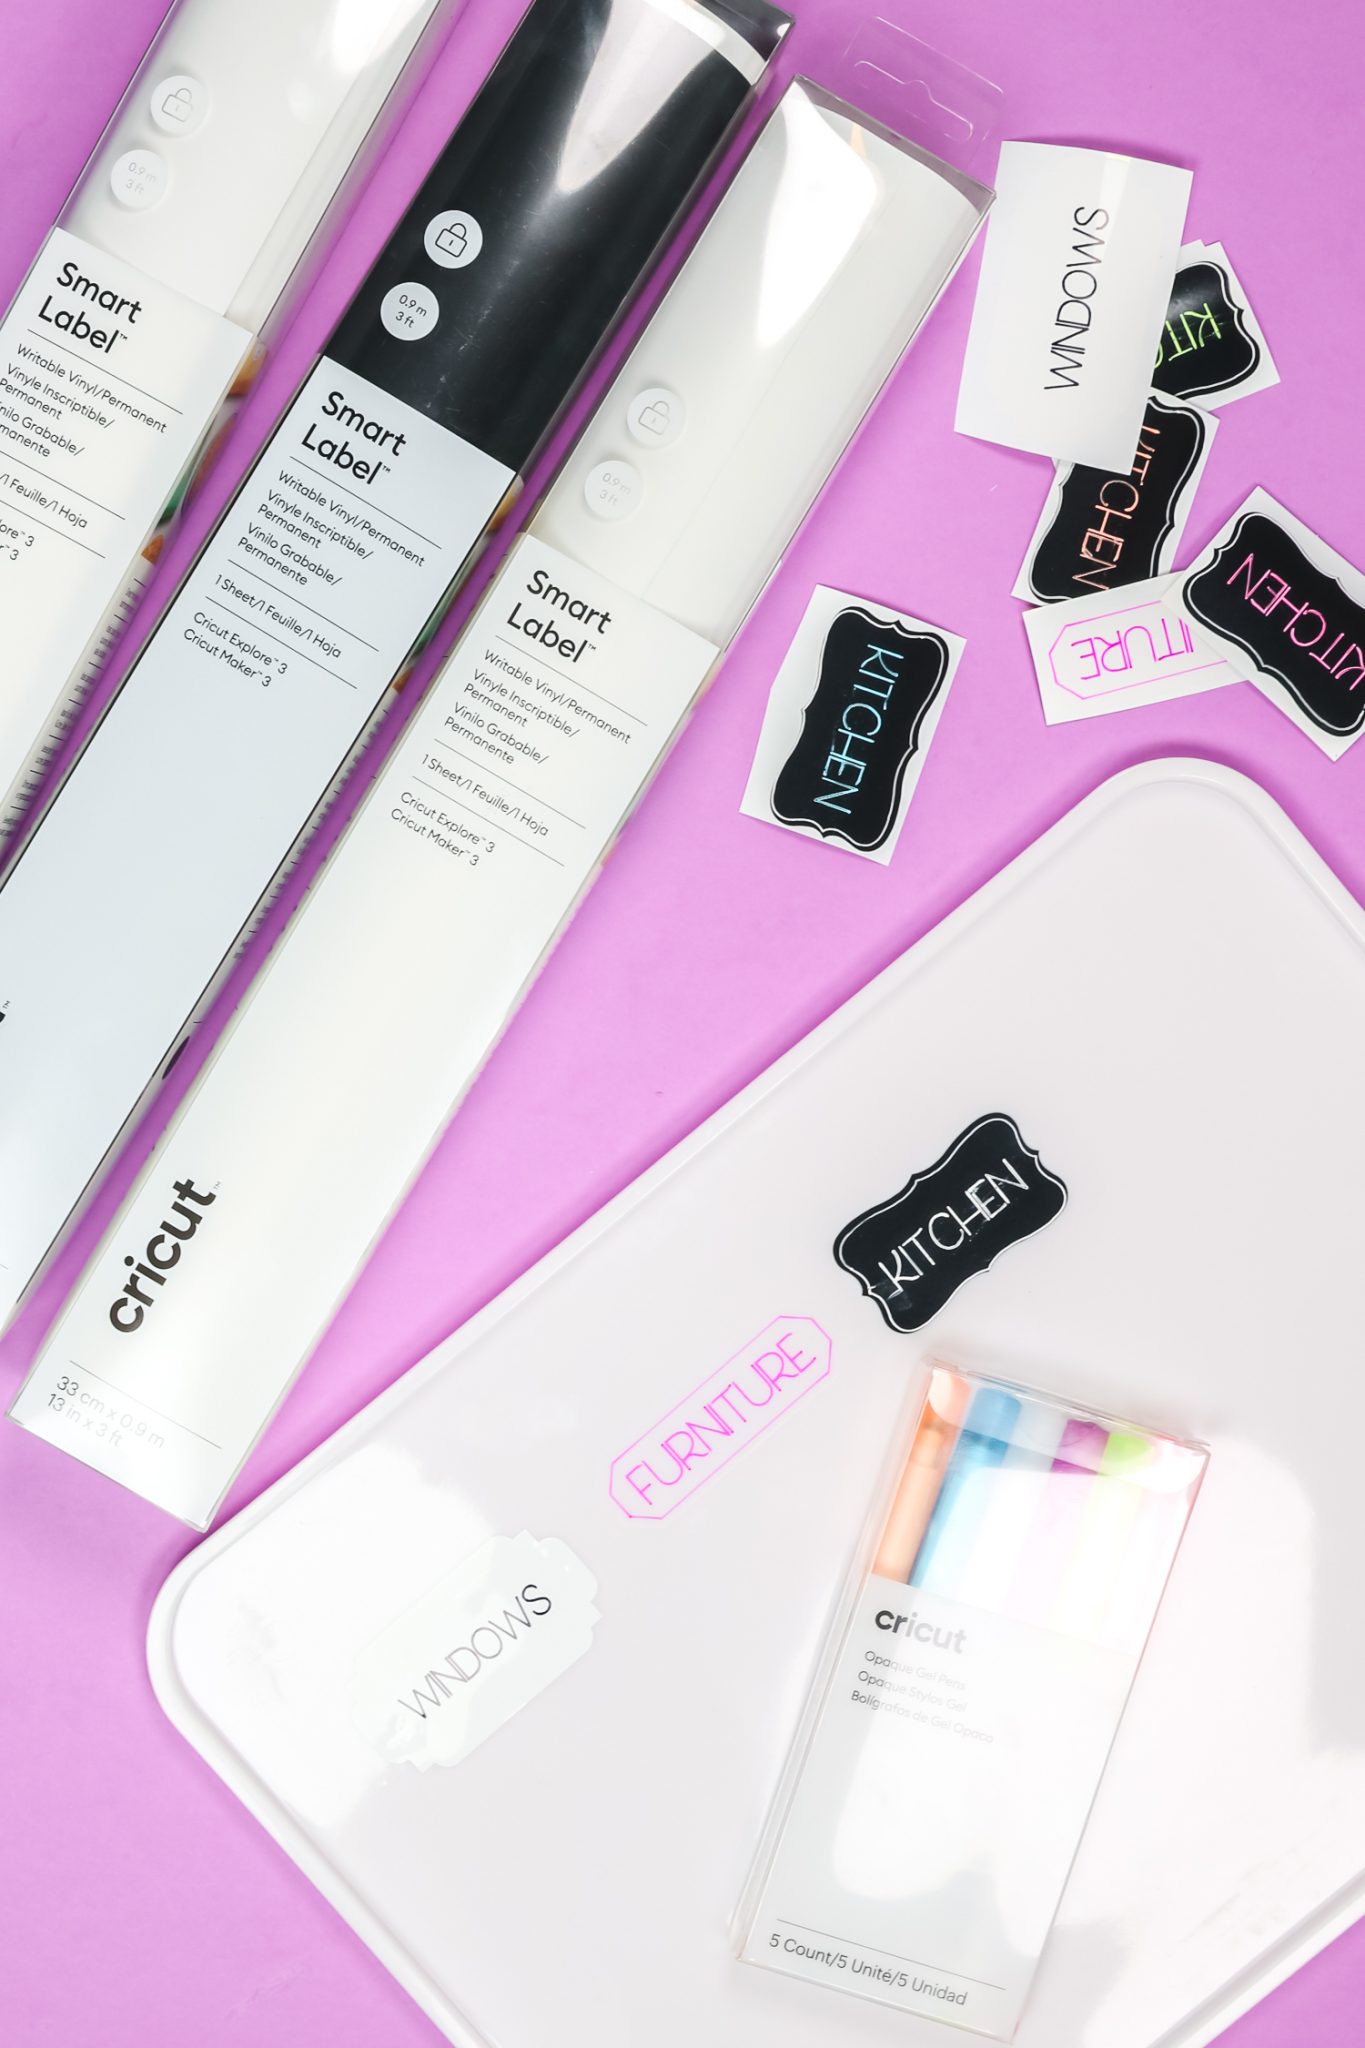
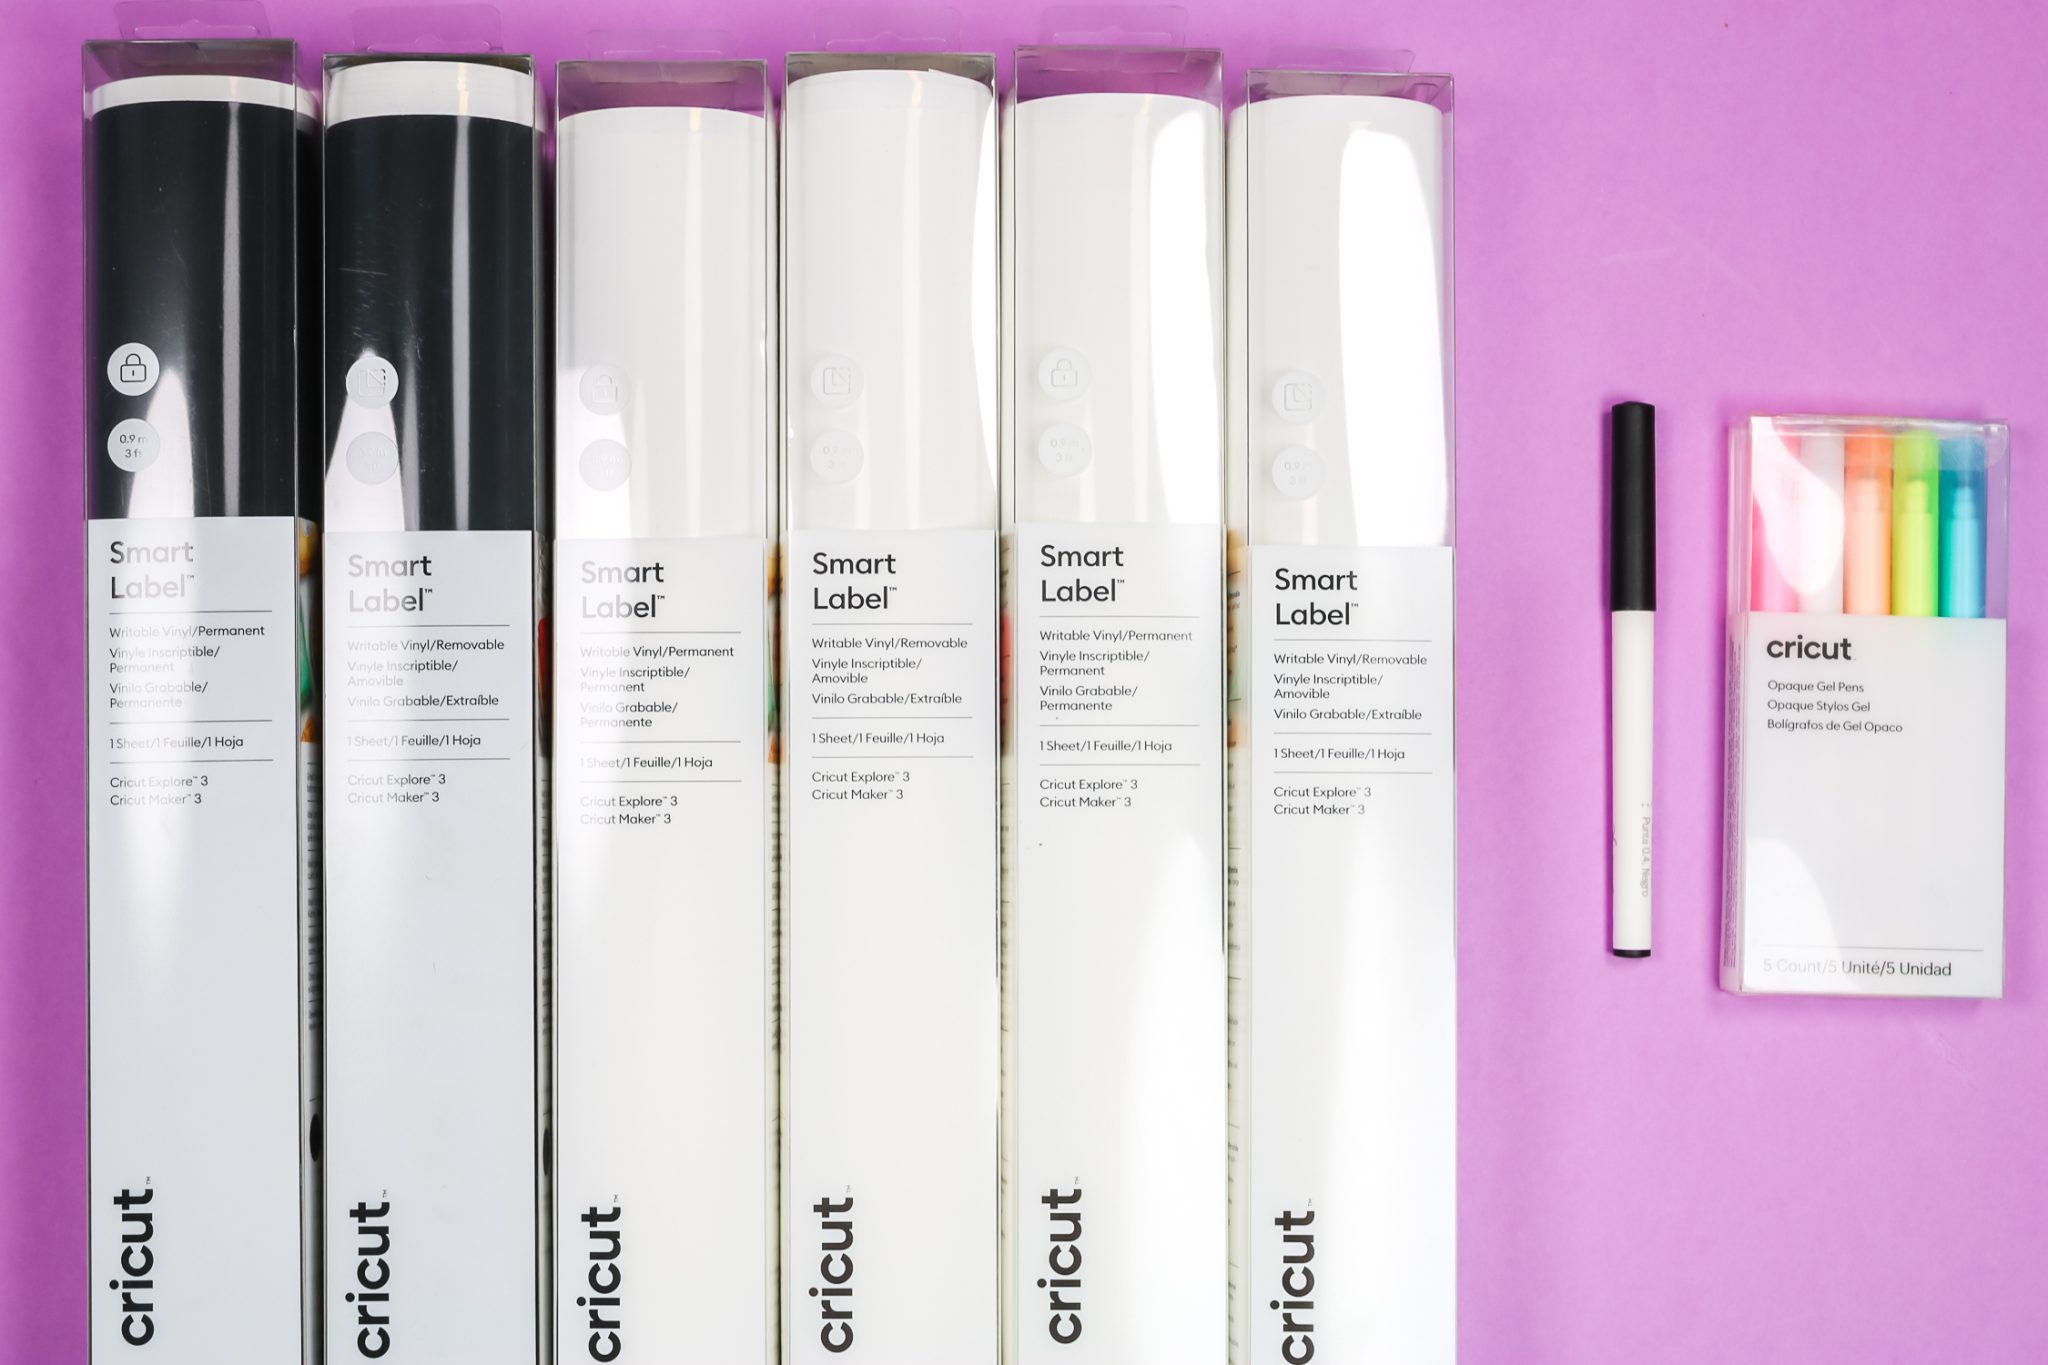
Originally Smart Label only came in a size that fits in the Cricut Joy. Recently Cricut released larger rolls that fit in the Explore 3 and Maker 3 machines. When they released these larger rolls they also released new colors. Now you can get Smart Label in the original white and in the larger sizes, you can also choose clear or black labels.
Smart Label material is also now in permanent and removable vinyl. So you can choose the grip strength that will work with the project you have in mind.
New Opaque Gel Pens
You may be asking yourself how you’re going to write on the black Cricut Smart Label. Well, Cricut also released a set of opaque gel pens including a white pen that you can use to write on the black Smart Label.
Today I’m going to show you how to make labels with each of these new materials. Want to watch me test out each material? Just click play on the video below:
Supplies Used to Make Cricut Smart Labels
How to Use Cricut Smart Labels
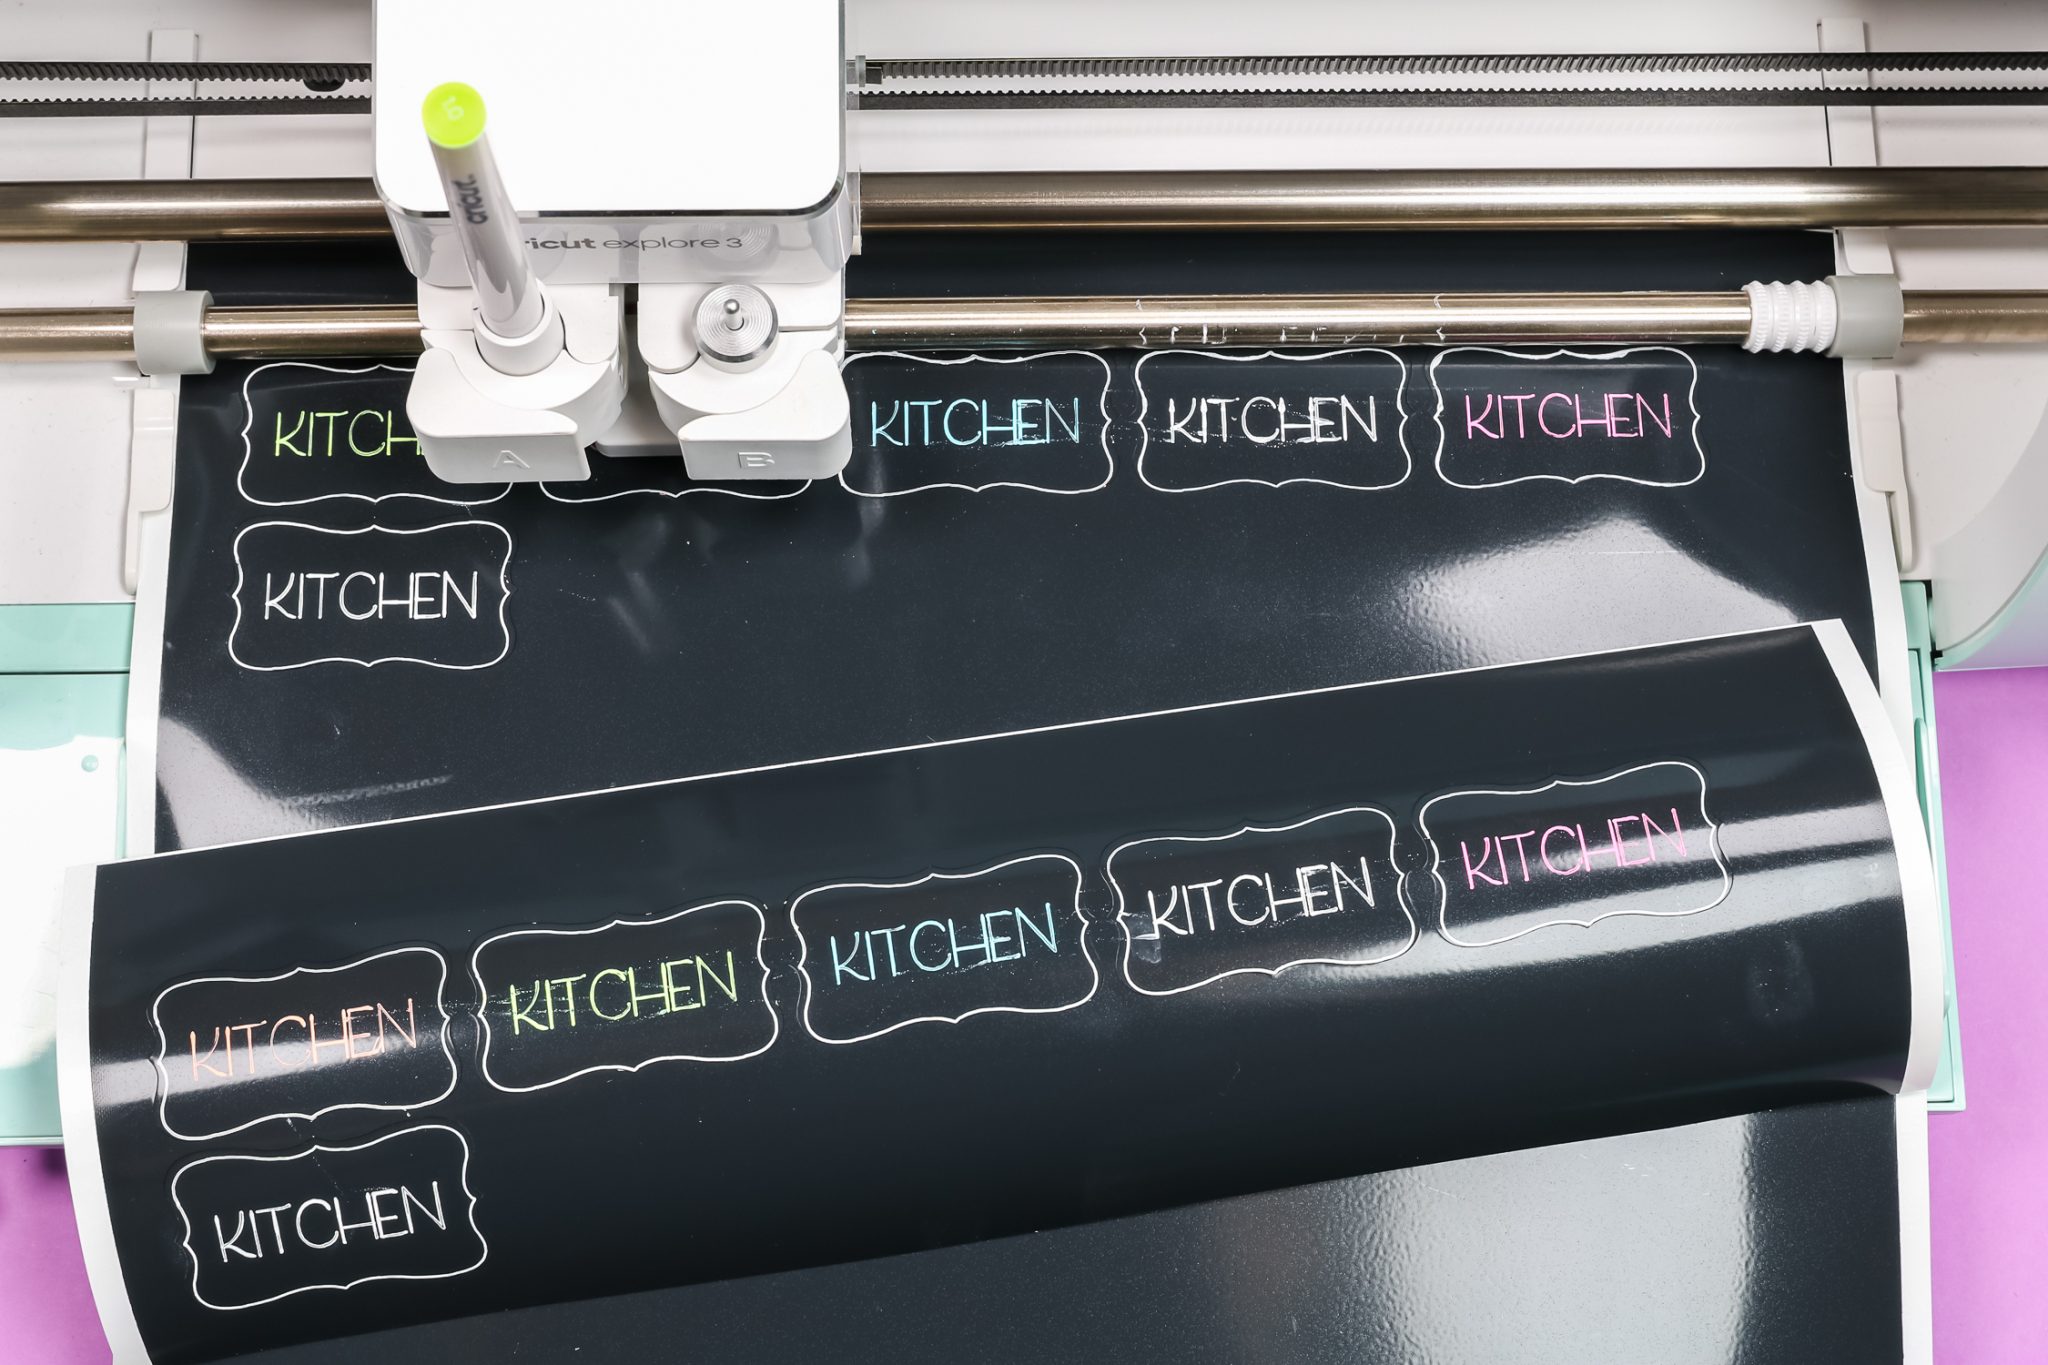
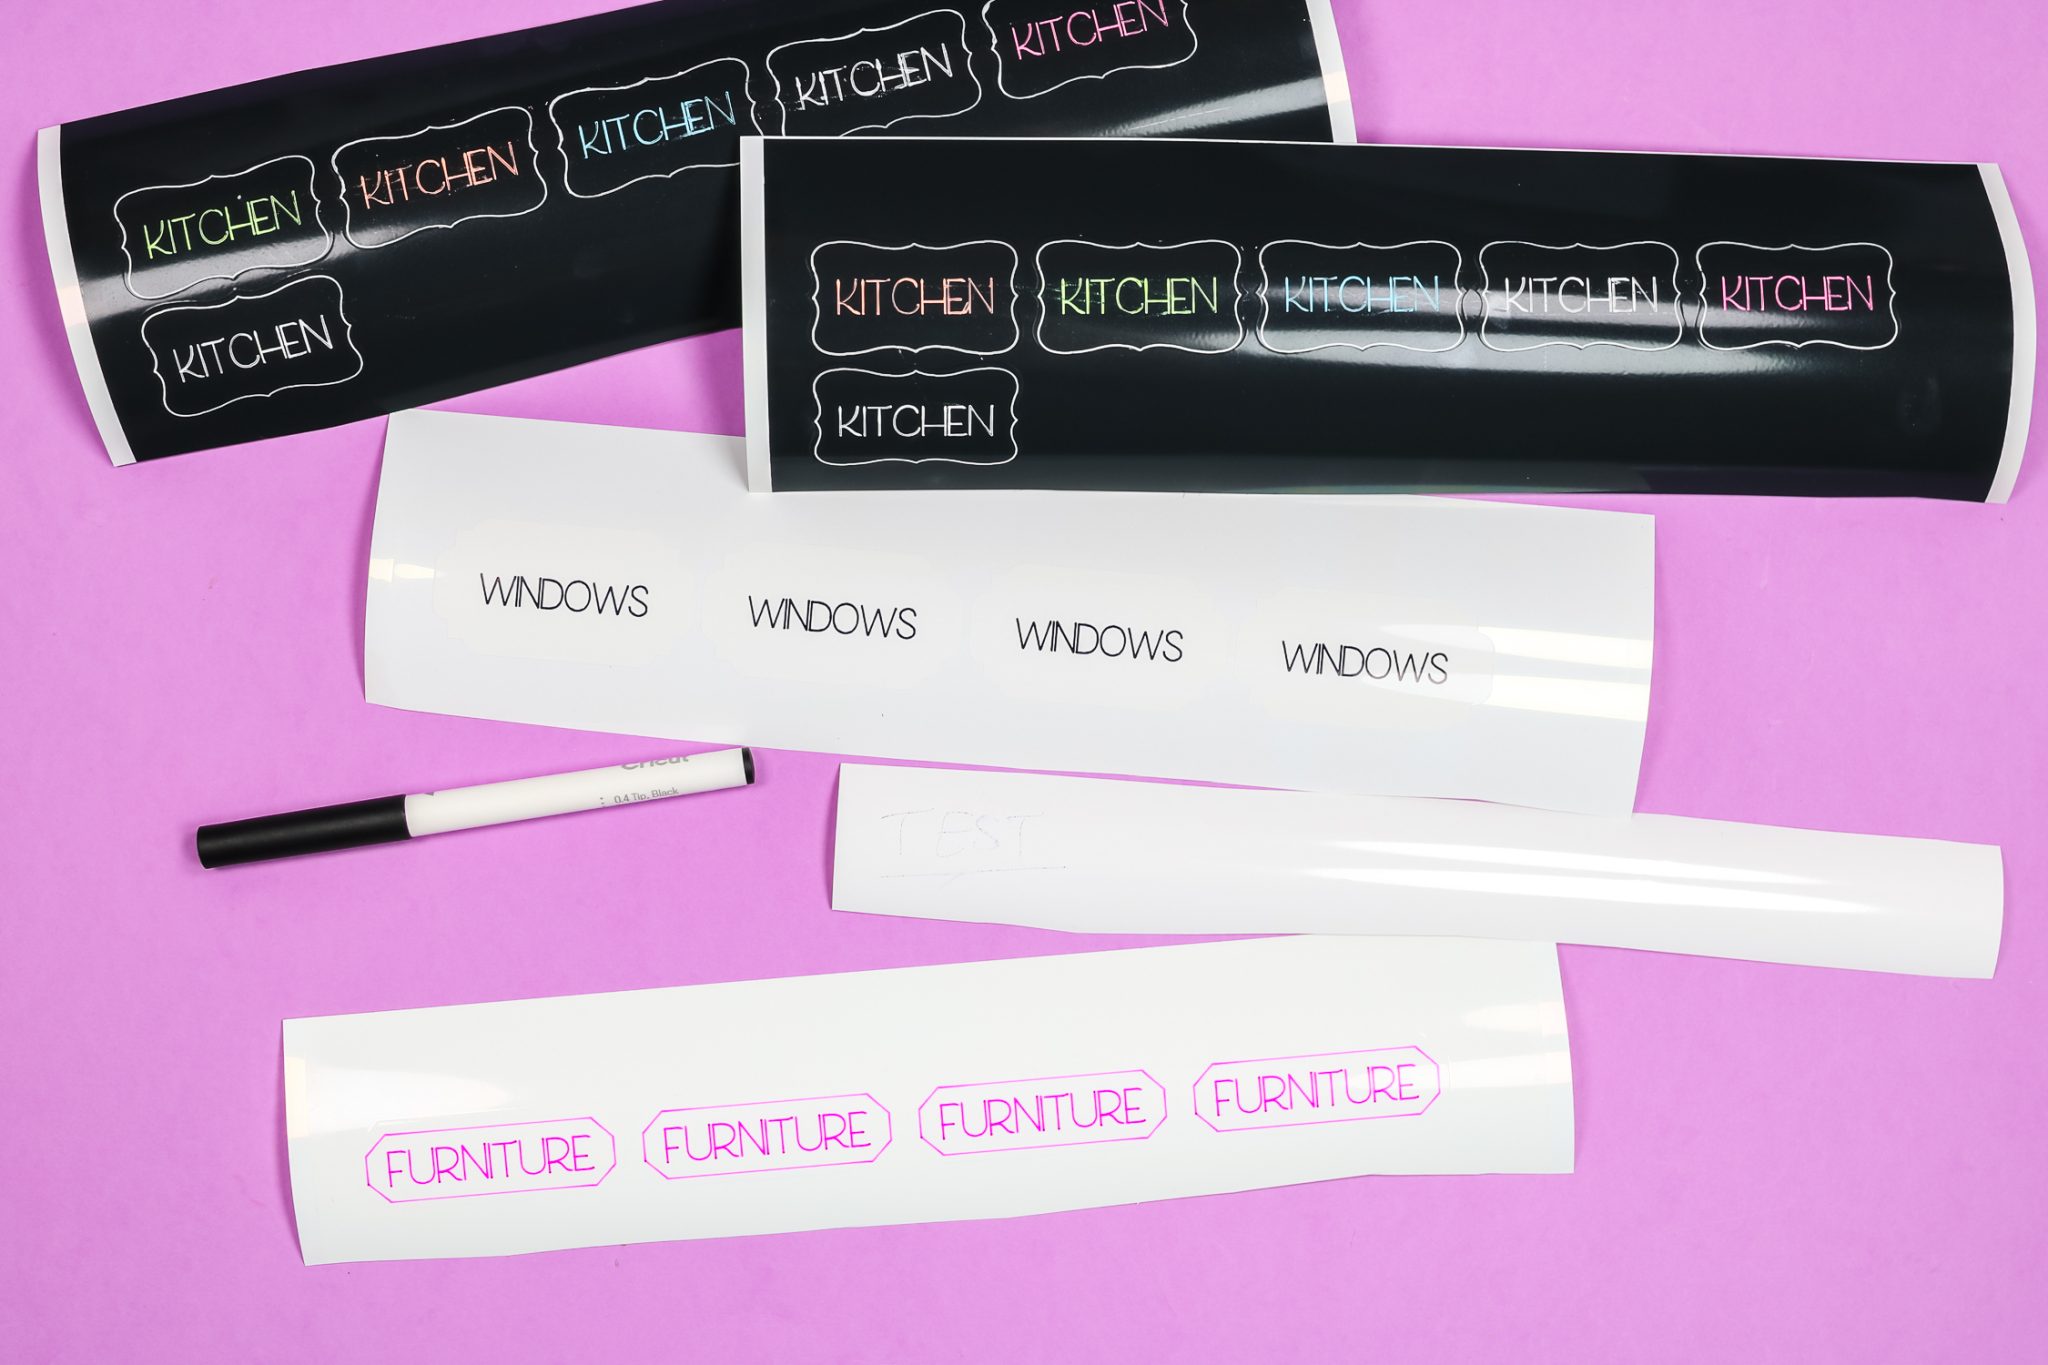
I am going to test out all 3 label colors so we can see how they work in Explore 3 and Maker 3. If you have an earlier machine, you can use this material but you will have to cut it down to fit it on a mat. I am using my Explore 3 today so I can test it without using a mat.
When using white or clear Smart Label materials, you can use regular Cricut pens. For the black, you’ll need a pen that will show up on black. I’ll be using the white pen that came with the new opaque gel pen set to see how it works.
Creating a Label Design in Design Space
When it comes to labels you can find a lot of options in Design Space. You can also use the shapes in the shapes tab if you’d like. Use the size tool to resize your labels to fit the surface you’re applying them to. Once you have the design you like and have it sized correctly, it’s time to add some text.
Adding Text to Labels
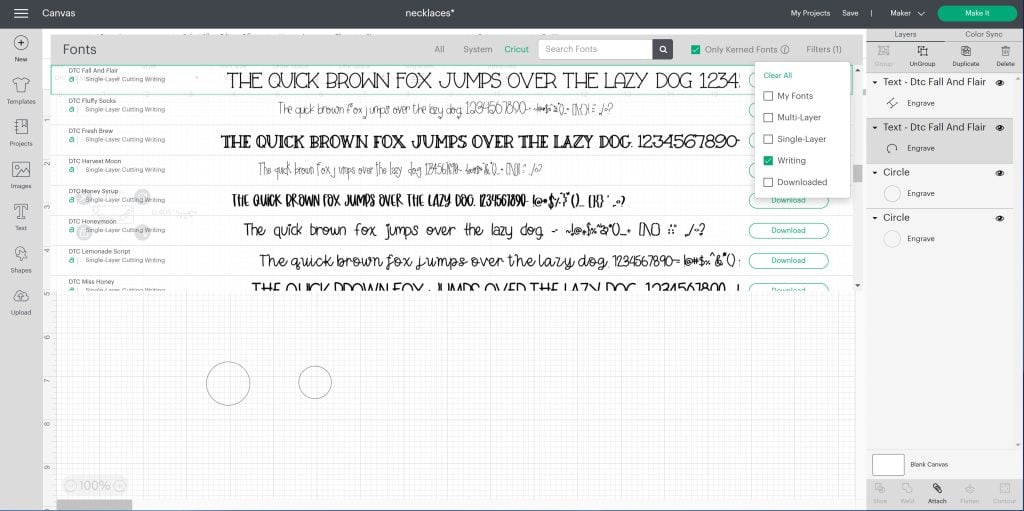
Decide what you want your labels to say and type it onto the canvas. Make sure you’re using a writing font. You can do that by selecting writing under filters in the font drop-down. Choose any font you like the look of and select it. Change your operation type to draw and then the style to writing.
By choosing a writing font and changing the settings, you’ll get a look that is actually writing and not an outline of the letters.
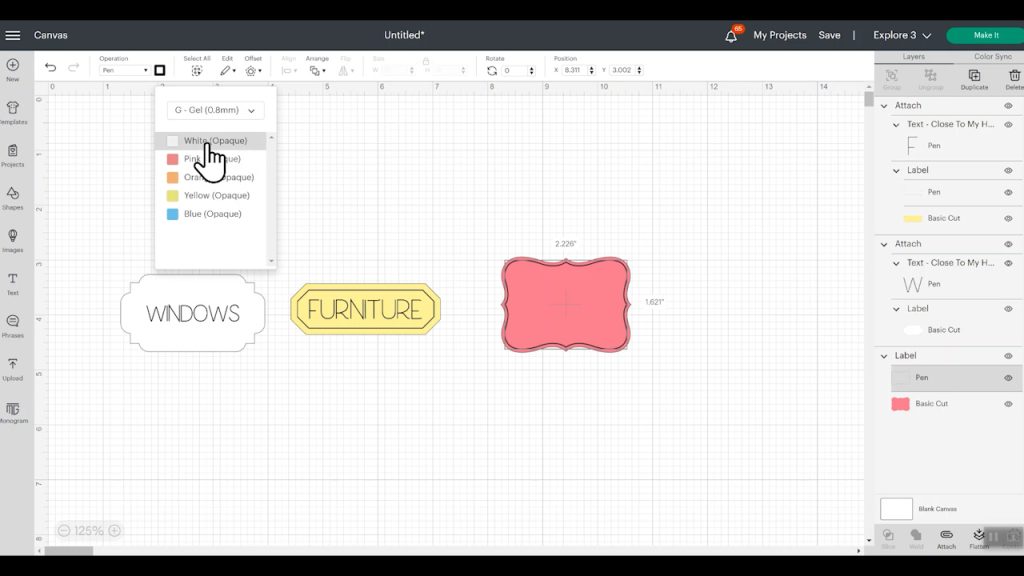
You can also change the pen color in the box next to where you choose the operation type. Make sure, especially if you’re using multiple colors on one project, that you change the color to reflect what you want to use. This will tell the machine to pause and prompt you to change the color.
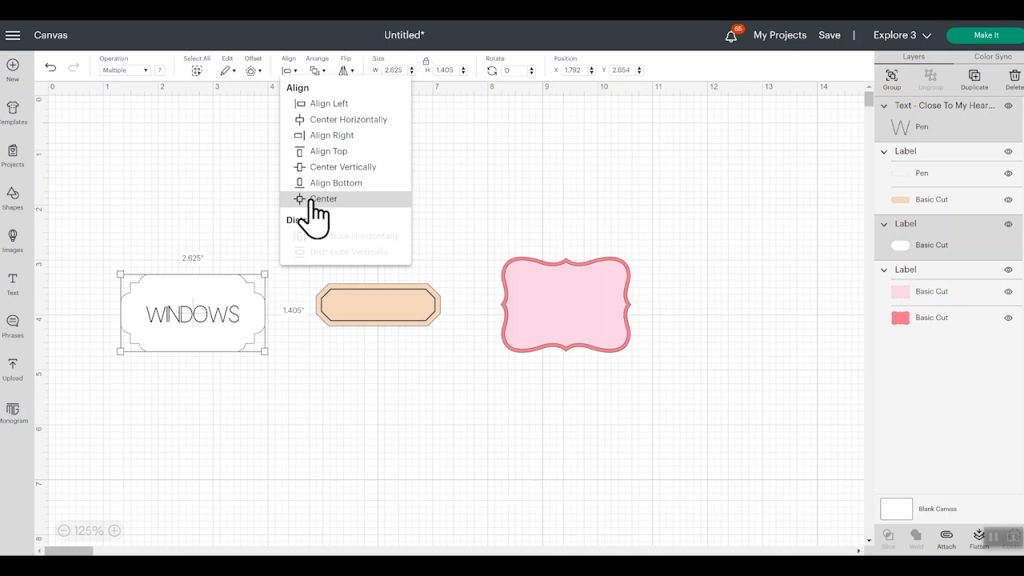
If you want your words centered, select both layers and align then center. If you want them aligned to the right, left, top, or bottom, you can also use the align tool to do that.
When everything is set up just how you want, select both layers and click attach in the layers panel. By attaching the two layers your machine now knows to write the words inside the label and to cut around the outside of the label.
Working with Multi-layered Label Designs
The design I choose for my black Smart Label is actually a multi-layered design. Since I don’t want my label to actually be two cut layers of Smart Label, I am going to select the top layer and change it to a draw layer.
You could delete that layer if you don’t want it but I like the look so changing it to a drawn layer gives me a similar look without having to cut two different colors. Since my label material is black I am going to use a white pen. I changed my pen to the gel 0.8 millimeter pen because that is what I have for the opaque gel pen.
Adding text and setting up the final label is the same as what we did before. Don’t forget to attach!
Cutting Smart Label Material
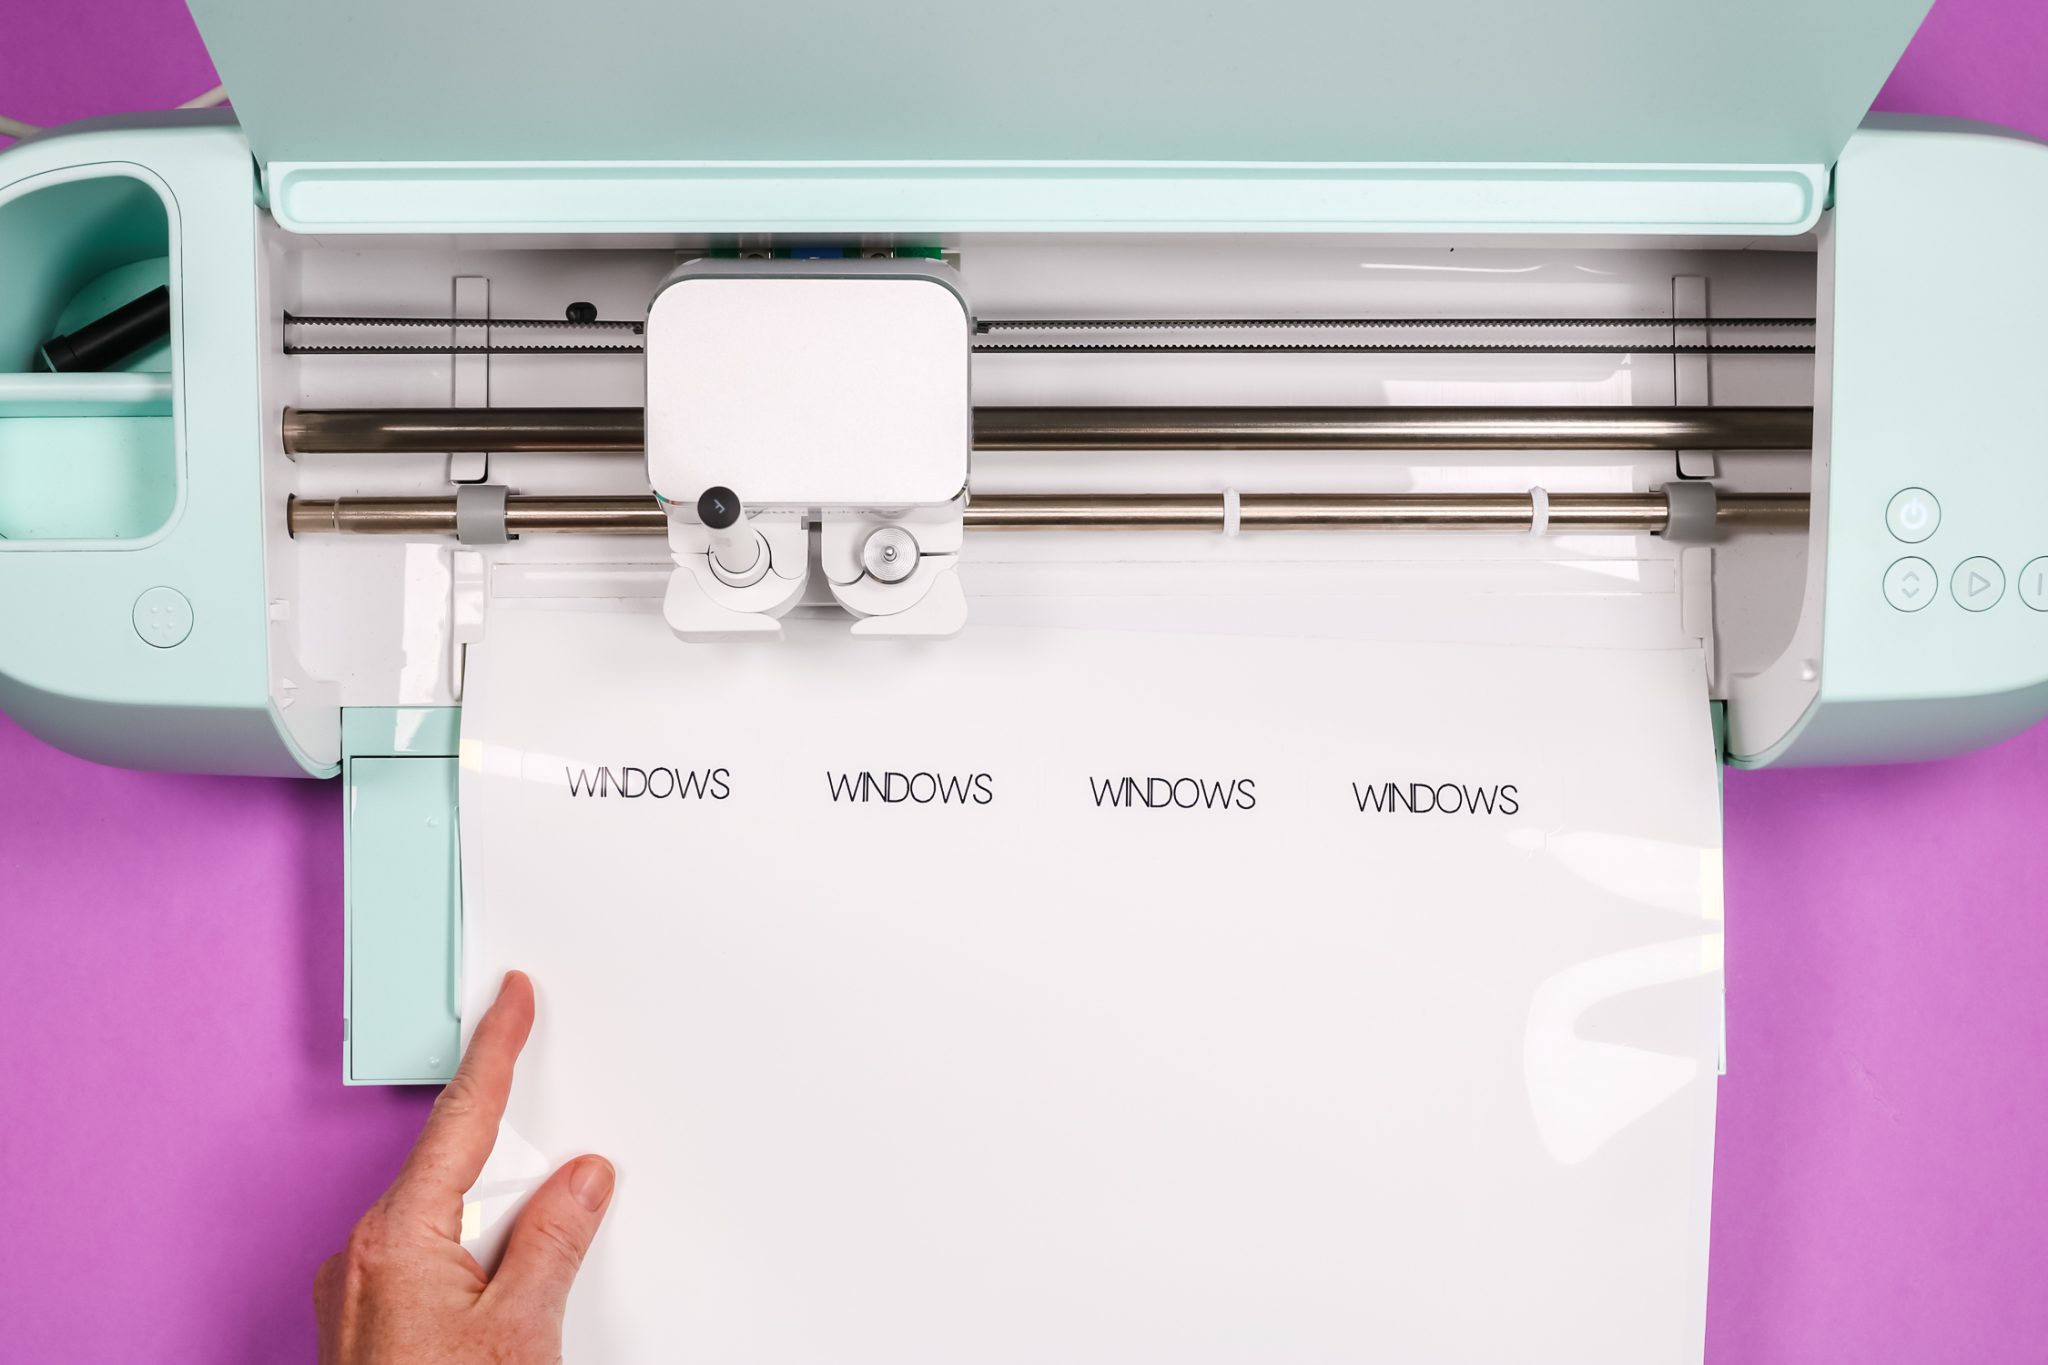
I am using my Explore 3 machine. Click make it and then, since I’m using a smart material, I am selecting without a mat. If you are using an Explore 3 or Maker 3, you would do the same. If you are using another machine, you would need to cut the material down and put it on a mat.
Because I changed the color of all my labels on the canvas Design Space knows I am using different materials so it will load one design at a time.
I am using Smart Label as the material. These new materials come in both permanent and removable so make sure you select the material you’re using. Remember, only Smart Label vinyl is writable. If you try to use regular vinyl, the pens will not write on it, it’ll smear and likely make a mess.
Load your Smart Label material into your machine and make sure your fine point blade is installed and the correct pen for the label you’re making. Press Go and your machine will draw with the pen first and then cut.
Weeding Smart Labels
Weeding the Smart Labels is really easy. Just peel away all the excess like you would other vinyl designs.

Applying Smart Labels
Cricut states that you should not use transfer tape or transfer paper when using Smart Label vinyl. You shouldn’t use this material with any type of intricate cuts.
To apply your labels, just lift them off the backer and place them onto your surface like you would a sticker. They apply nicely and stick really well. Remember with the clear vinyl whatever you stick it to is going to show through. This means you need to take that into consideration when you choose your pen color so you can see the writing after it’s a placed on the surface.

Final Thoughts on Cricut Smart Label Vinyl
I’ve been using Smart Label material for a long time, basically since the Cricut Joy was released. I’ve used it in a variety of areas and really like it. Note that you wouldn’t want to use it where it would get wet or in an area that has a lot of moisture because it may fail in those areas. Otherwise, I think it is the perfect material. I love that it now comes in permanent and removable and different color options.
Unfortunately I wasn’t impressed with the black because the gel pens smeared no matter what I did. I’m hopeful that someone will come up with tips and tricks to help it work better. Sadly it just didn’t work well with the gel pens that Cricut released. I do like the look of it though so I really hope it gets improved.
The clear and the white, however, I love those and I will continue to use those. I like that it now comes in a wider size for my Maker 3 and Explore 3. This means that now when I want to make labels I don’t always have to get my Joy out.
Frequently Asked Questions
Can I Use Smart Label Materials with Explore Air and Maker Machines?
Yes you can. You just need to cut the material to fit on a regular cutting mat and then feed it into the machine like normal.
Do I Need to Move My Star Wheels?
I did not move my star wheels and with the white and clear Smart Labels the pens didn’t smear at all as the machine cut out the labels.
When I was making the black labels using the white opaqute gel pen, I got some dragging of the pens when the star wheels rolled across the ink. The final labels didn’t look clean so I decided to move all the star wheels to the side to see if that would do better.
Somehow this resulted in the pen getting on my roller. That left me with a lot of clean up to do on my machine. I would recommend leaving the star wheels spaced evenly across the bar just note that with the opaque gel pens and this black Smart Label material you might have some places where it doesn’t look just perfect.
Can I Write on Regular Cricut Vinyl?
I tested regular Cricut Permanent vinyl with the same pen that I used on the white Smart Label. When I write on regular vinyl, not the Smart Label, it doesn’t really write at all. This illustrates that you do need the Smart Label material in order to write on the vinyl.
Is Cricut Smart Label Material Waterproof?
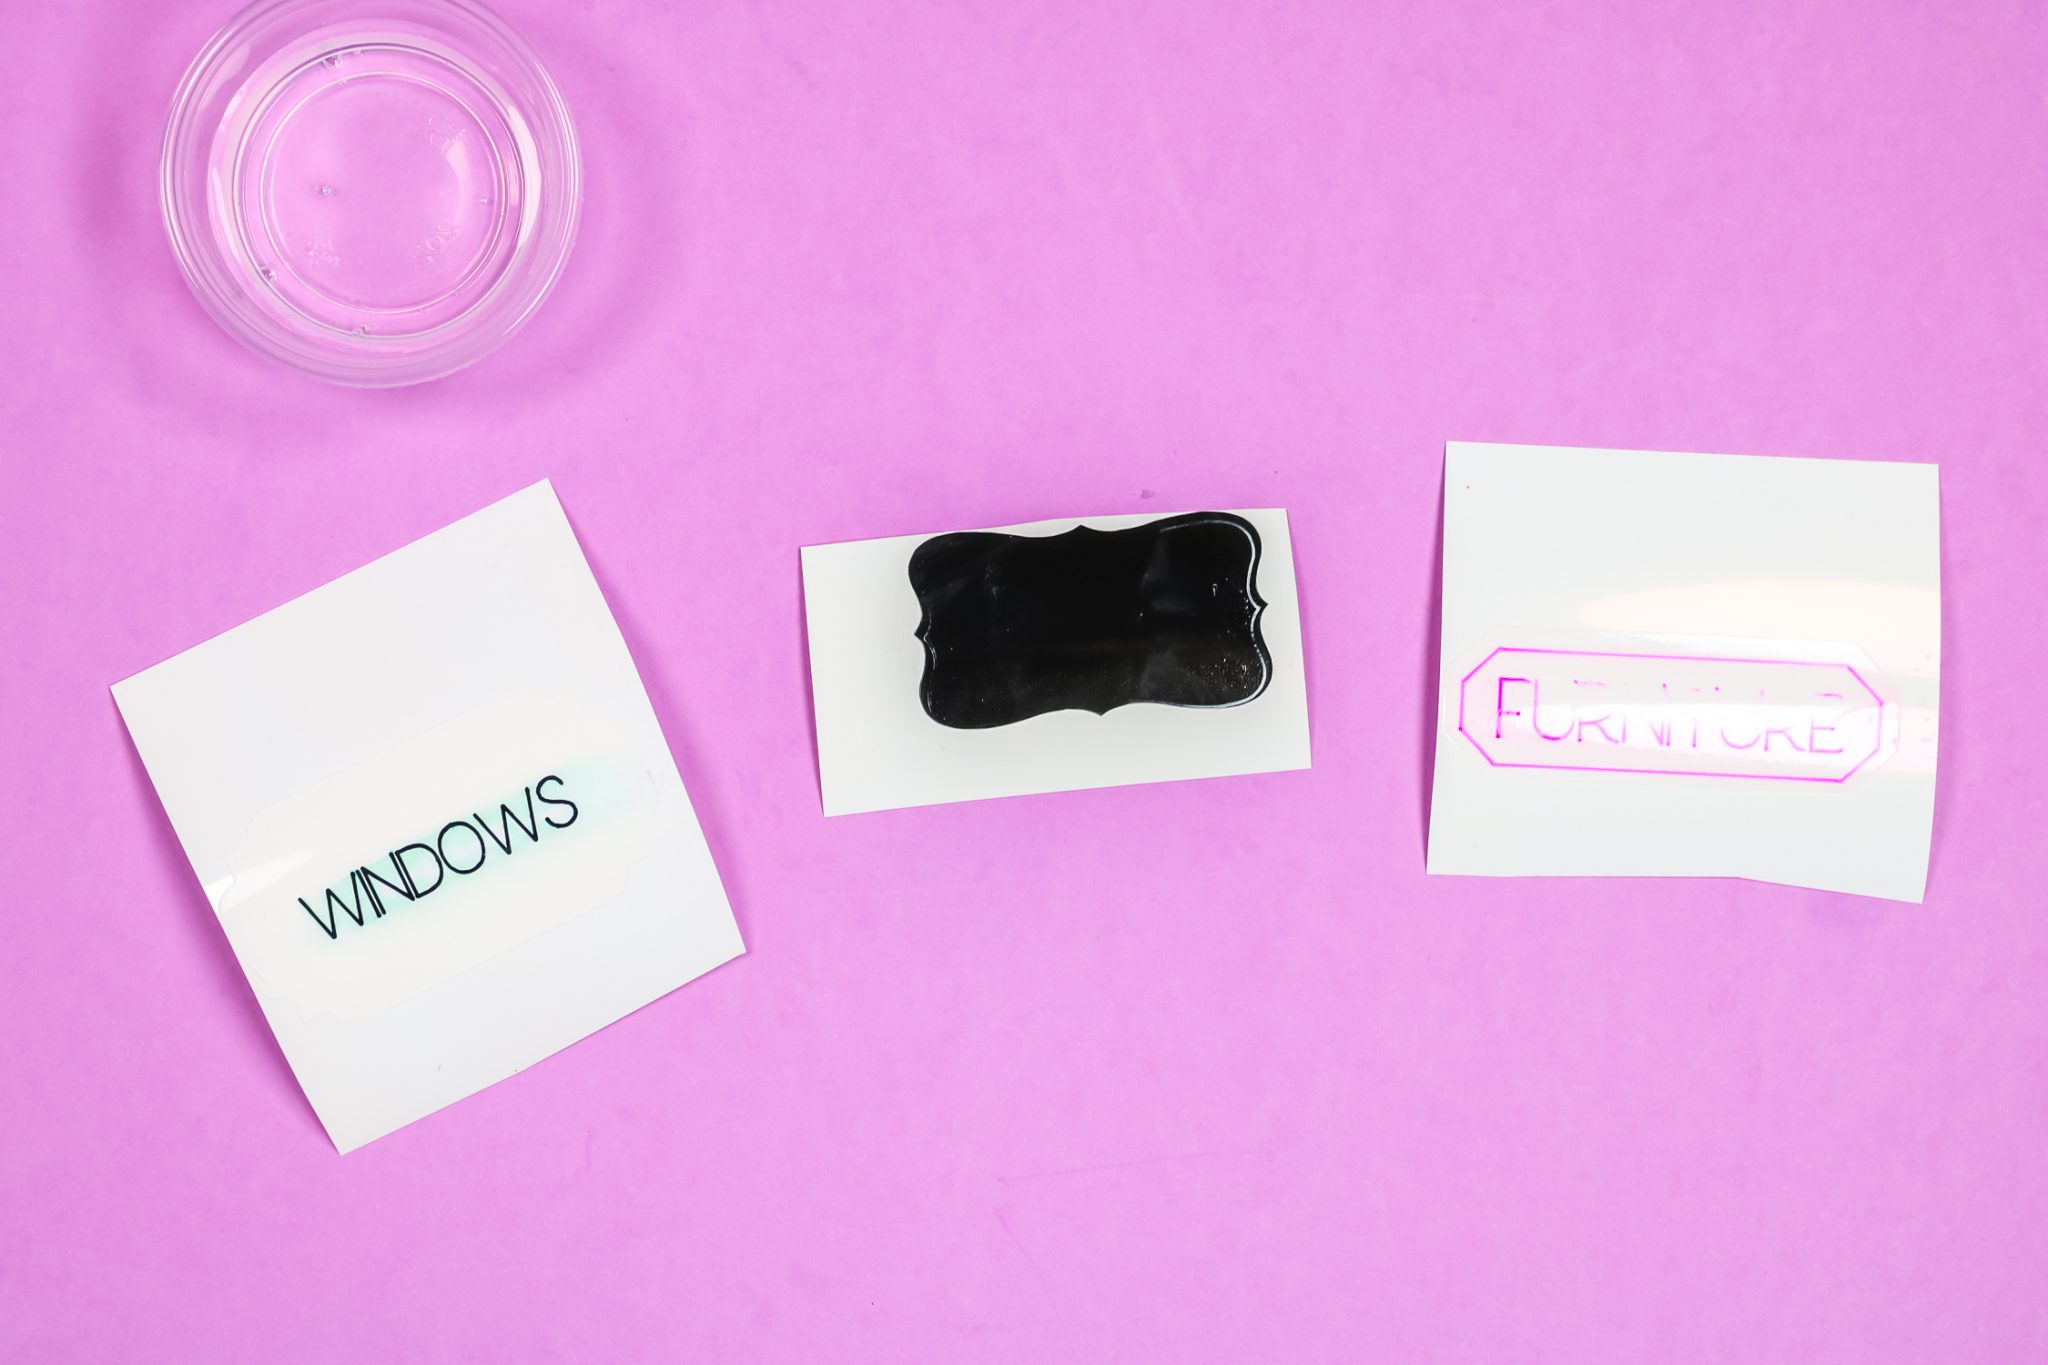
One of the questions I get asked most often about Smart Label material is “Is it waterproof?” I decided to test each material and this is what I found out.
I made sure each label was completely dry before rubbing the ink with a wet cloth.
- White: the ink smears when water is applied with a cloth.
- Clear: the ink actually starts to rub away.
- Black: the ink almost completely disappears when water is applied.
The permanent vinyl itself may be somewhat waterproof or water resistant but the ink is not. If you want to use Smart Labels in places where it may be exposed to moisture, you’d want to protect them in some way. If you need labels that are water resistant, check out my video here.
I hope this answers all your questions about Cricut Smart Label vinyl. If you still have questions feel free to leave them in the comments and I’ll answer them for you.