This post and photos may contain Amazon or other affiliate links. If you purchase something through any link, I may receive a small commission at no extra charge to you. Any supplies used may be given to me free of charge, however, all projects and opinions are my own.
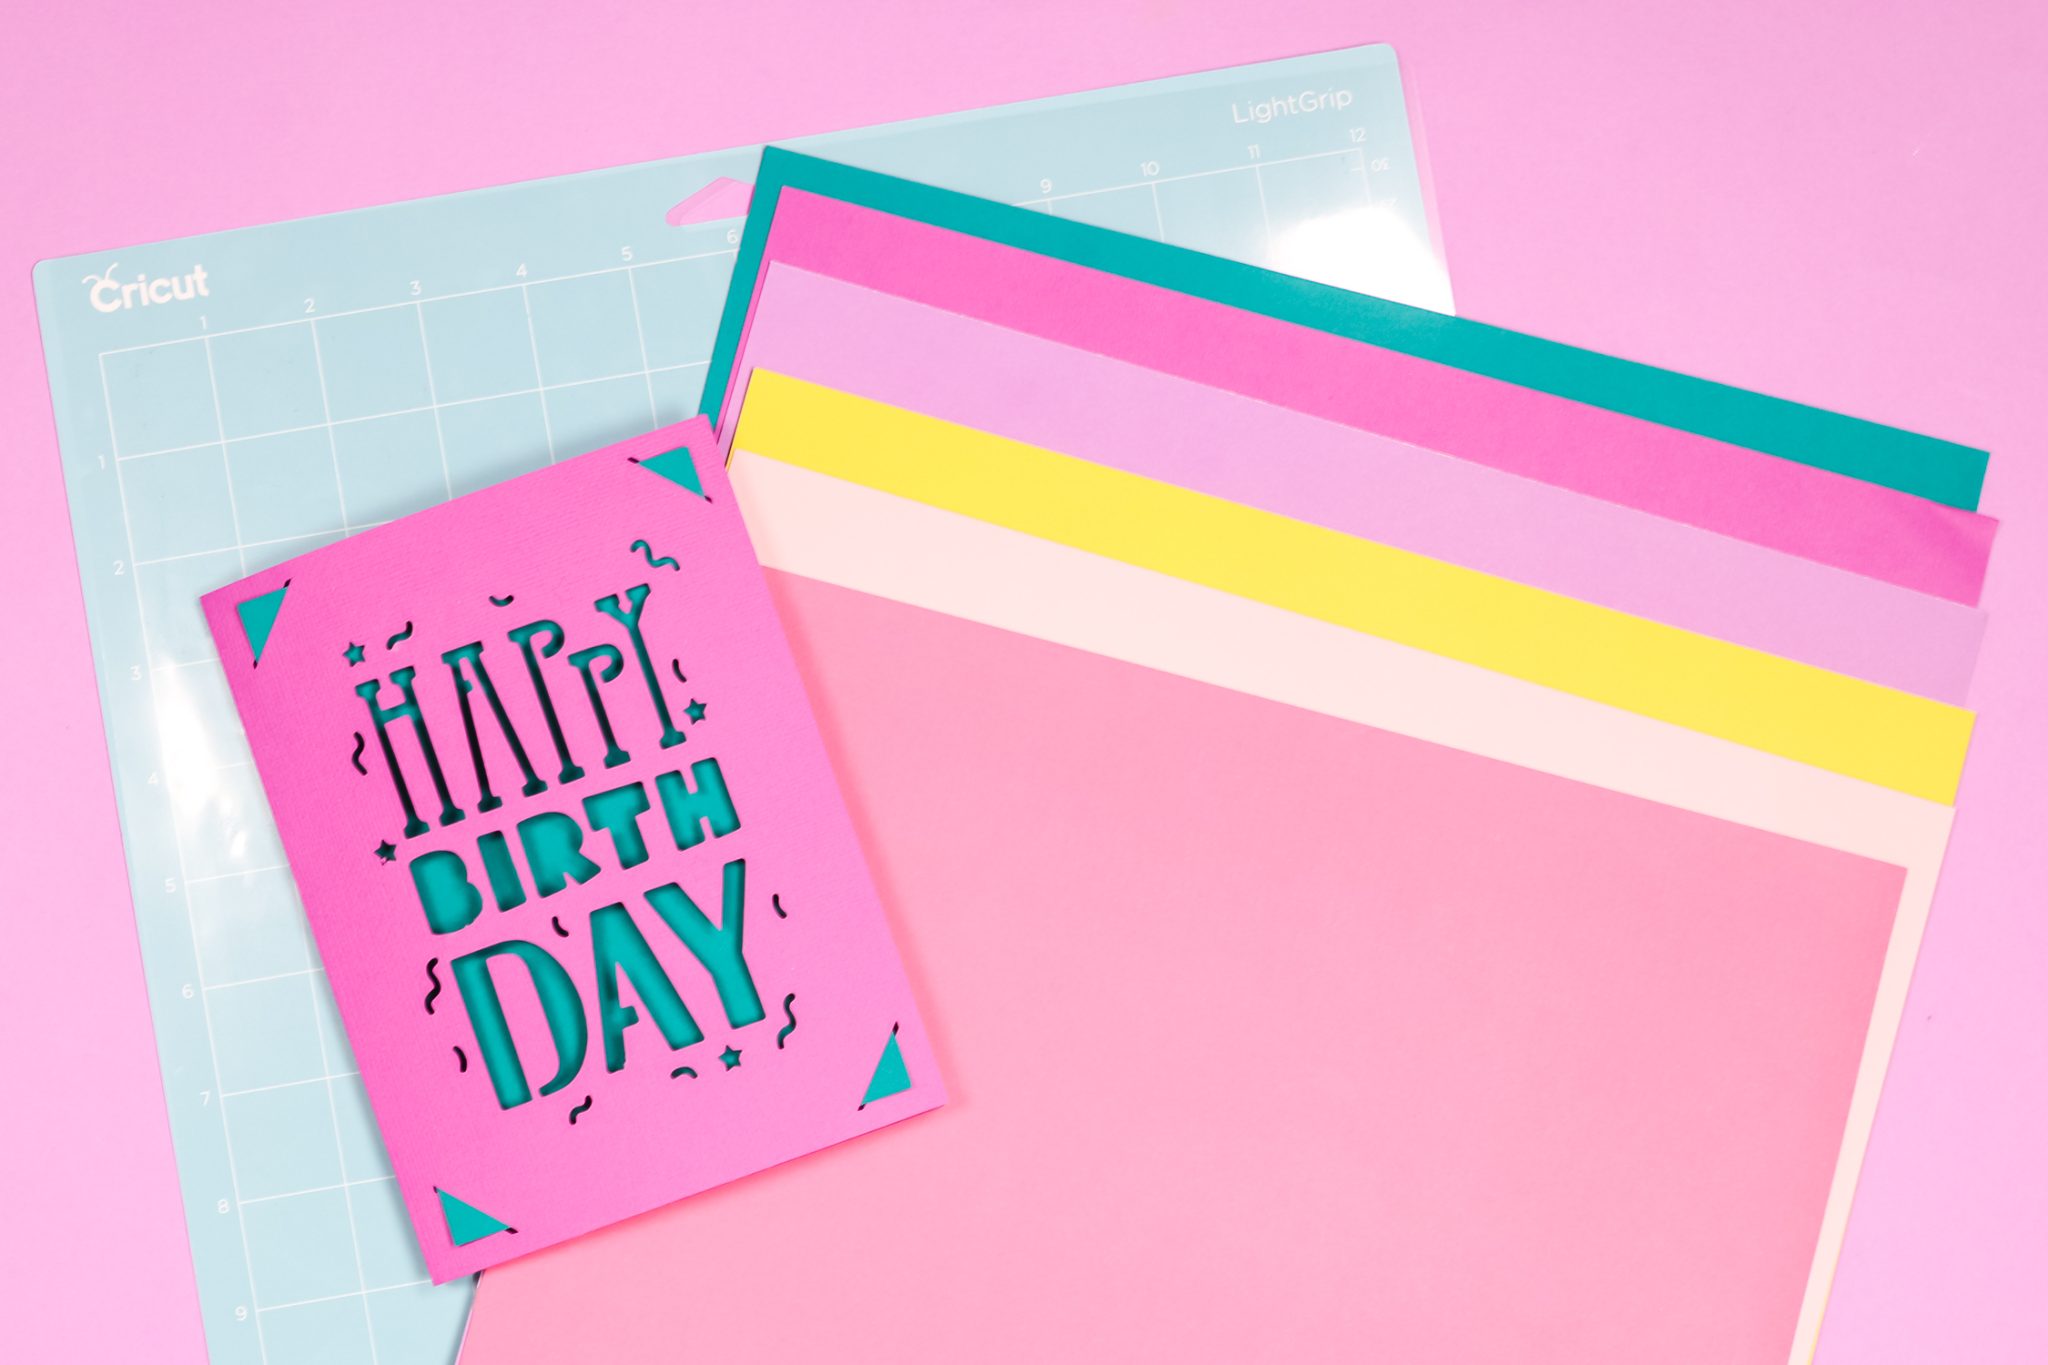
Today we’re going to make easy Cricut cards with no card mat at all! I do really like the Cricut Card Mat and the different card designs in Design Space that allow you to quickly and easily make cards with your Cricut machine. However, I don’t always have insert cards on hand and sometimes I want to make a card using different designs or different cardstock. So I’m going to teach you how I make cards without the card mat using only cardstock sheets.
Want to learn more about the Cricut Card Mat? Read all about it here.
Can You Make Cricut Cards With No Card Mat?
I get asked all the time if you can make cards with your Cricut machine without the card mat. Of course you can! It’s possible to make Cricut cards with regular cardstock and any Cricut machine. You don’t have to buy card kits or insert cards, or anything special at all.
You can watch me make Cricut cards with regular cardstock. Just press play on the video below.
You can make all types of Cricut cards without a card mat. Any of the card designs in Design Space can be made without a card mat, including the super popular insert cards! Let’s look at what supplies we need to make cards with a Cricut machine.
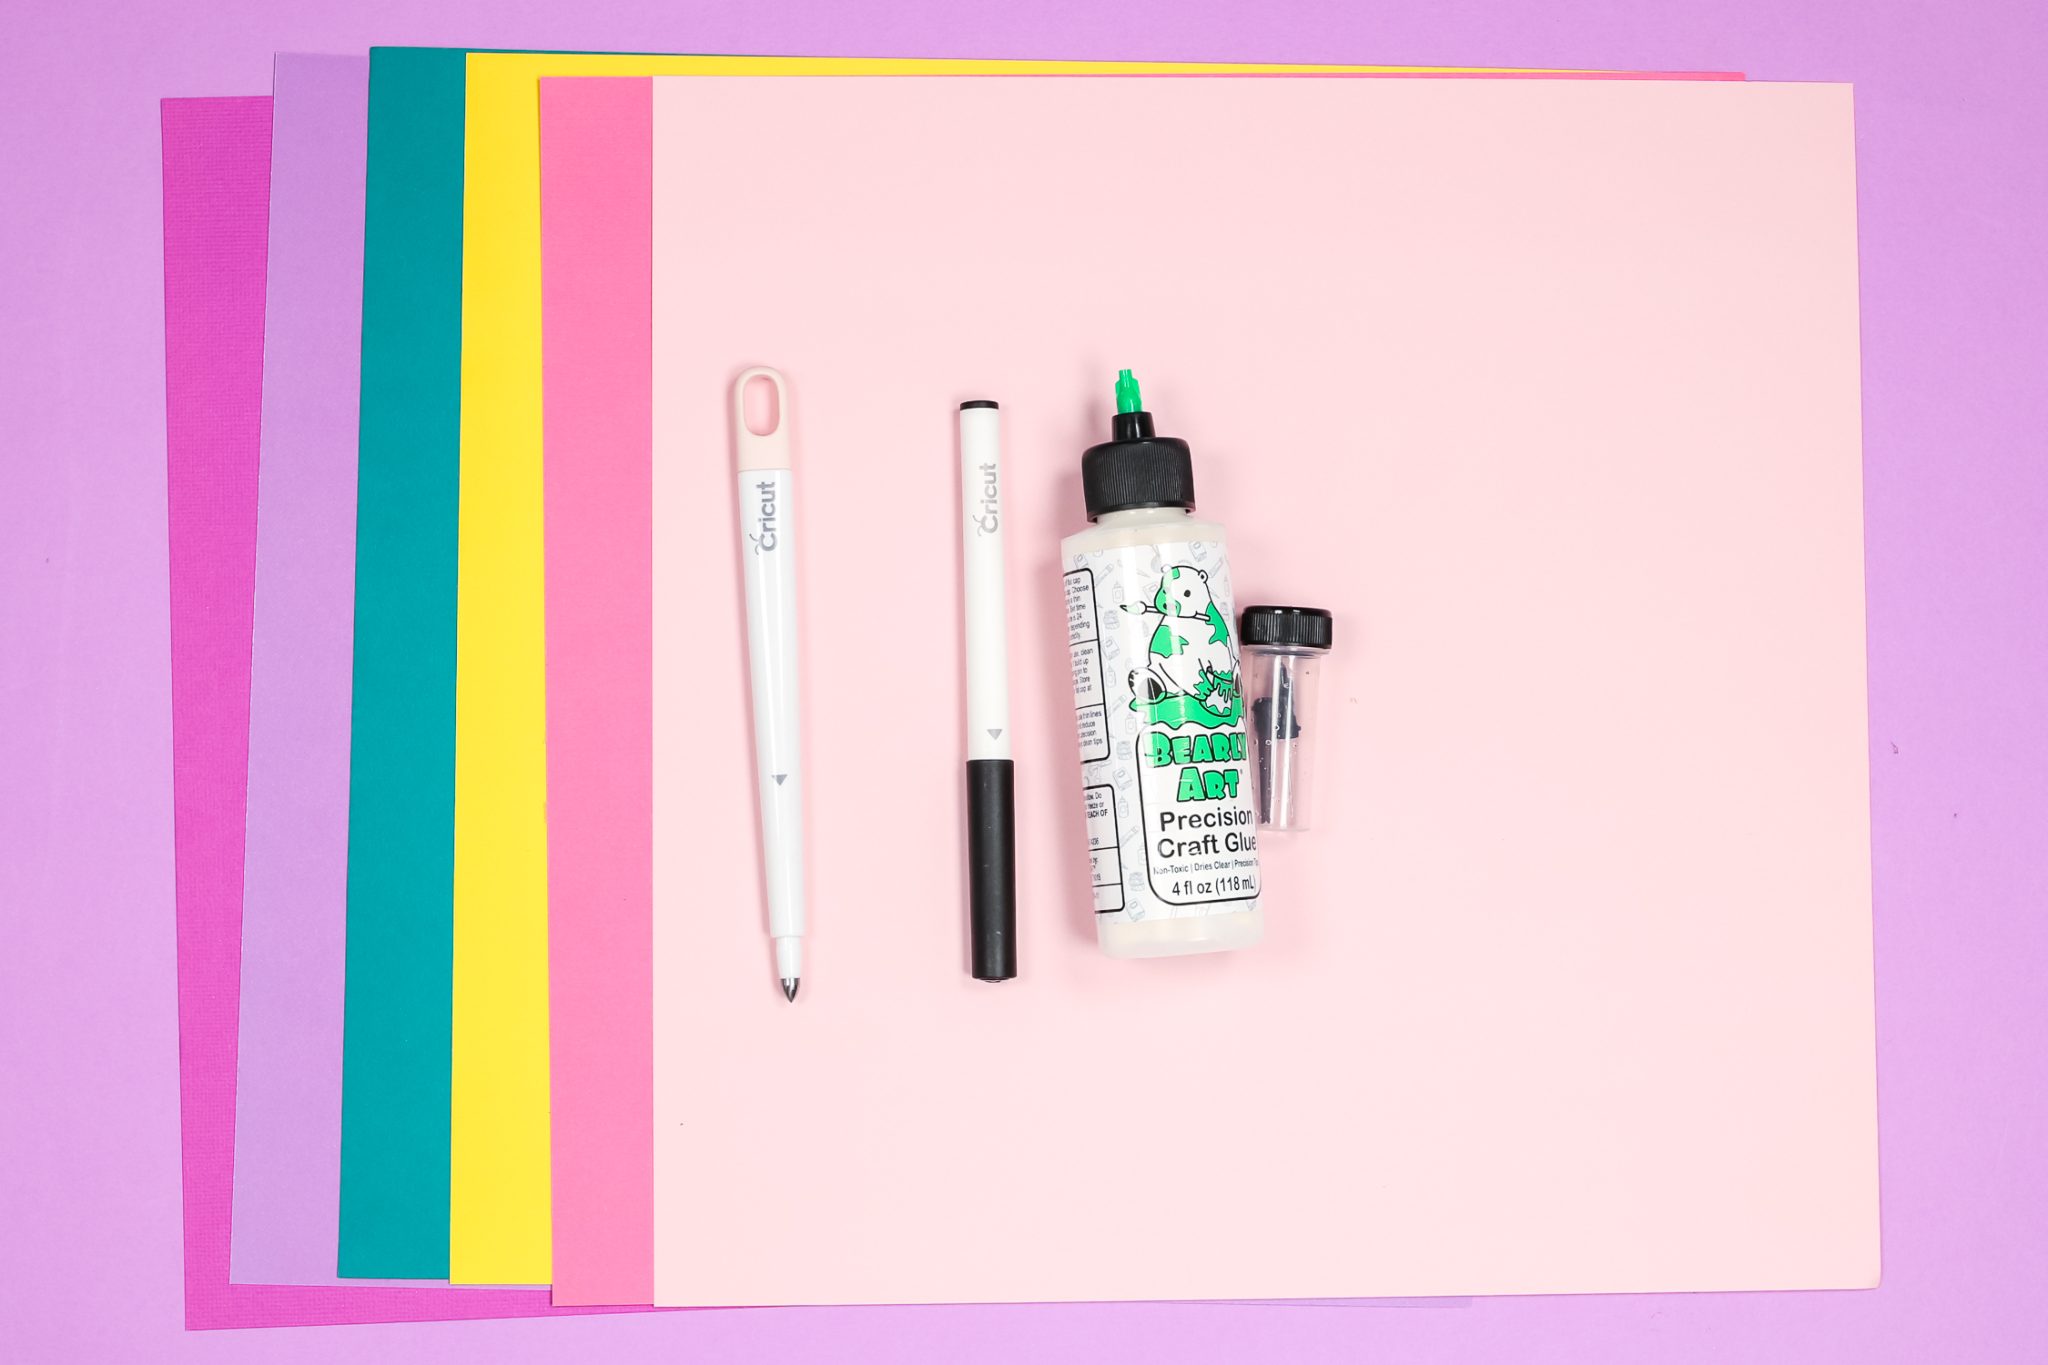
Supplies Used:
How to Make Cricut Cards in Cricut Design Space
You can use any Cricut machine to create cards but the Cricut Joy is going to be extremely limited in size. It was the reason the card mat was originally made. If you try to make cards on the Cricut Joy without the card mat, it would have to be a very small card. I’m using my Explore Air 2 so I can make a standard-sized card.
How to Find Images that Work
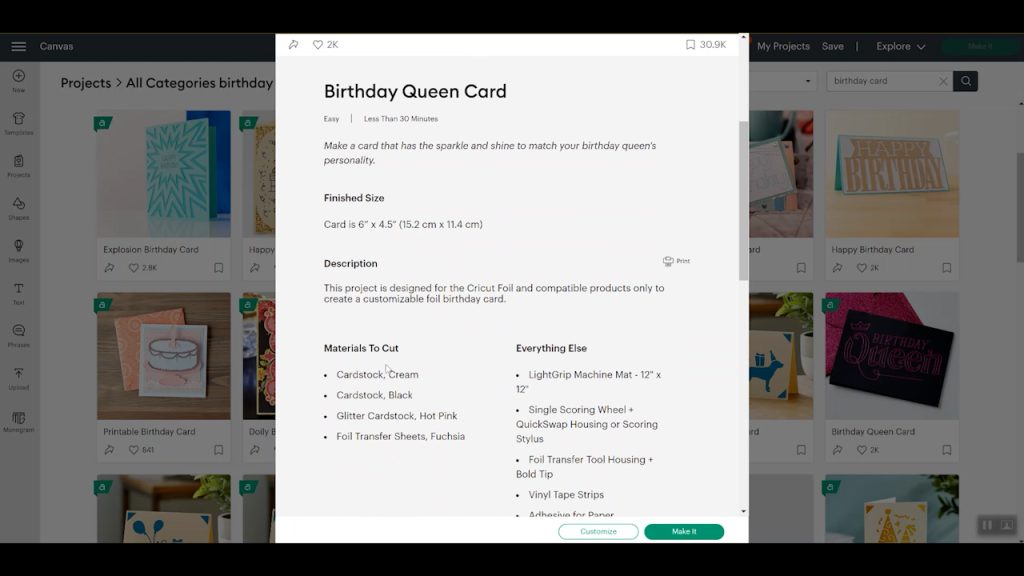
Begin by opening Design Space and find an image you want to use. You can look at projects and search for cards. I am going to search for a birthday card, there are several options to choose from. One option is the insert card designs. You can pick one of those and select customize to use without a card mat.
You can also choose a project that wasn’t designed to be used with an insert card. I suggest looking for cards that can be made using cardstock, those often have the cut file for an envelope to fit the card included which is nice, especially if they’re odd-sized cards. Click on each project and scroll down to see a list of materials to make to check to see if the card was meant to be used with the card mat.
When using ready-made projects in Design Space you have the option to “Make It” which means you want to make it exactly like Cricut has it set up and will take you right to the mat screen. You can also select “Customize” this will put the project onto the canvas screen and from there you have the option to edit, resize, change out images, etc. With Cricut cards in Design Space that are not Insert Card designs, you can choose either option and proceed to cut on a regular Cricut mat.
How to Customize Insert Cards
If you choose a project that is an Insert Card you need to select customize before proceeding. If you have an Insert Card selected and choose “Make It” Design Space is going to assume you are using a card mat and you won’t be able to adjust that from the mat screen.
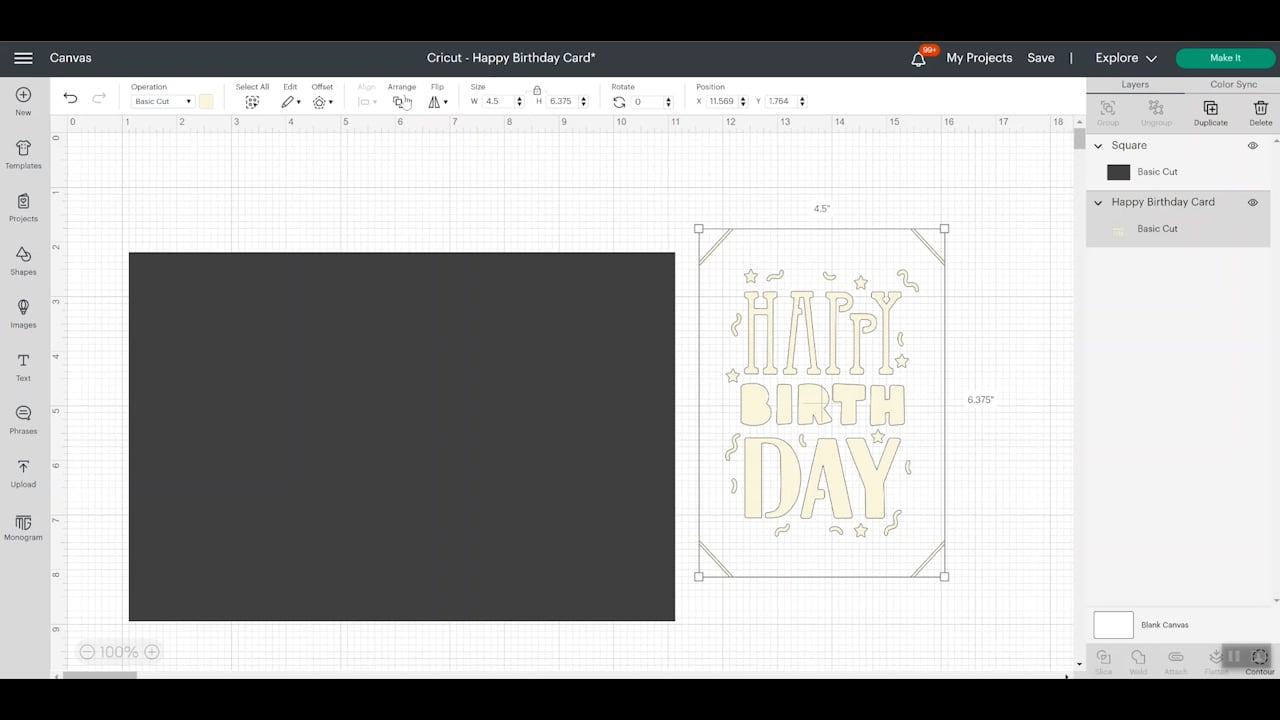
Select customize and your image will be placed onto the canvas. You’ll notice that you only have a cut (or cut/draw depending on the card selected) image on the canvas. Because this is an Insert Card project Design Space thinks you’re using an Insert Card and the Card Mat.
To create a card without using a card mat, we need to attach that image to a card shape. The size of your image and rectangle will depend on what size you want your finished card. For my project, the image is 6.375 inches tall so I am going to make the height of my card 6.75. For the width I want it to be more than double the width of my image. My image is 4.5 inches wide so I want the front of my card to be 5 inches wide. That means my rectangle will need to be 10 inches wide and 6.75 inches tall.
The finished size is completely up to you, this is the size I’m going to use today.
Adding a Score Line in Design Space
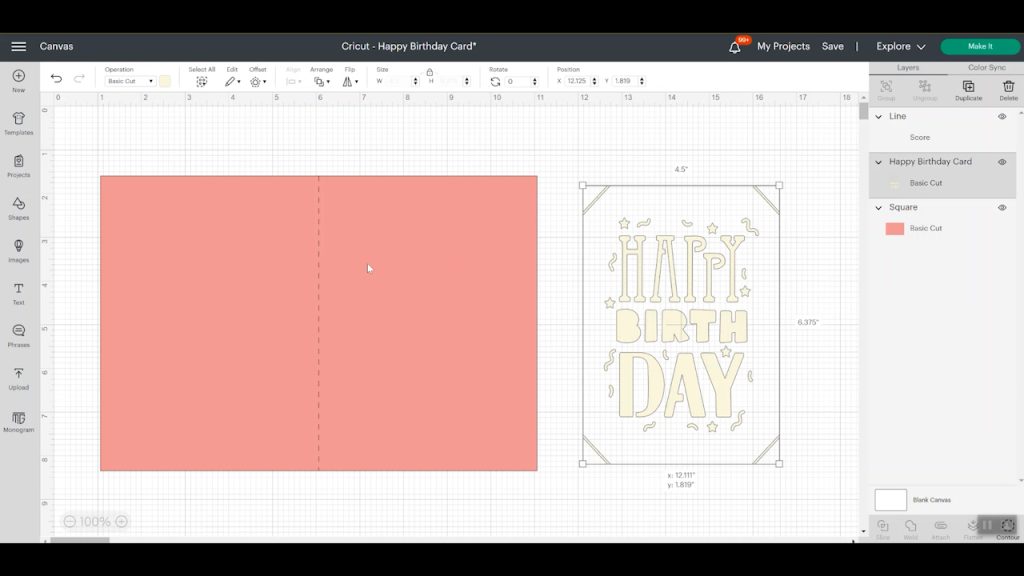
Now that I have my image and rectangle on the canvas it’s time to create an actual card project. We will want a score line down the middle of the rectangle to help create a front and back of the card.
To add a score line, go to shapes and add a line. Make the line the same height as the card, 6.75 inches. Change that line to a score operation on the dropdown in the top menu. Select the rectangle shape and the line, then select align and center. This will put our score line exactly where we need it.
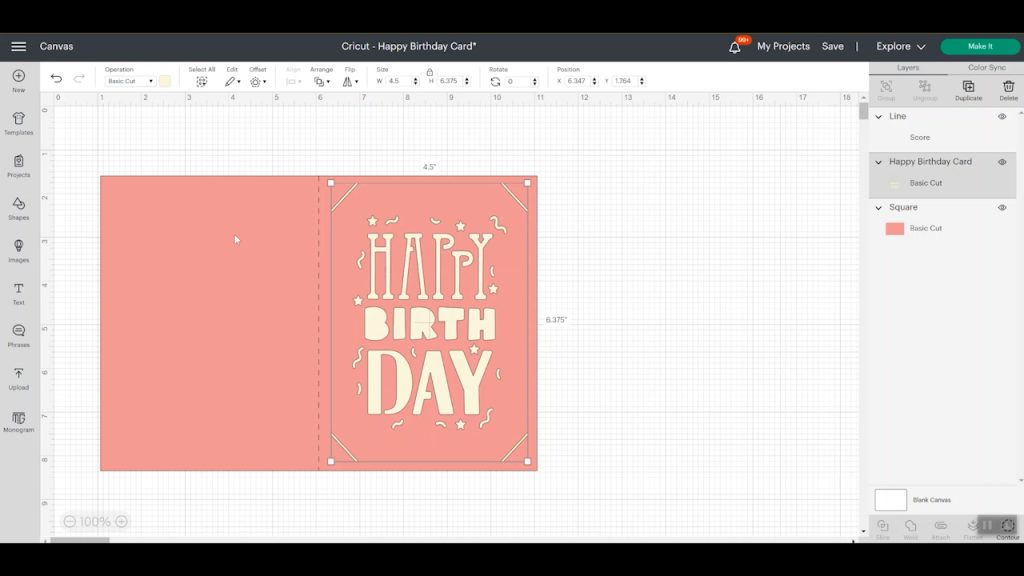
Next, arrange so that the cut file for the card front is on top. Lay it over the card and make sure it’s sized to fit. Pick the rectangle, score line, and front of the card and click attach. You have now made a card!
How to Create an Insert Piece
This card also requires an insert since it is an Insert Card design. To do this, we need to add another square to the canvas and then resize it. You want that insert rectangle to be slightly smaller than the size of the card design. I am making mine 4.4 inches wide and 6.275 inches tall. That will fit inside the insert corners.
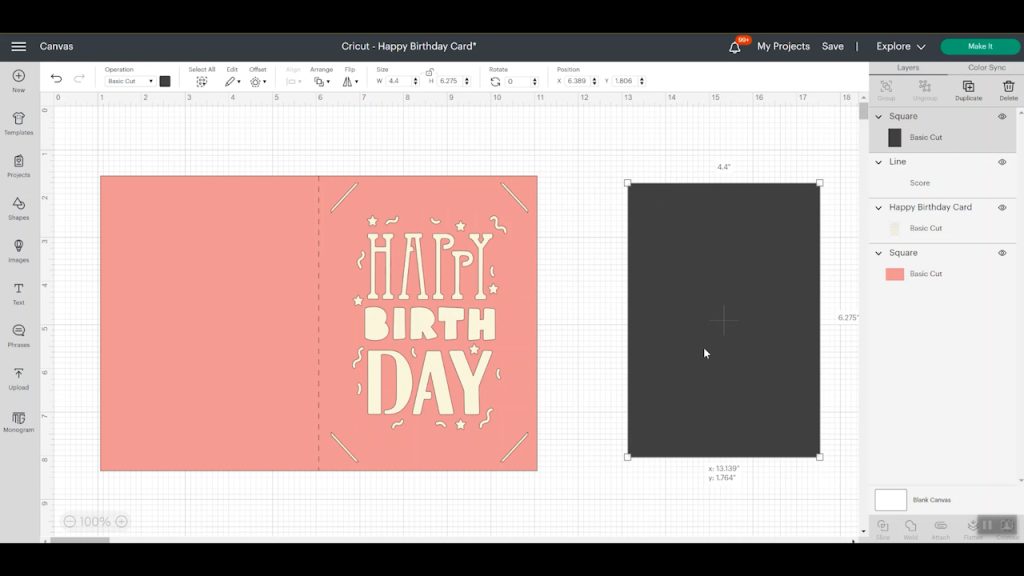
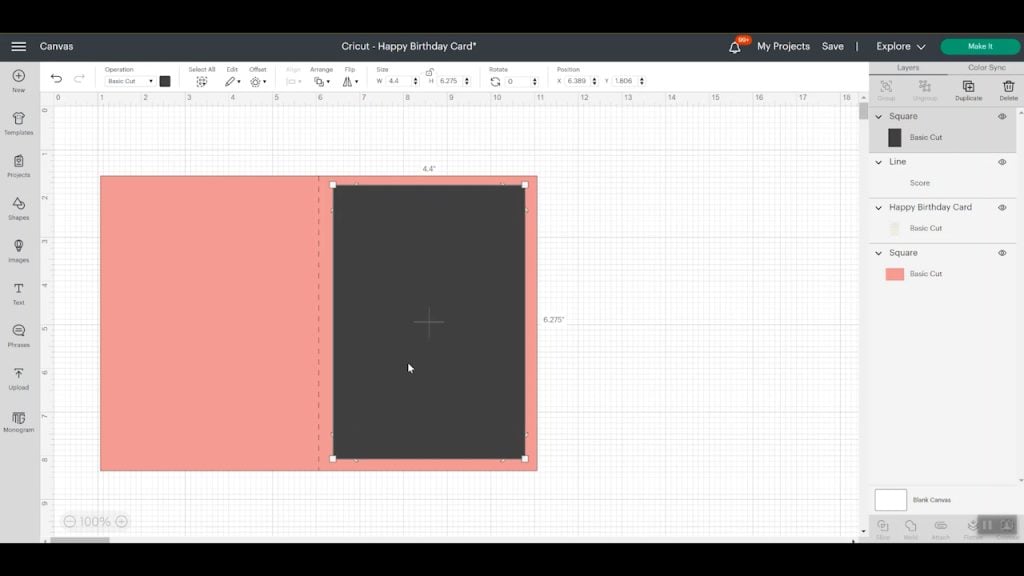
To double-check your size, you can move that layer and place it on top of the image to make sure the corners fit inside those insert cuts. Now I have all of the pieces for my card ready to go!
More Ideas for Making Cricut Card Designs
We can search for a birthday card in images and then on the left side under Material we can select paper/cardstock. This will bring up only projects that are to be made out of cardstock. Many of them will include an envelope. We could pull up cards that are made to be insert cards and follow the same steps we used for projects or we can create our own from scratch.
How to Create the Card Base
Go to shapes, select a square and resize it to whatever size shape you want. You can add text, cutouts, or anything you want. You just need to make sure and attach them together as we did before.
Do I Need to Make an Envelope?
I do want to remind you to consider if you need an envelope or not. If you create an odd-sized card, you may need to also create your own envelope. Another option is to purchase envelopes and then size your customized cards to fit within the envelope.
If your card design doesn’t come with an envelope, you can either add an envelope image to your canvas and size it to fit your card or you can find a project that comes with an envelope and delete the card from it and cut out just the envelope.
Can I Add Writing to Cards?
Another way you can customize it is to add written text with pens to your Cricut cards. There are two basic ways to do this.
The first option is to make an insert, add the writing to it, and then using glue attach it to the inside. This is a great option if your card has writing on the front of the card or is made out of a dark cardstock and the pens you have would not show up.
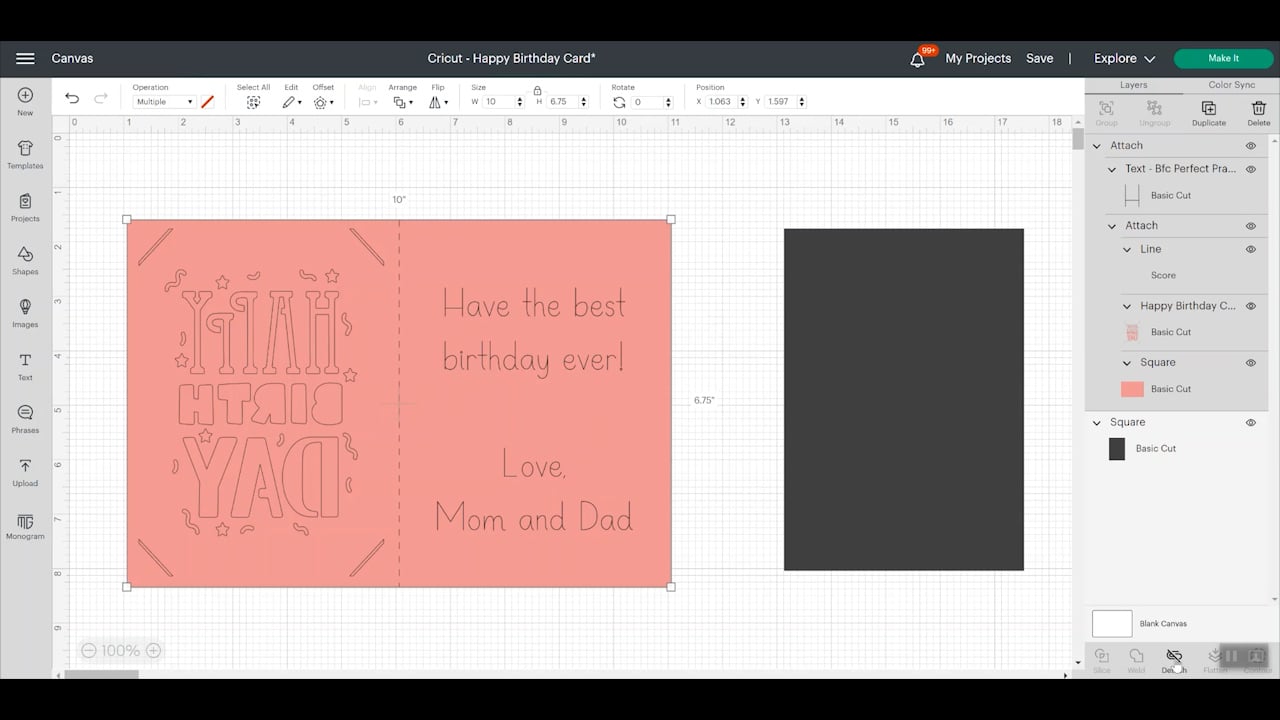
If your card doesn’t have any writing on the front design, you can select your finished card image and in the top toolbar select flip and then flip horizontally. Now the card will be cut backward and we can add the text to the right side of the card. Add your text and then select a writing font. When everything is in place and sized correctly, select the text layer and the card and click attach.
How to find a Writing Font
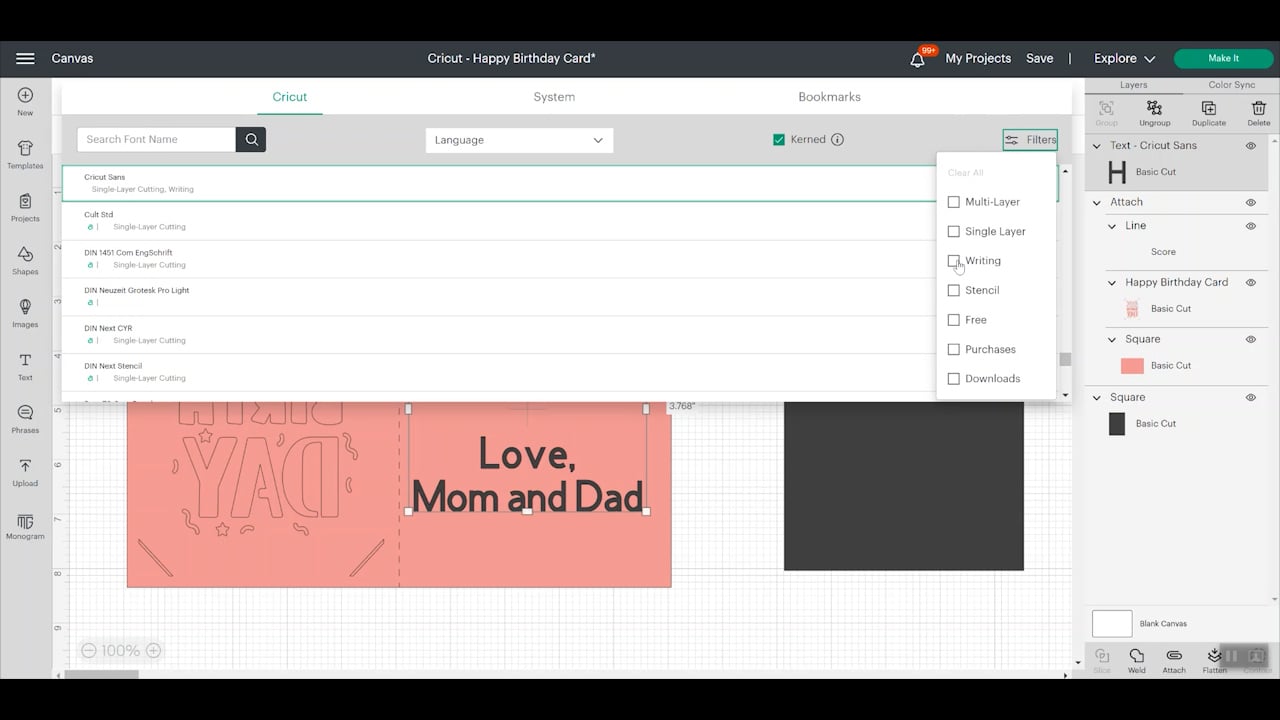
Select your text and then in the top toolbar, under Operation, select writing and what type of pen or marker you’re going to use. In the fonts menu under filters, select writing. You can choose a Cricut or System font but I have found that Cricut fonts do better for writing.
I am using the BFC Perfect Practice font and then changed the style to writing.
Don’t want to use Cricut fonts? See my guide here for finding single line fonts for writing!
How to Cut Cricut Cards
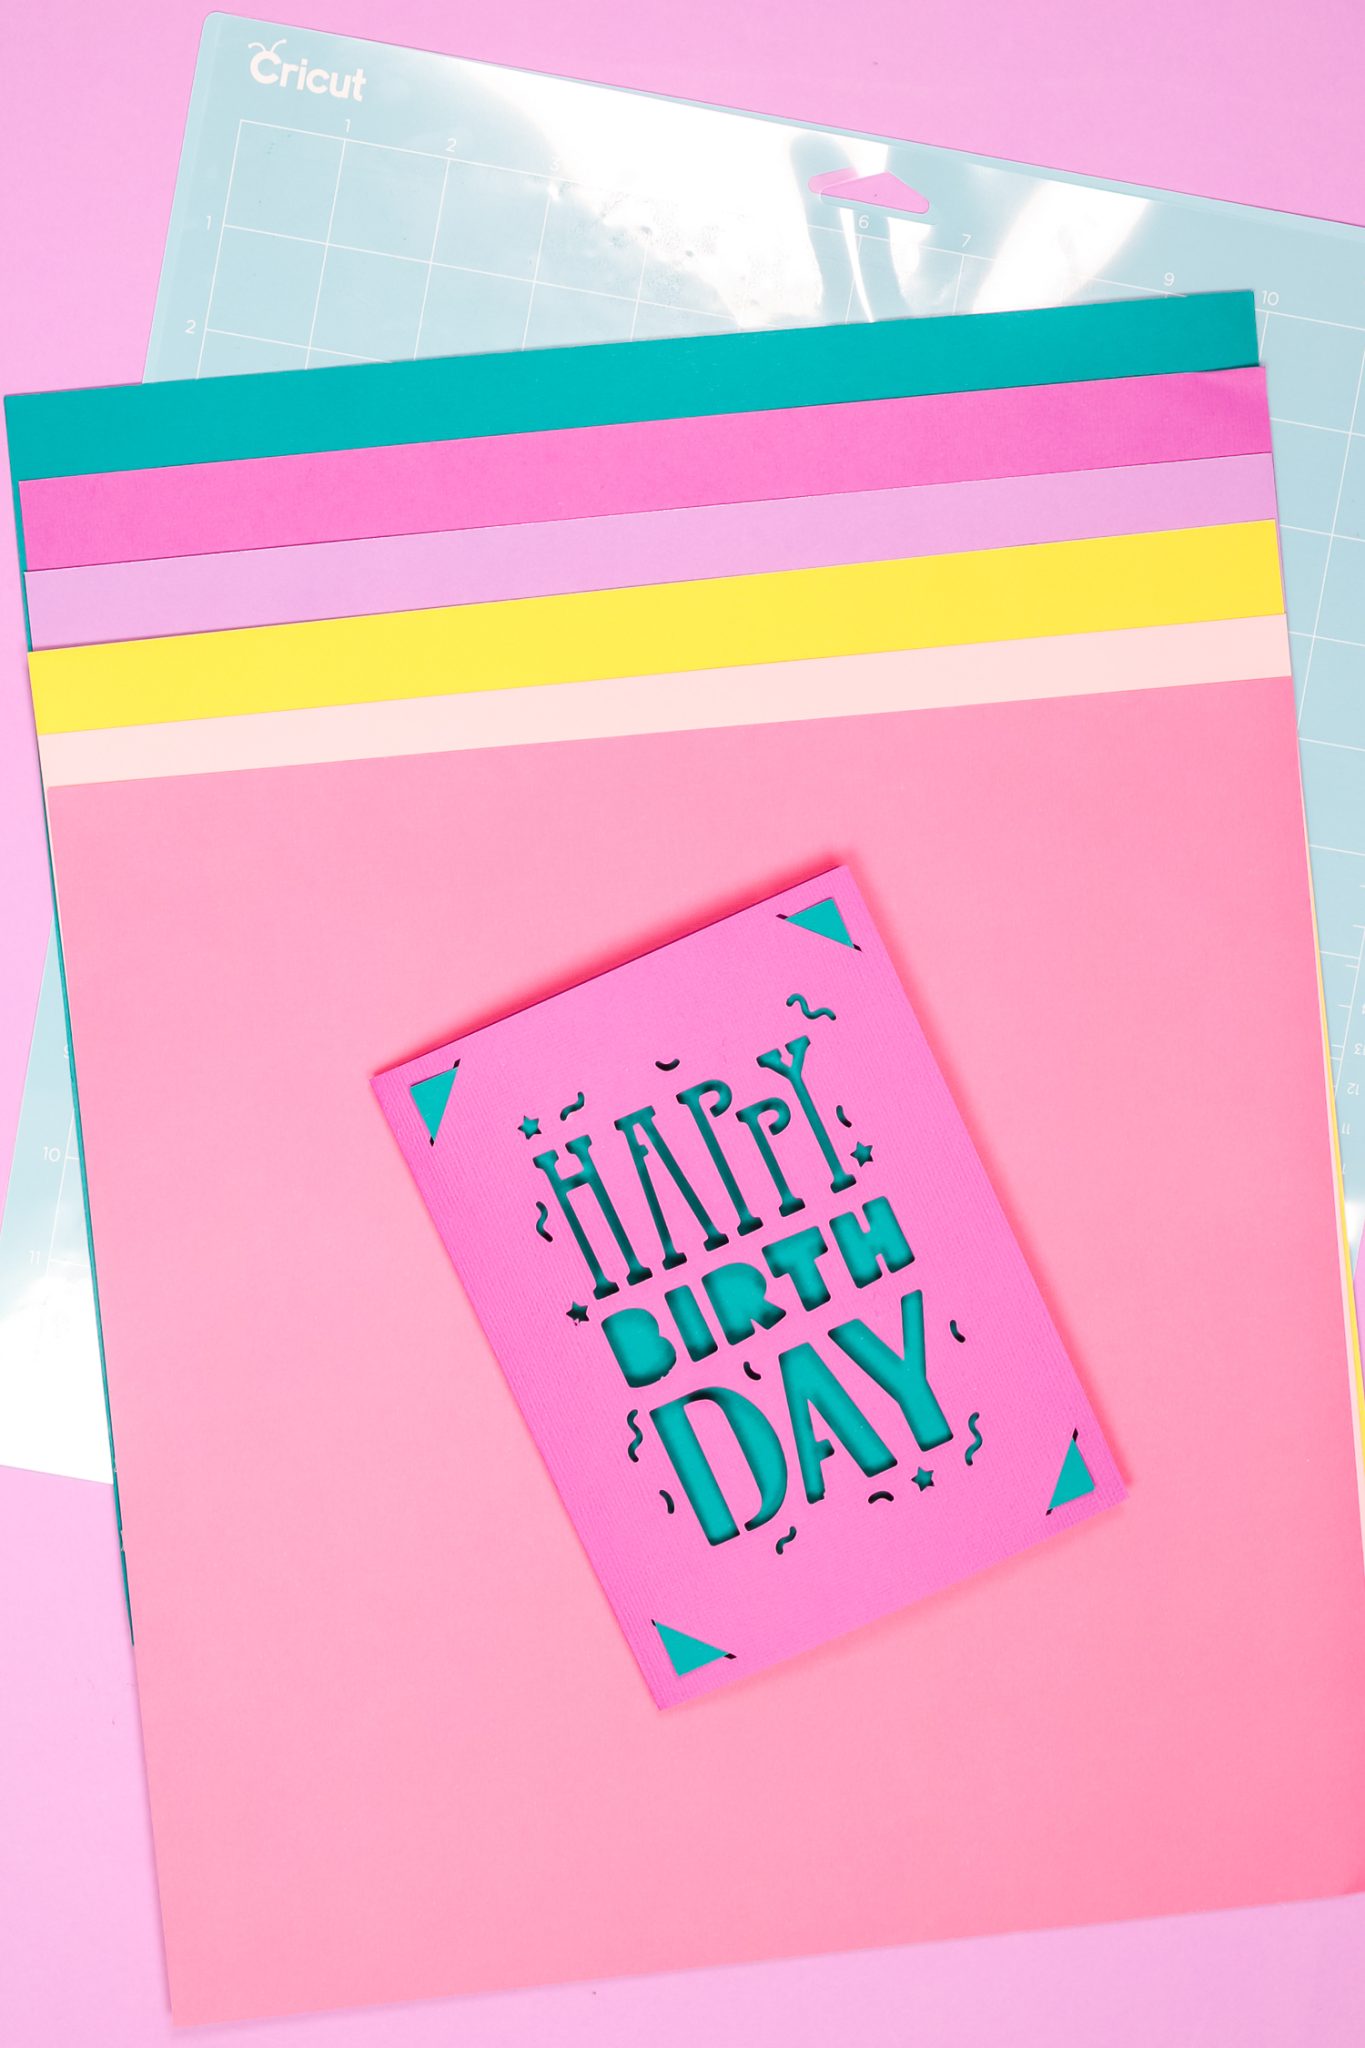
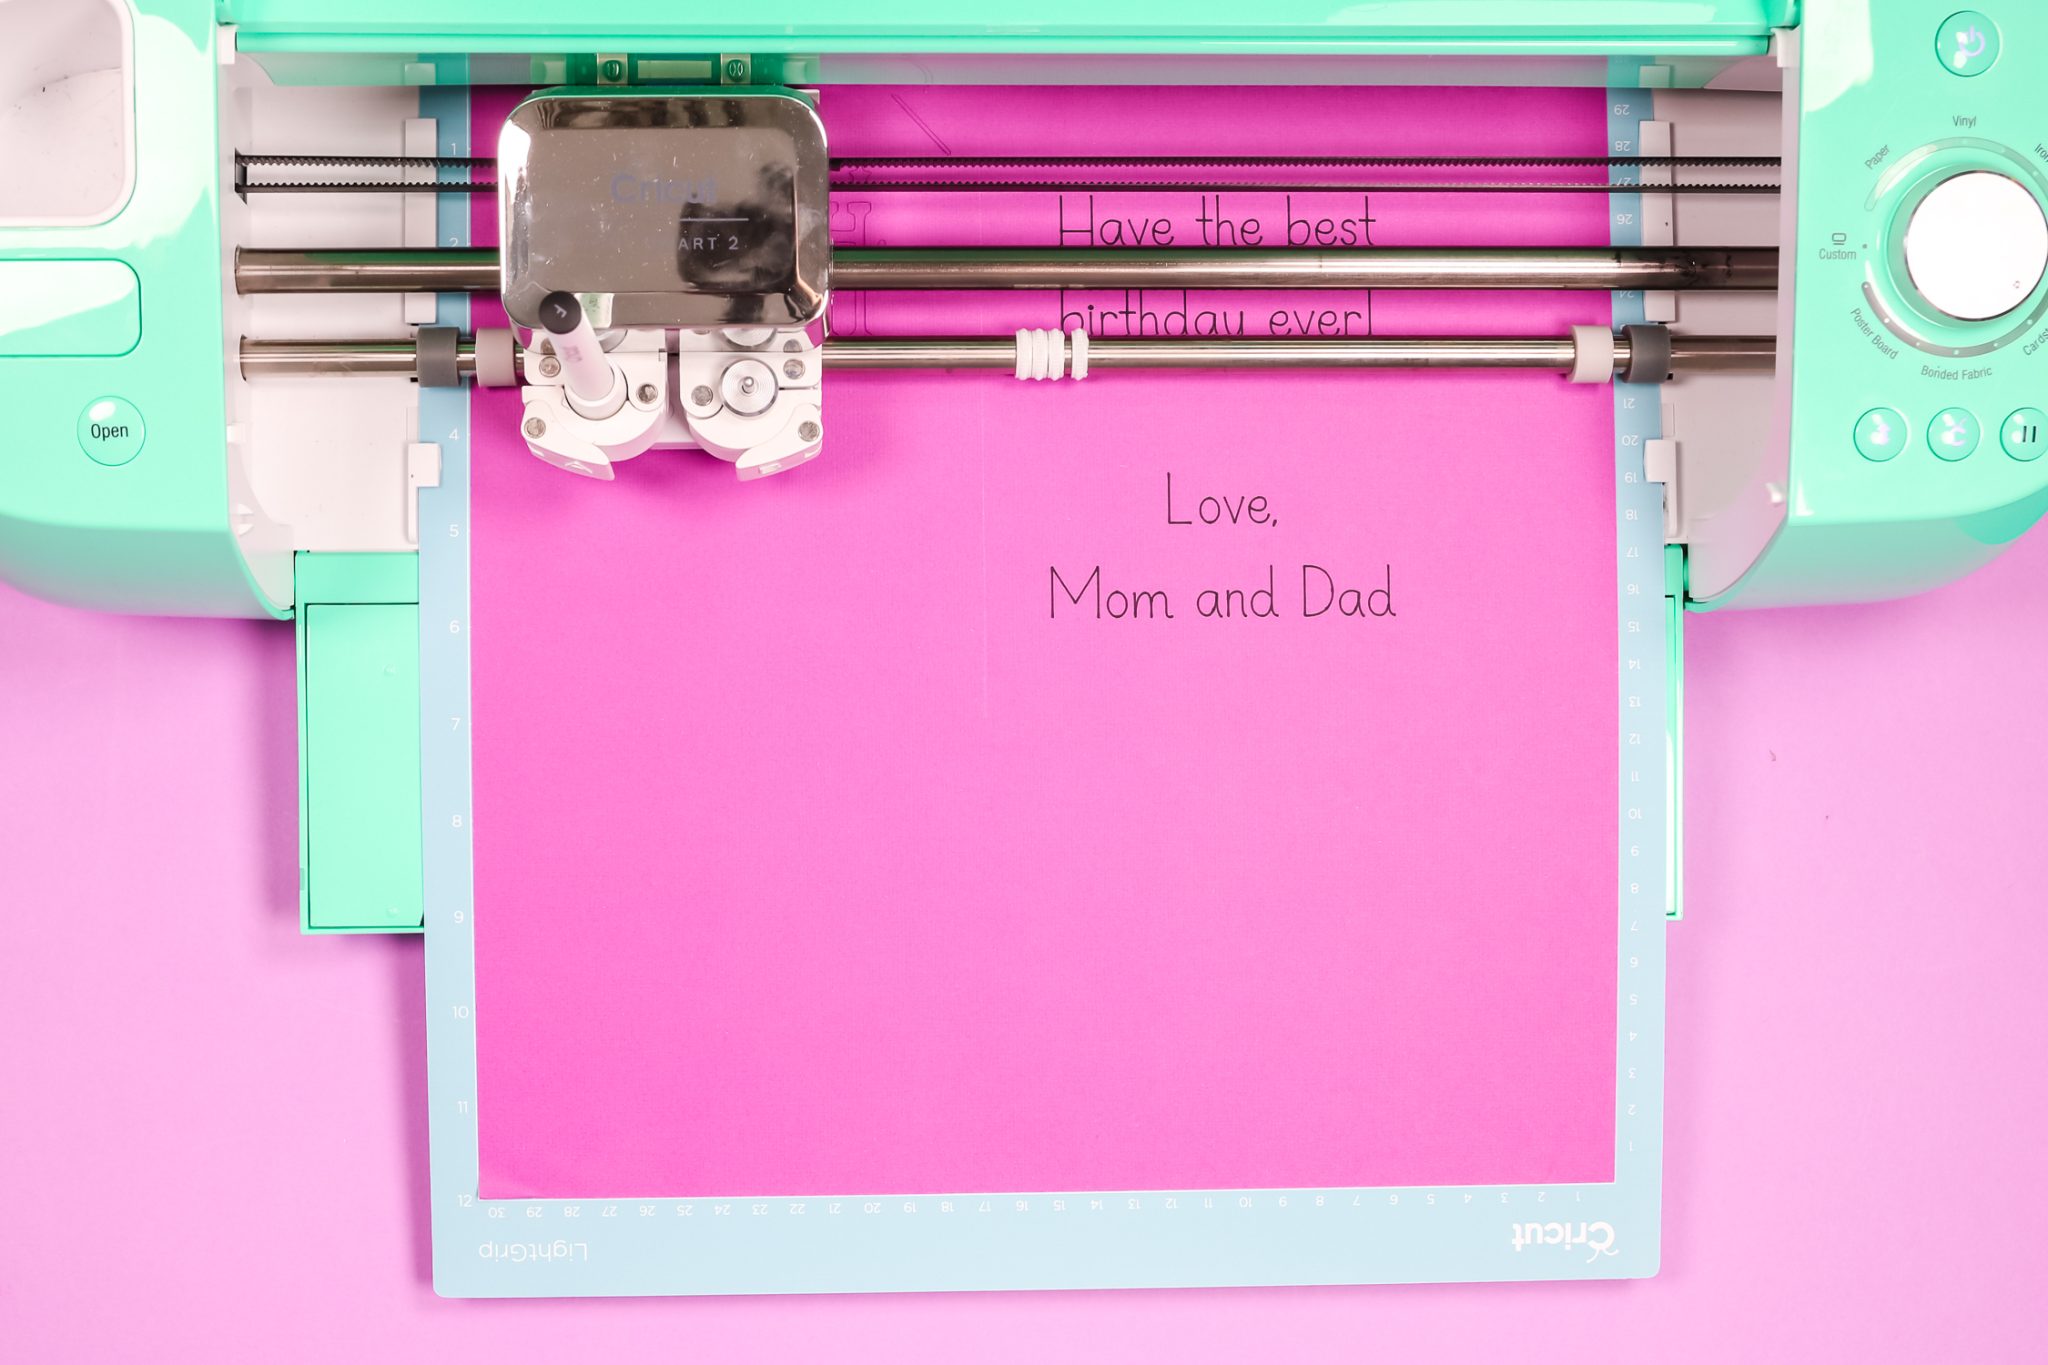
Now that we’ve created a Cricut card that doesn’t require a card mat, let’s cut it out. Add your cardstock to your cutting mat, I prefer to use the blue LightGrip mat for cardstock projects. Check the setup on the mat screen and what pieces will be cut first. This is especially important if your paper has a front and a back.
For my project, the front of my card is facing the mat. So my cardstock front needs to be down on the mat.
Follow the prompts in Design Space for when you need to add your scoring stylus (or scoring wheel), pens, and the fine point blade. Because I’m using an Explore Air 2, Design Space is prompting me to add the scoring stylus into clamp A, the fine point blade is in clamp B. If you have a Maker, you can see the difference between the scoring stylus and wheels here.
Load the mat and press go. The machine is going to score first then it will pause to change the scoring stylus to the pen. Press go again and the machine will write and then without pausing cut out the design.
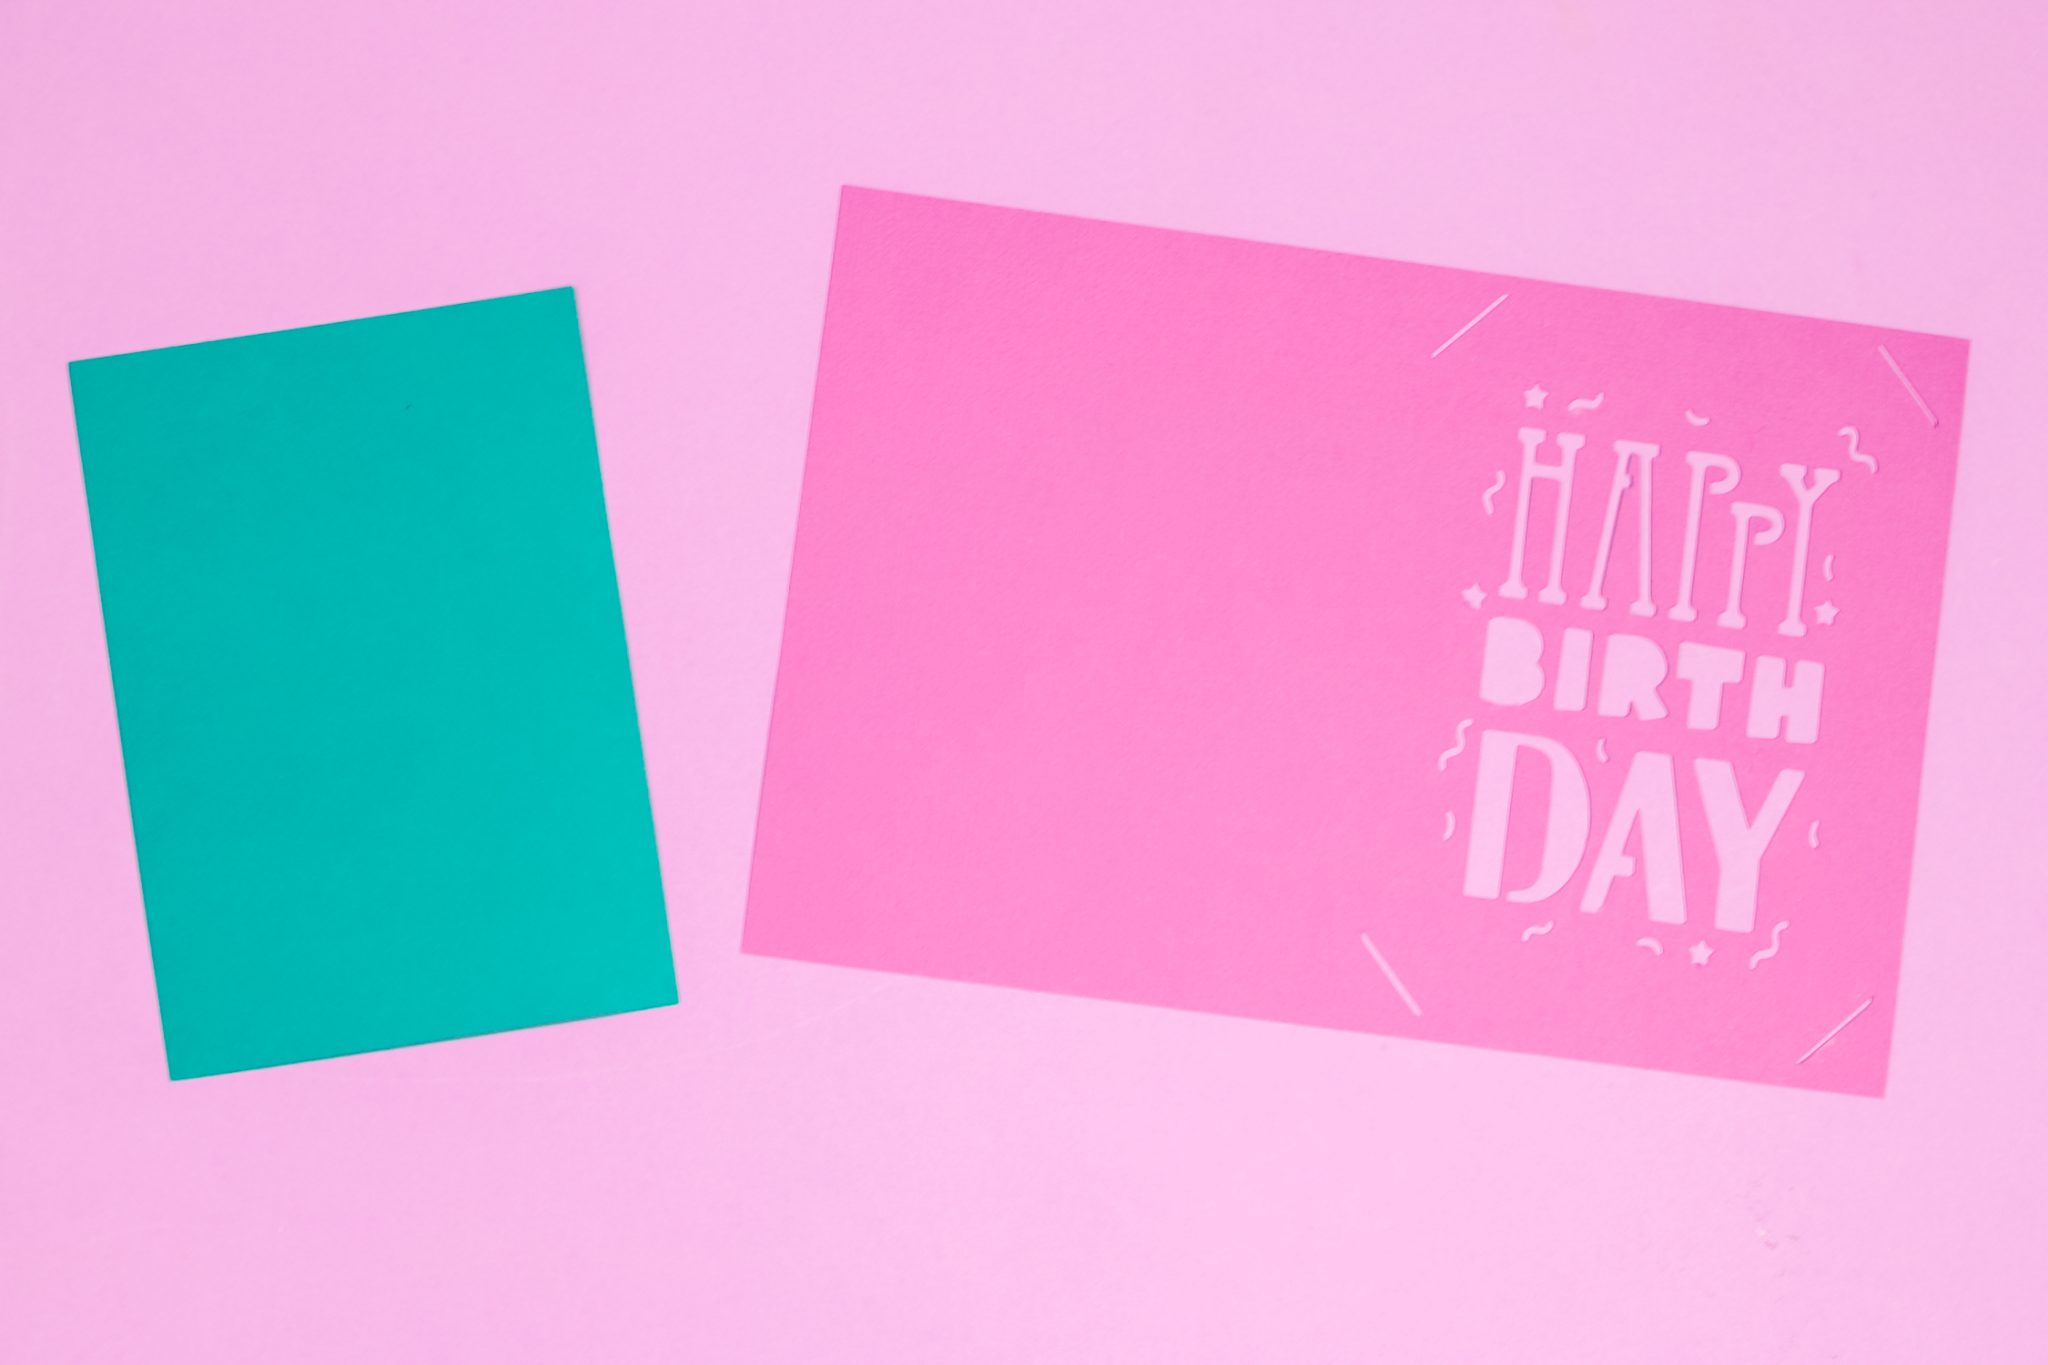
Once your cuts are done, remove the mat from the machine and then flip the mat over and slowly roll the mat back away from the card. For my card, I need to cut the insert for the card out so repeat the same cutting steps.
How to Assemble Cricut Cards
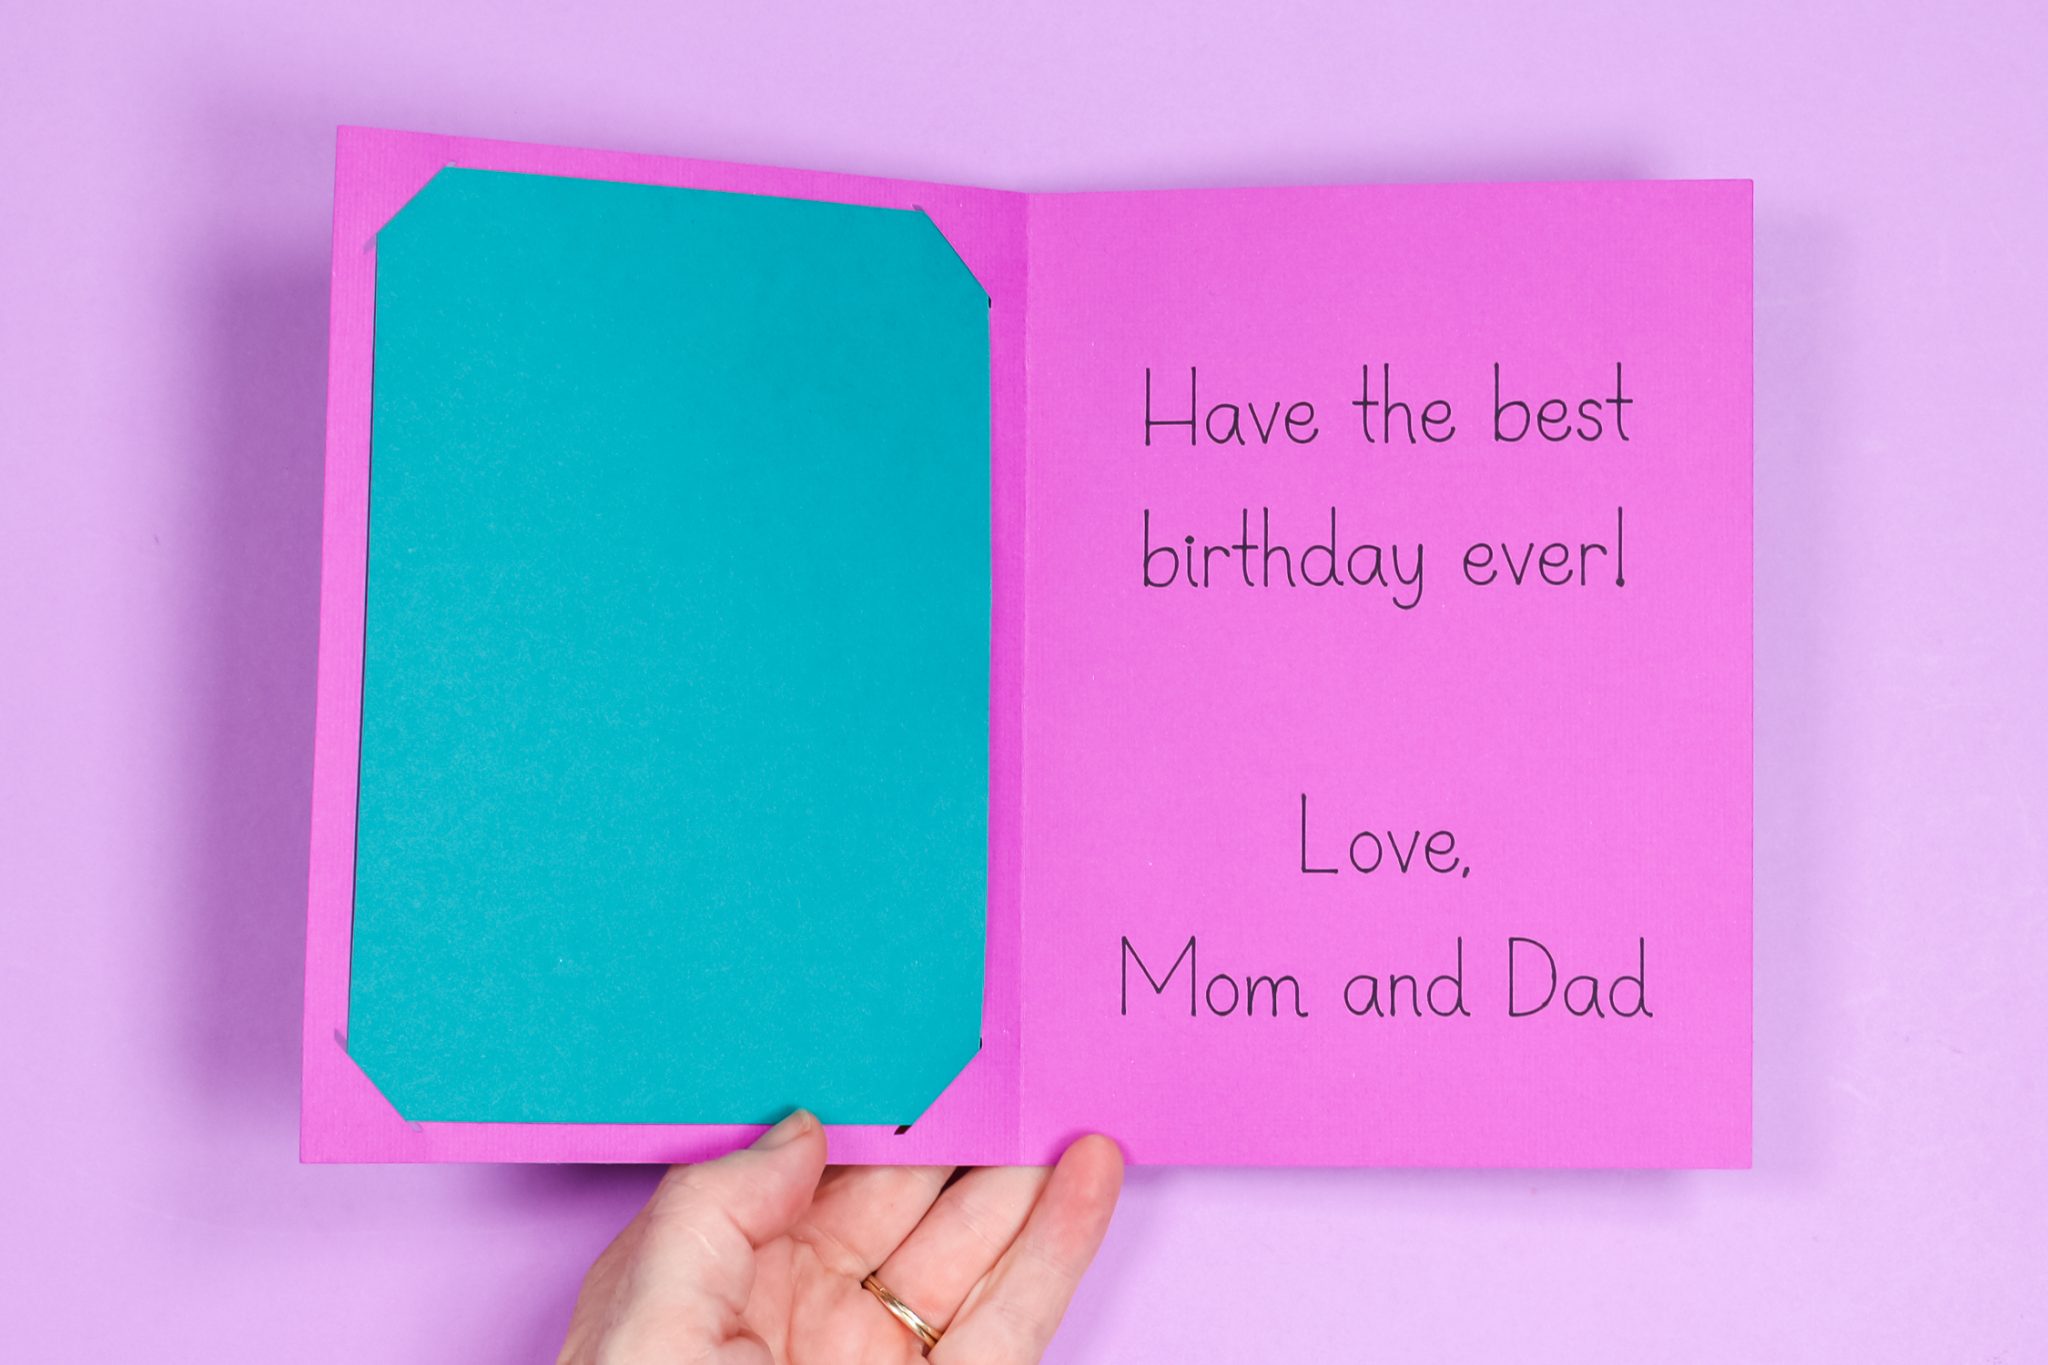
To assemble this card begin by folding the card along the score line. You should be able to see the score line right down the middle of the card. Fold the card so the sentiment is on the inside. Add the insert by sliding the corners of the insert into the slits at the corners of the card. The great thing about insert cards is that they require no adhesive. Now we have a finished birthday card ready for gifting with no Card Mat required.
FAQ for DIY Cricut Cards
Now that we’ve made this card you can see the potential for making your own cards with your Cricut machine. Whether you choose a more traditional card or choose to use an insert card design, you can make cards with your Cricut machine and just the LightGrip mat.
Can You Make Cutaway Cards Without a Card Mat?
You can definitely make the cutaway card version of cards without using the card mat. The difference would be that you’d wait to add the backer behind it. You’ll also need to use some sort of adhesive to attach any letter centers or inside pieces of designs. Completely doable, just more steps are required.
Can You Make Foil Cards Without a Card Mat?
Making a card using foil without a card mat is absolutely possible. It would be the same as using foil on any other project. Add the foil over the top of the area that will be foiled and secure with tape. Proceed as normal with the Foil Transfer Tool.
Will This Work on Any Cricut Machine?
Unless you’re trying to make very small cards, I don’t recommend trying to make cards without the Card Mat on the Cricut Joy. The small cutting size of the Joy is the reason the Card Mat was introduced in the first place. The ease of creating cards with the Card Mat was so popular that Cricut released the 2×2 Card Mat.
In the end, to make Cricut cards, you only need cardstock, a LightGrip mat, and a Cricut machine. I do think the Card Mat is really easy to use and I like using it. But, I wanted to show you that you don’t need the Card Mat to create Cricut cards.
I hope I’ve inspired you to break out your machine and make some cards. If you have any questions, don’t hesitate to leave them in the comments below and I’ll answer those for you. Grab your supplies and start making your own Cricut cards today!