
This post and photos may contain Amazon or other affiliate links. If you purchase something through any link, I may receive a small commission at no extra charge to you. Any supplies used may be given to me free of charge, however, all projects and opinions are my own.

Let’s make some sublimation banners! These banners are perfect for parties, home decor, or even decorating your shop.
We’re going to make a few different types of sublimation banners so you can compare the differences and pick the right banner blank for your event.
You can watch me make each of these different banners by pressing play on the video below.
How to Make Sublimation Banners
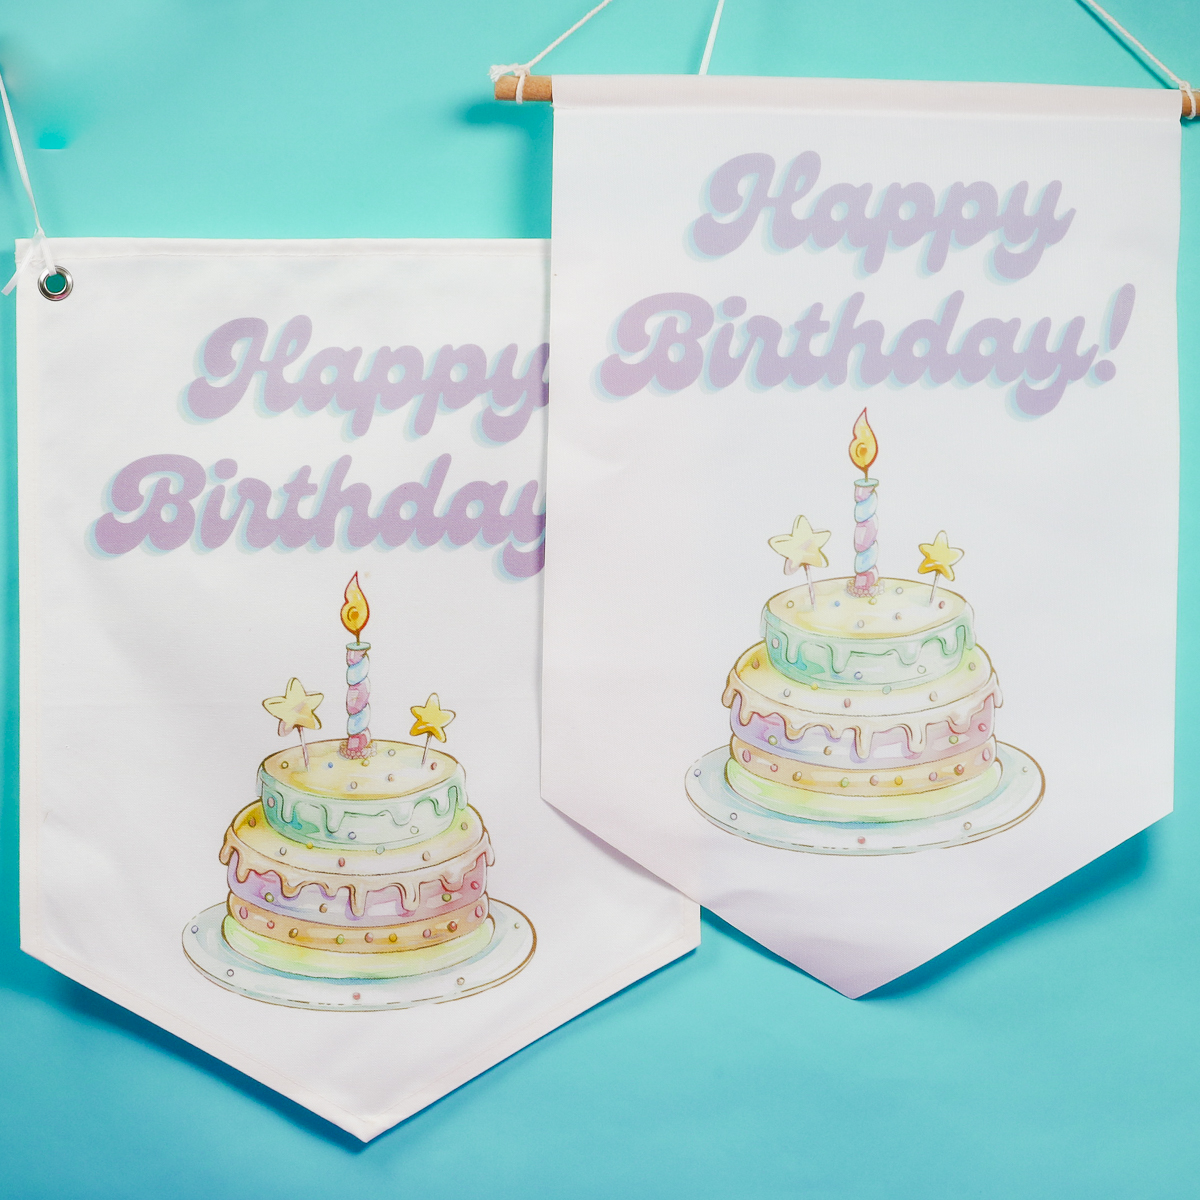
Making sublimation banners is similar to other fabric sublimation projects. I am using the same Happy Birthday design on all of my banners so you can see how each blank looks with the same design.
You can use this tutorial to make any type of sublimation banner, the sublimation design you use doesn’t matter.
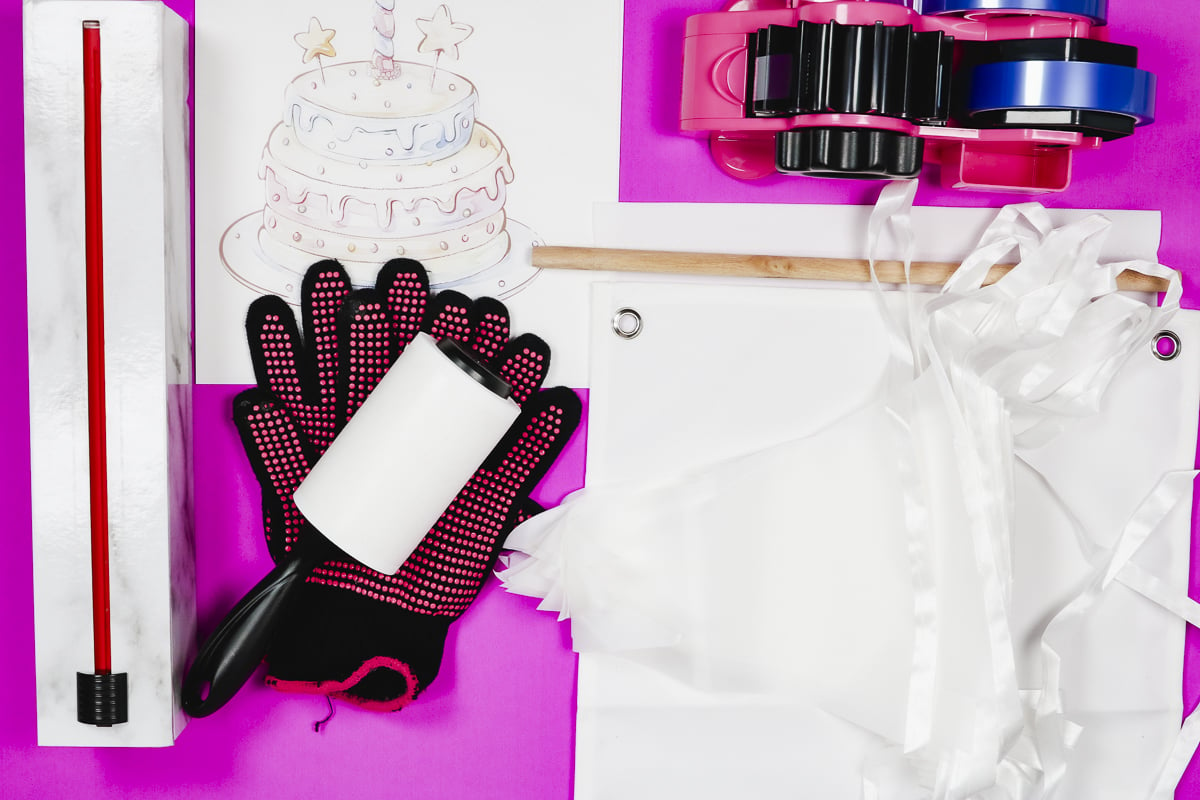
Supplies Used
Types of Sublimation Banner Blanks
I will be using three different banner blanks for today’s projects.
The first blank is a large sublimation banner from Hobby Lobby. This banner has metal grommets to hang the banner. This is a sublimation blank but it has more of a canvas feel.
The next banner I purchased from Amazon. It is also a sublimation blank of a similar size and shape as the Hobby Lobby blank. This one is thinner and doesn’t feel like it has the same quality as the Hobby Lobby blank. To hang this one you put a dowel through the top and then attach a string to either side.
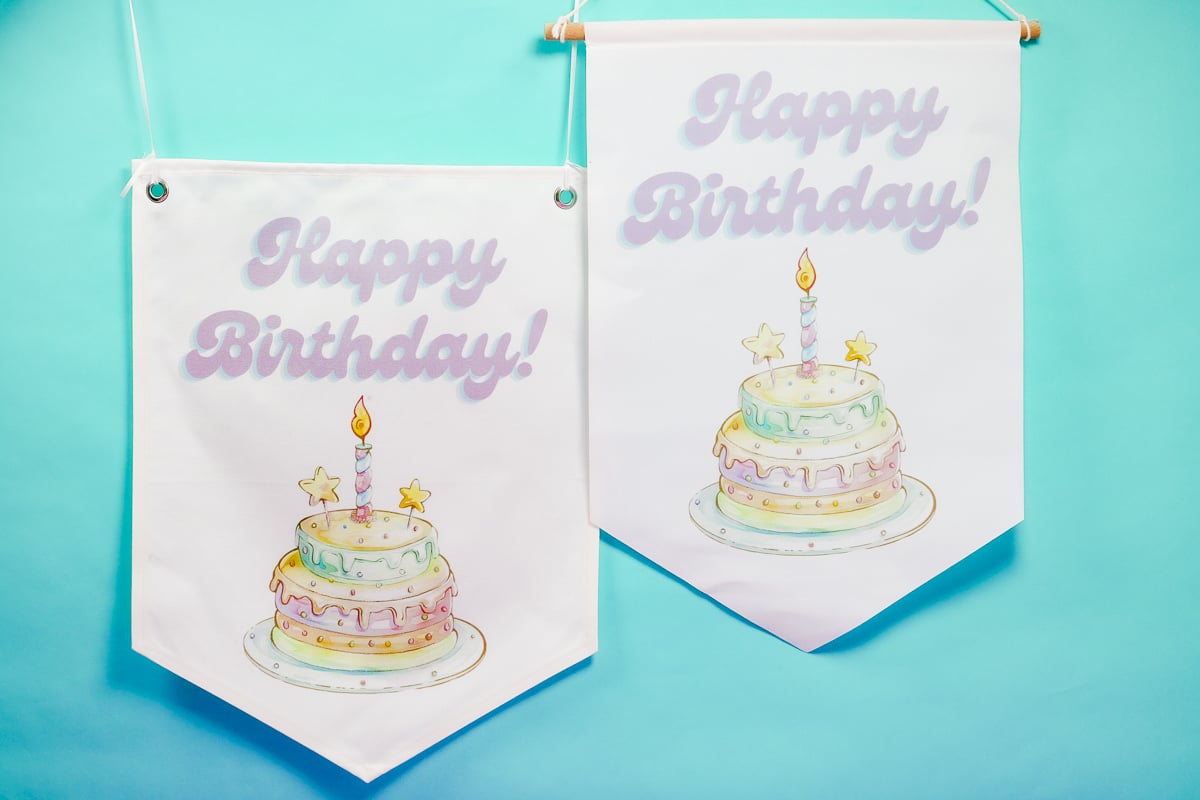
The last option is also from Amazon and is a set of polyester flags. These are a sublimation blank but they are very thin. These are already attached with ribbons tied together. You can use it as a banner or separate them as individual banners.
If you’re looking at other banner options, make sure they are listed as a sublimation blank or that they are made of a high polyester count in a white or light color.
If you want something a specific size or shape, you could make your own sublimation banner blank. Make sure you use polyester fabric and that it is either white or light in color for the best results.
Step 1. Print Sublimation Designs
The first thing we need to do to create sublimation banners is print the sublimation design. Make sure your design will fit on the sublimation banner you’re using.
My sublimation printer can print 8.5″ x 11″ which isn’t very large compared to the banners I’m using.
To get a design that fills more of the area I printed the cake on one full sheet and then printed Happy Birthday on another sheet in landscape orientation. With both of these designs printed my design is larger than it can be with a single print and it will take up more room on the banner.
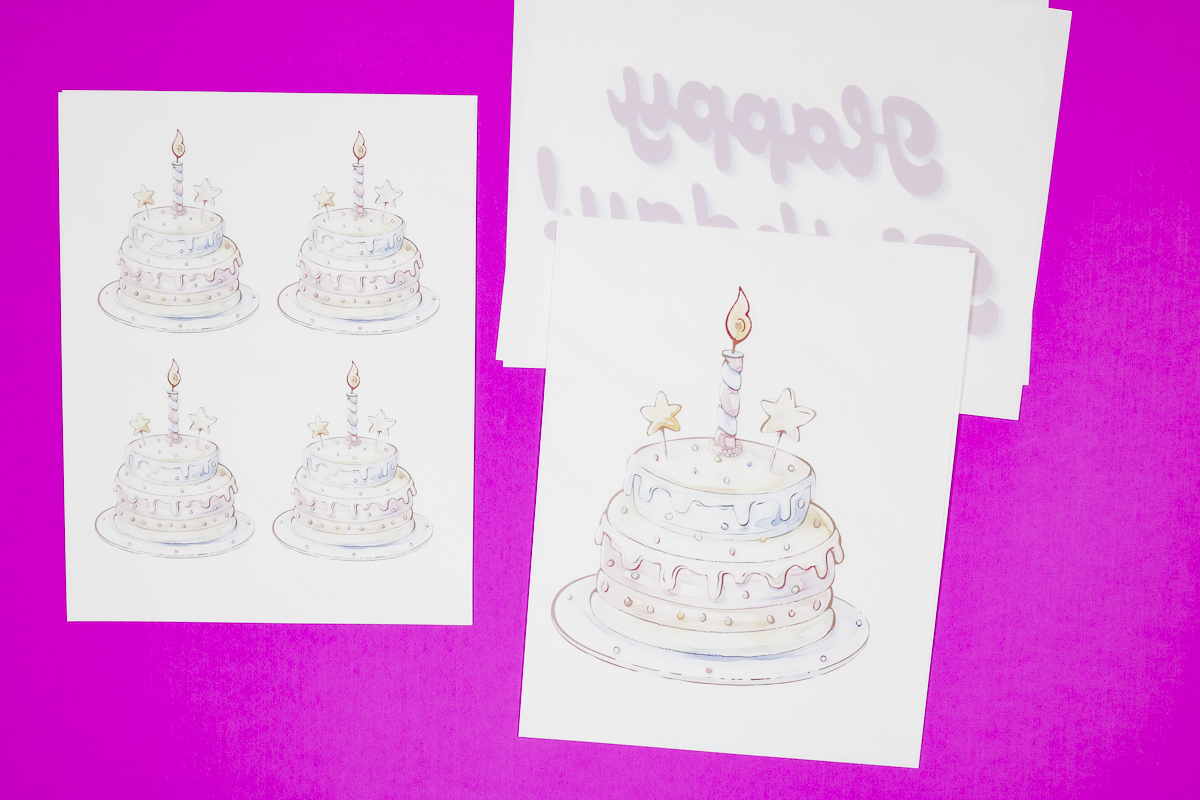
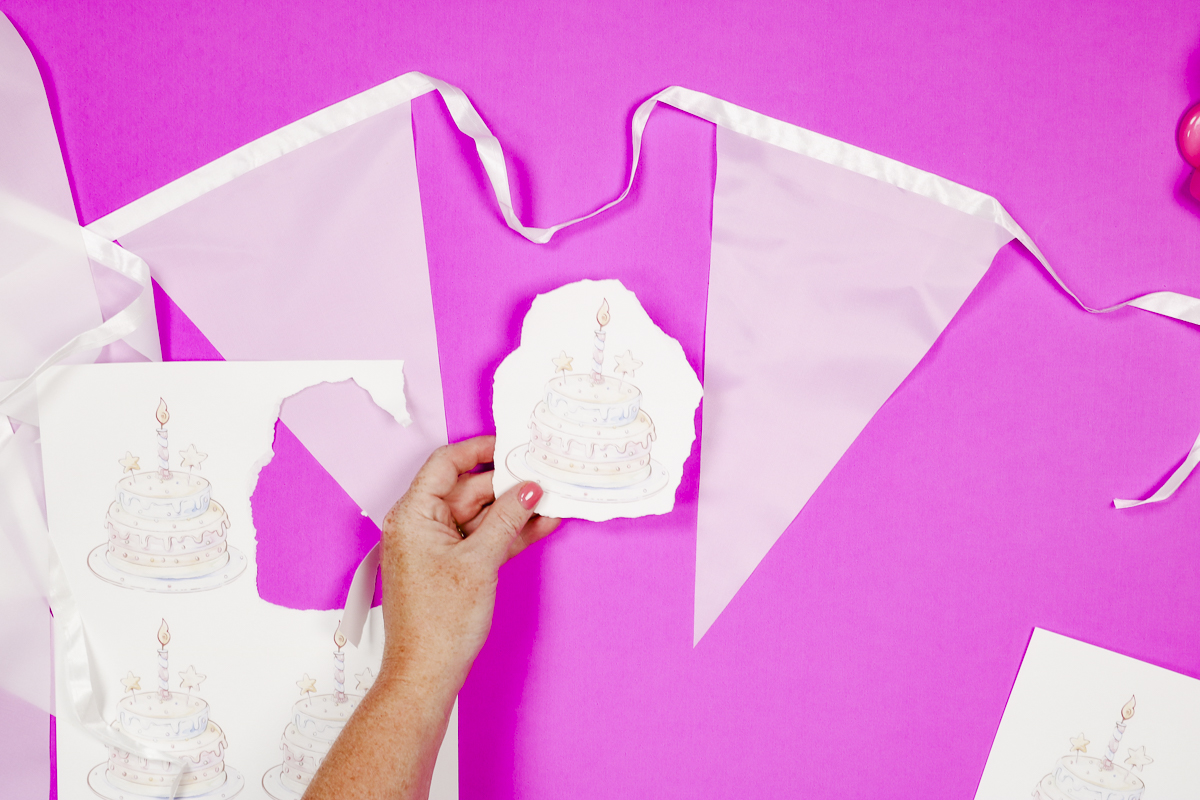
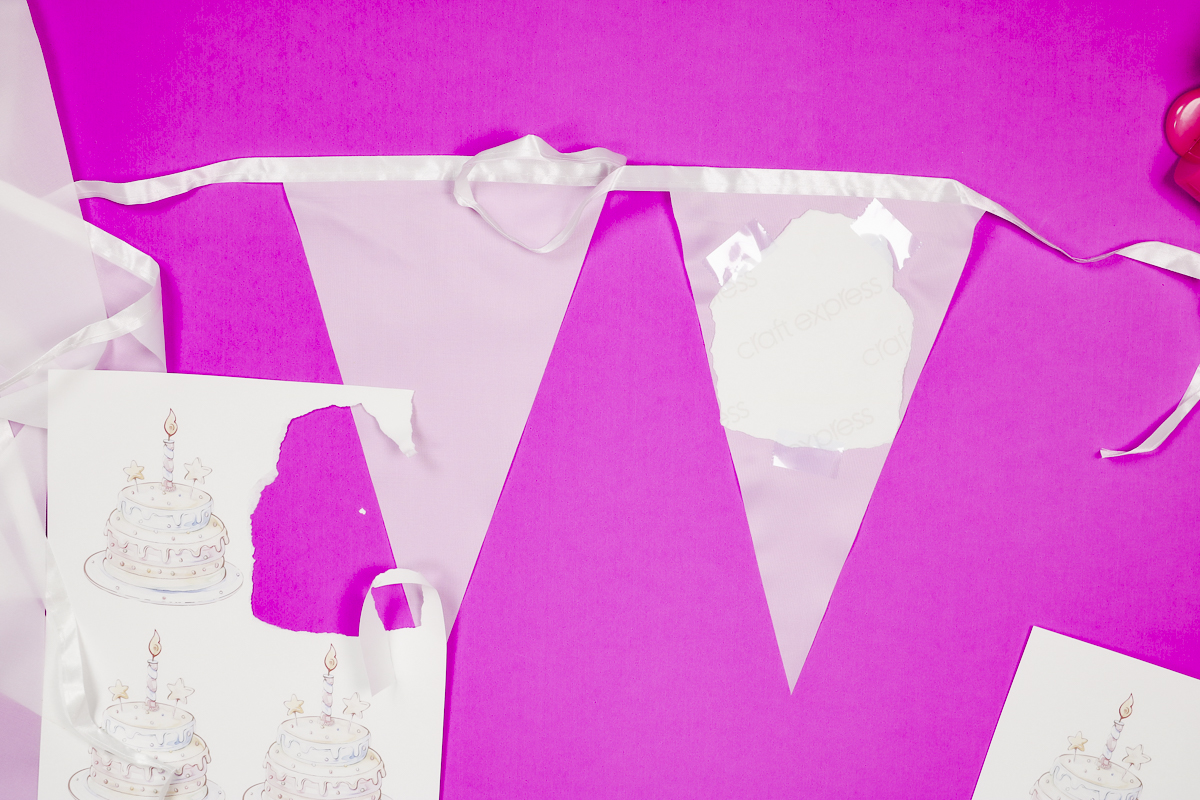
For the smaller banners, I resized the cake so that four were printed on each page.
With the designs the right size, it’s time to print. Don’t forget to mirror each page of your design.
A sublimation print is sublimation ink printed onto sublimation paper from a sublimation printer. You cannot make sublimation banners with regular ink.
Step 2: Add Print to Blank
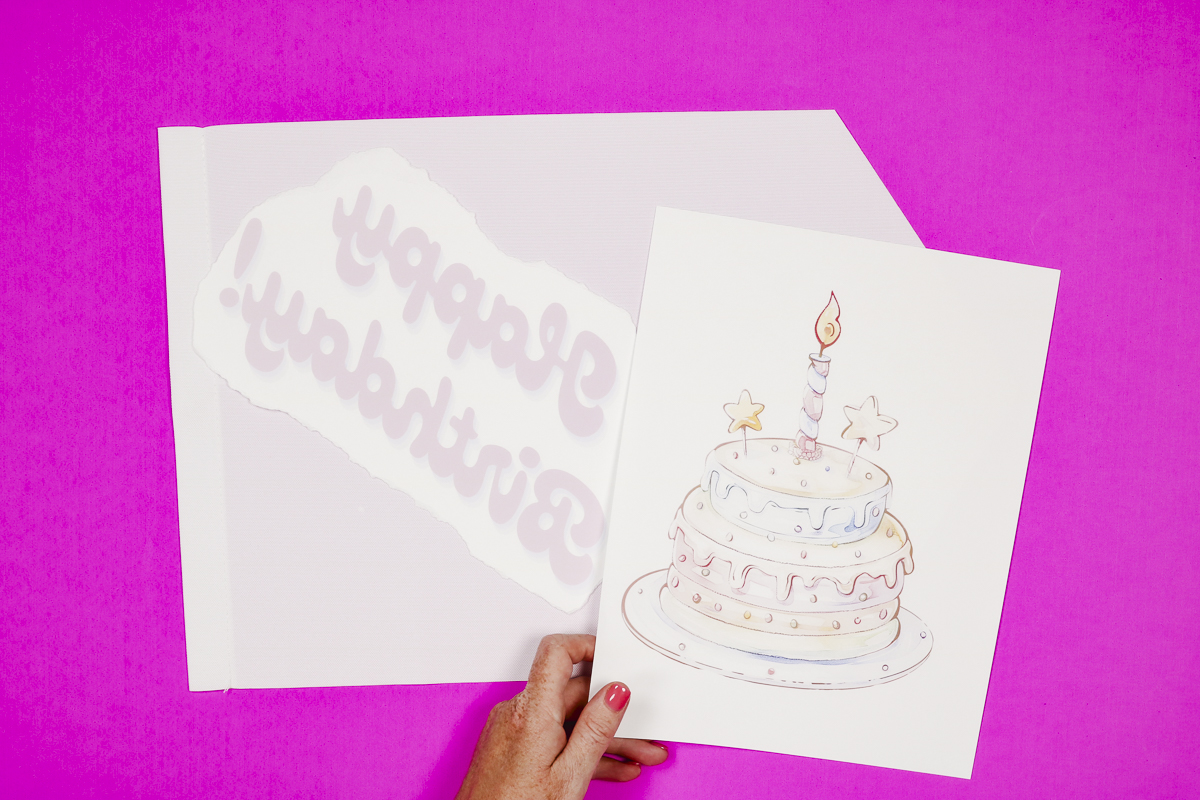
To help prevent press marks I tear the edges of my sublimation paper. This is also helpful when you’re combining two prints. Depending on the size of your press you can press everything at once when you remove the extra white paper.
The process will be the same for the smaller designs.
Step 3. Prepare the Blank
With the designs printed it’s time to prep the blanks. First, we want to preheat the blanks to remove any wrinkles and moisture.
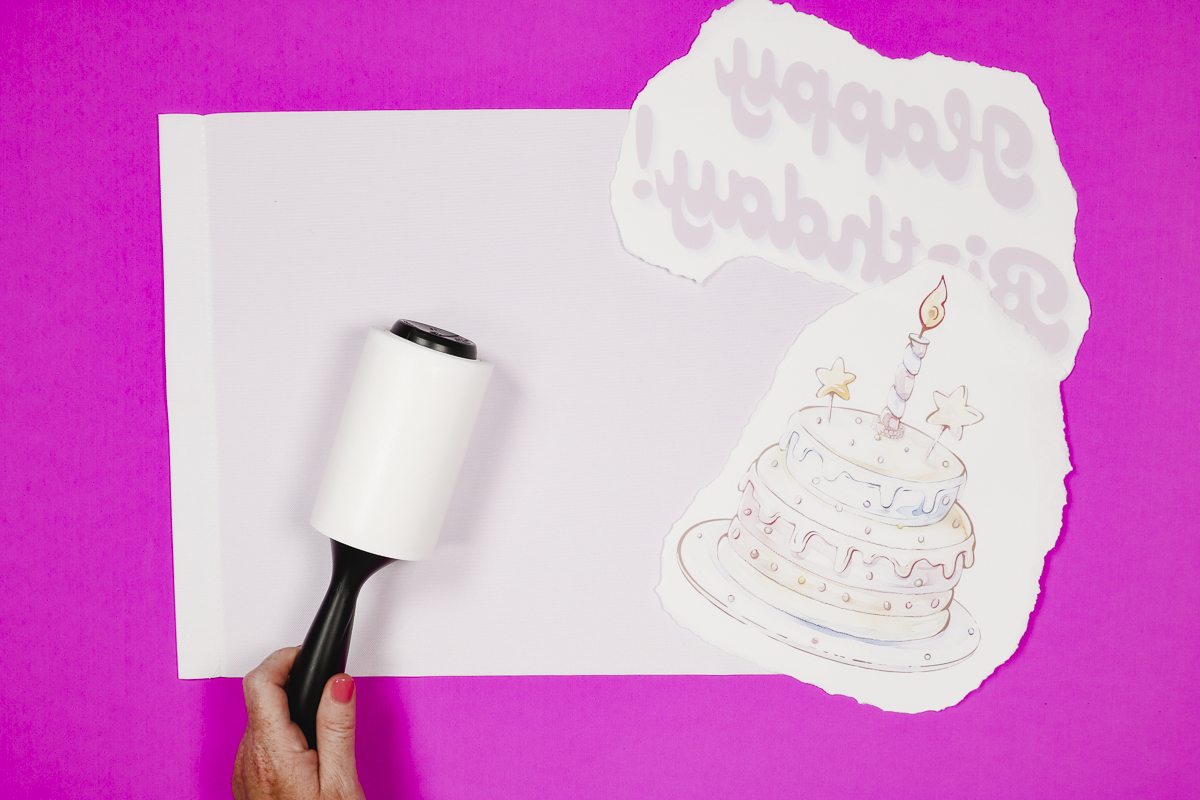
Lint roll the blank to remove any lint, hair, dust, or other debris for the best results.
Step 4. Locate the Design onto the Sublimation Blank
With both pages torn around the edges, I can place them both on the larger sublimation banner without any overlap.
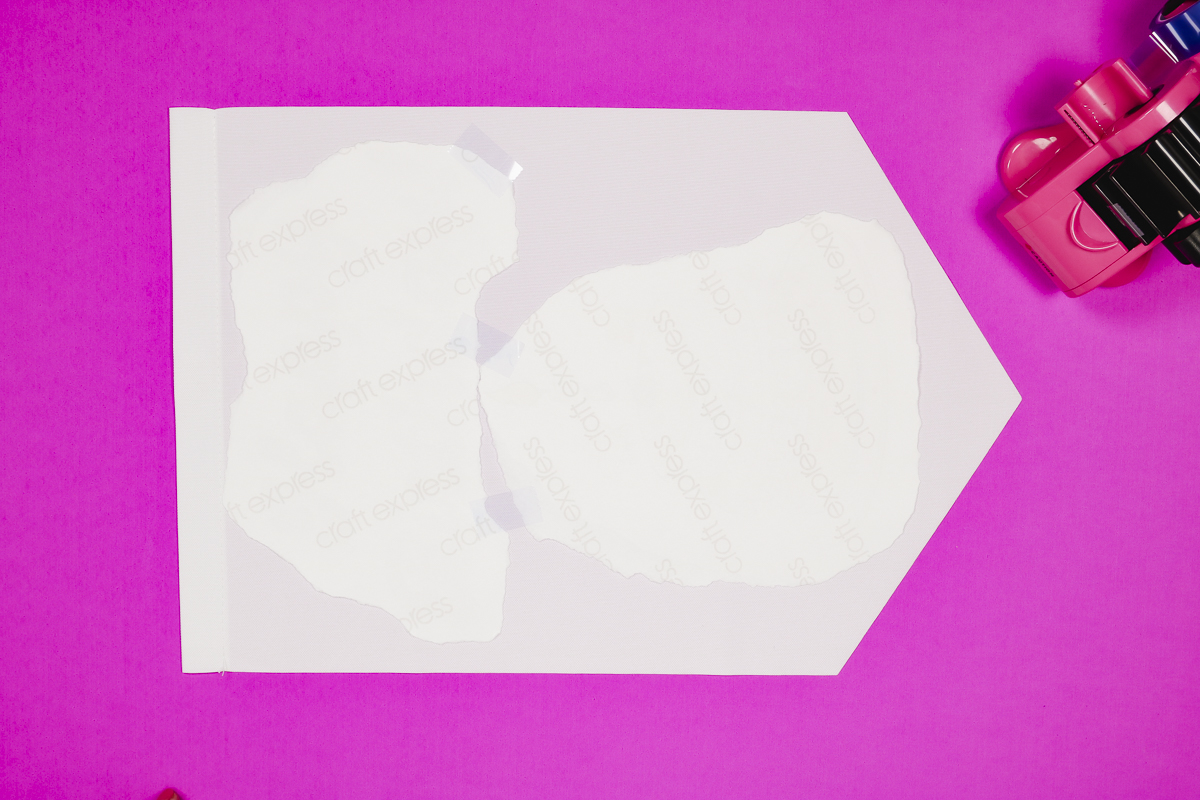
Use heat-resistant tape to hold the design in place on the blank. These steps are the same regardless of what size blank and design you’re using.
Step 5. Press Sublimation Print onto Sublimation Banner Blanks
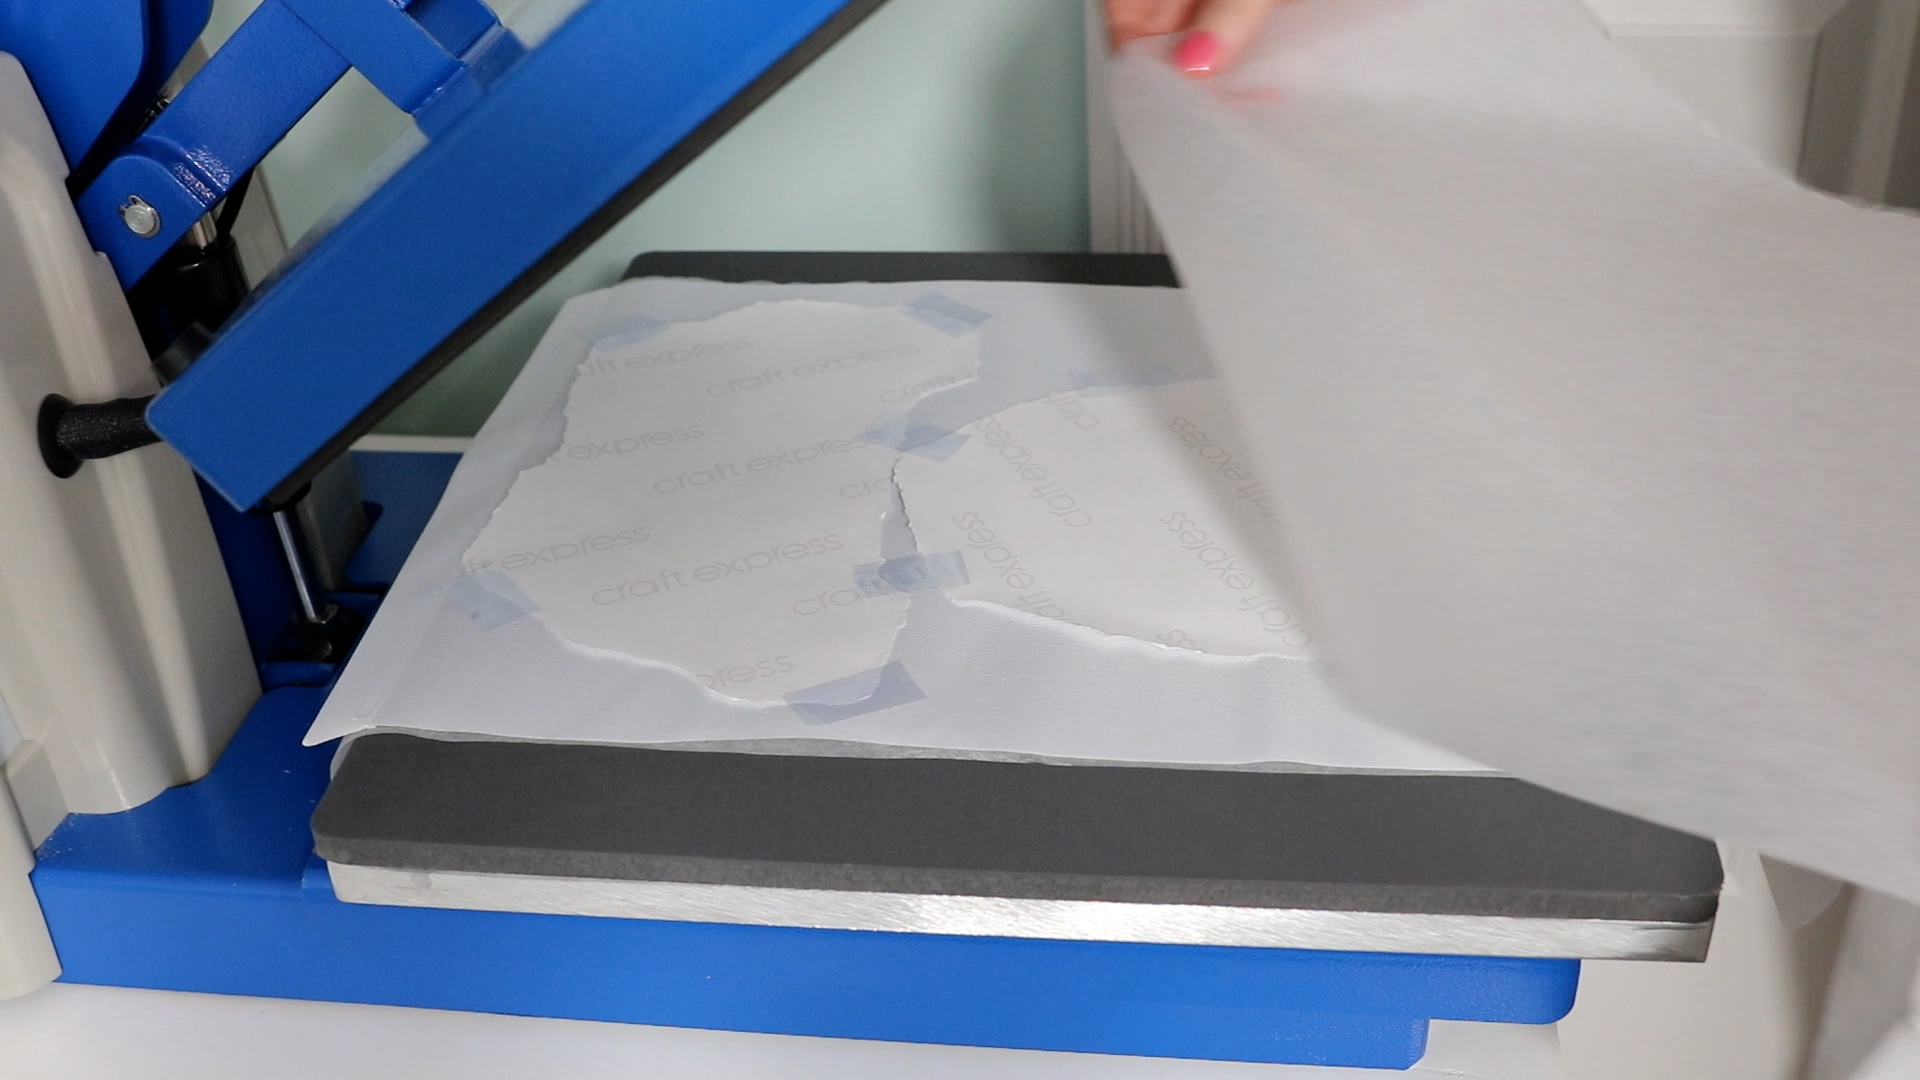
Next, we need to press our designs onto the blanks.
The time and temperature will be dictated by the blank you’re using. Make sure you check the settings that come with your blank.
With sublimation prints, you need to protect your heat press. Add protective paper to the bottom of the blank and another piece on top of the sublimation print. This will protect the top and bottom of your heat press.
I am pressing at 360 degrees for 50 seconds as per the instructions for my blanks.
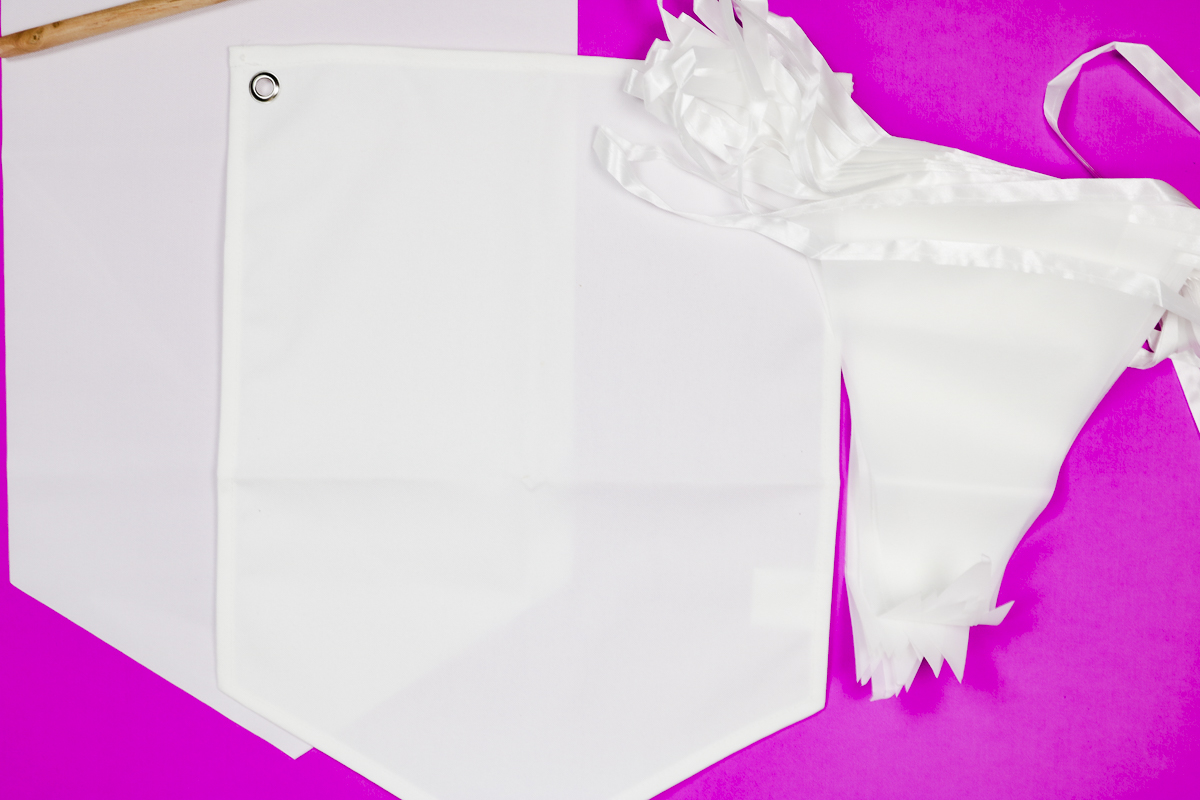
For the Hobby Lobby banner with the grommets, I kept those metal pieces out of the press to help ensure an even press.
For the smaller banner, I kept the ribbon out of the press for the same reason. Any time you can reduce bulk you will get a better finished product.
Step 6. Reveal Finished Sublimation Banners
When the time is up, remove the banners from the heat press and remove the protective paper and sublimation print to reveal the finished banner.
Which Sublimation Banner Should You Choose?
This first banner is the one I got from Hobby Lobby, you can see the design transferred really well, and looks great.
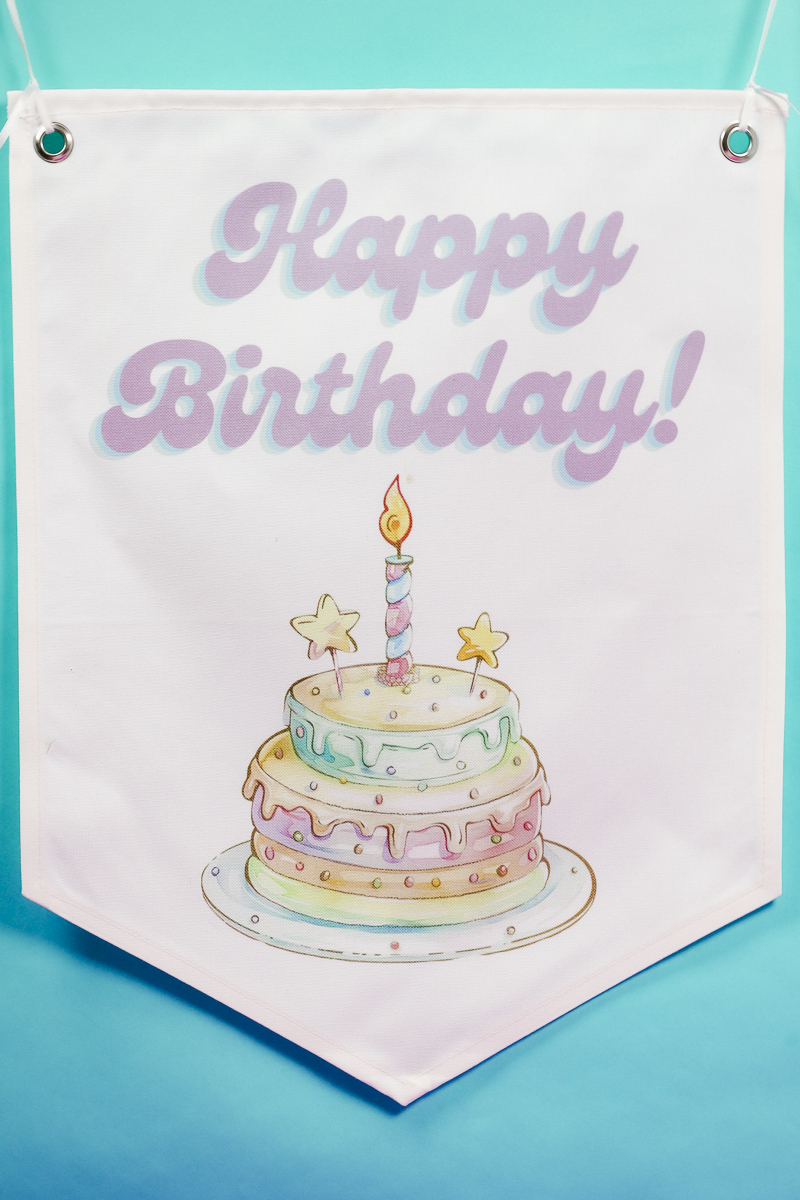
This is a really nice high-quality sublimation banner blank. I love the canvas feel and the grommets make it really easy to hang with any ribbon or string you want to use.
Next, we have the banner from Amazon. To finish this banner I added the dowel to the top and then used string to hang it.
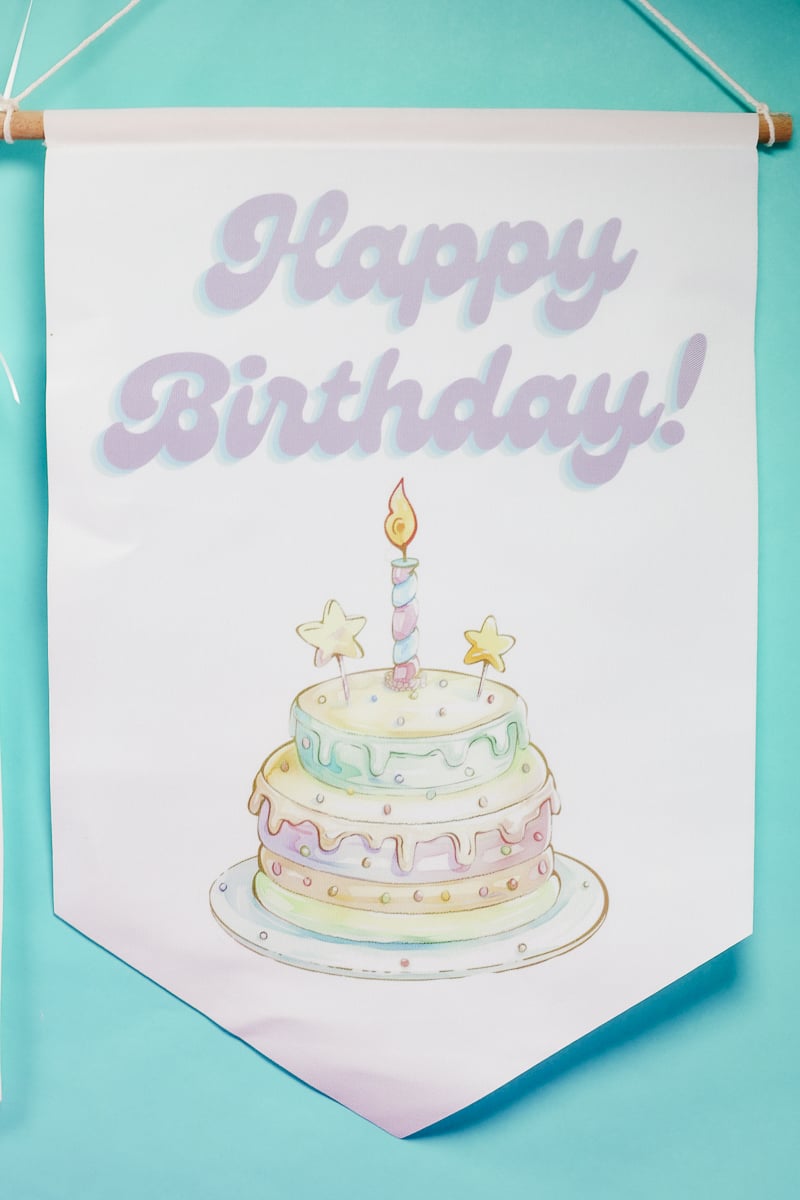
This banner also sublimated really well and it looks great. This is a thinner material and you can kind of see through it which can make the design look a little less vibrant. This would be a good option for something you don’t need to last as long.
The last banner we have is the multi-flag banner. This sublimation banner is thinner than the other two options as you can see in the photo you can see the pink through the flags.

Even though the blank is thin the sublimation print transferred beautifully and I think this is a great option for temporary party decor or something that will be very customized and likely to be used only once.
I am really impressed with how all of these banners turned out. The sublimation transferred well on each one and I didn’t notice any press marks following the steps I shared here. If you notice any press marks, you can go over the edges with a small iron to help smooth those out.
Using Sublimation Banners Outdoors
If you want to use these sublimation banners outside add a UV protectant spray that is made for fabric to help protect the sublimation print. Without the protective spray, I would keep these indoors and keep them away from windows.
I had fun making these banners and I think you’ll find there are a lot of situations when a sublimation banner is the perfect addition. I used the blanks listed above but you could do this with any sublimation banner blanks you find.
If you have any questions, leave them in the comments and I’ll answer those for you.
The post How to Make Sublimation Banners for Any Event appeared first on Patabook Home Improvements.